Log in
Search
Latest topics
» TEE DEE Having issuesby Ken Cook Today at 7:10 am
» Cox films/videos...
by Coxfledgling Today at 4:46 am
» Purchased the last of any bult engines from Ken Enya
by Coxfledgling Today at 4:18 am
» My N-1R build log
by roddie Today at 12:32 am
» Happy 77th birthday Andrew!
by akjgardner Today at 12:27 am
» Landing-gear tips
by roddie Yesterday at 6:17 pm
» Roger Harris revisited
by TD ABUSER Yesterday at 2:13 pm
» Tee Dee .020 combat model
by Ken Cook Yesterday at 1:41 pm
» Retail price mark-up.. how much is enough?
by Ken Cook Yesterday at 1:37 pm
» My latest doodle...
by roddie Yesterday at 10:43 am
» Chocolate chip cookie dough.........
by roddie Fri Nov 22, 2024 1:13 pm
» Free Flight Radio Assist
by rdw777 Fri Nov 22, 2024 9:24 am
Cox Engine of The Month
Looking for ideas. How would you repair this?
Page 1 of 1

rsv1cox- Top Poster


Posts : 11250
Join date : 2014-08-18
Location : West Virginia
 Re: Looking for ideas. How would you repair this?
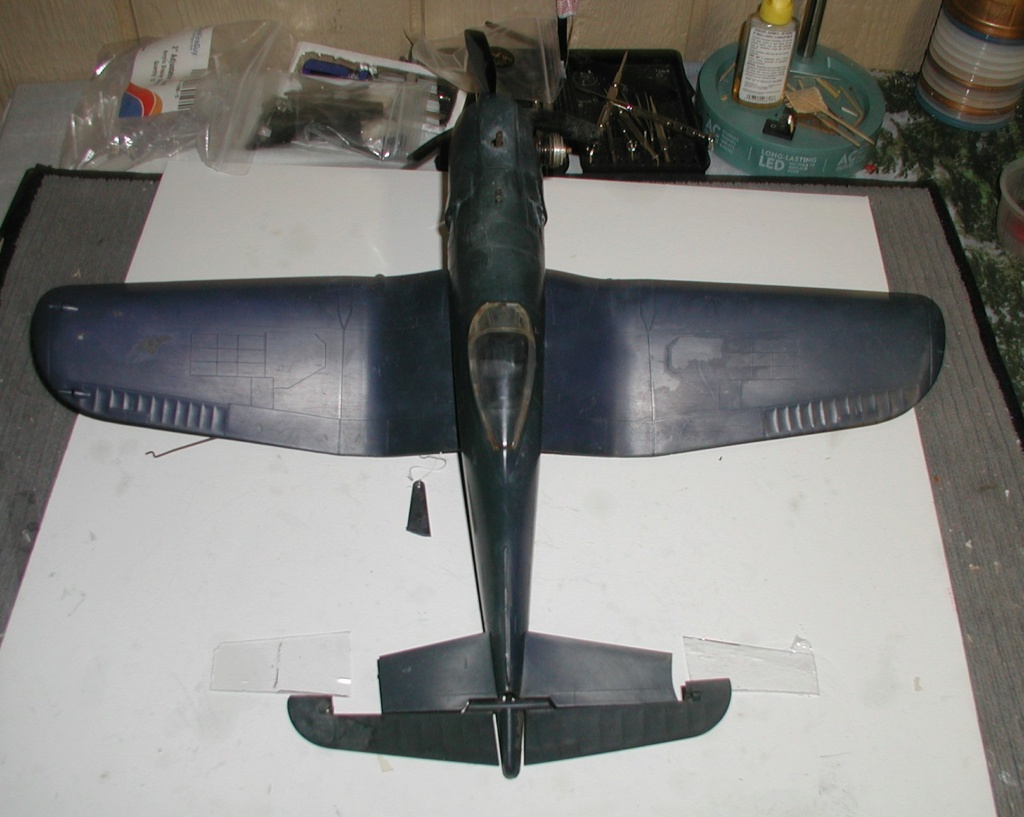
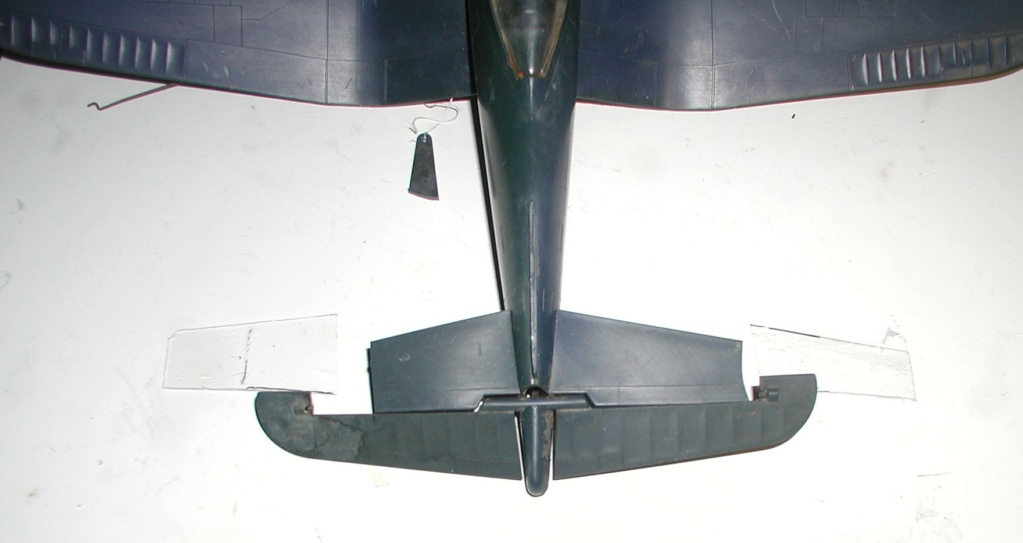
Bob, the only way I could think of repairing the horizontal stab is to cut, from thin, maybe 1/30" plywood, the original contour of the left and right stabs, glue it to the top and bottom of the broken stab halves, and tie in the elevator into the stab tips with a pin for the shaft.
In order to make a smooth transition between the plastic and plywood stab layers, I would remove the leading and trailing edges of the plastic stab halves in a width of maybe 1/2" and would keep only a core in the middle "console" or "cantilever" , strong enough to keep the plywood. The edges of the plywood layers on the top and bottom would be pulled to each other and glued then lightly sanded to make the leading edge smooth and even.
You may paint or cover the plywood stab halves with heat shrink foil of the same color???

balogh- Top Poster


Posts : 4958
Join date : 2011-11-06
Age : 66
Location : Budapest Hungary
 Re: Looking for ideas. How would you repair this?
Would it be possible to remove the entire stabilizer and make a new one from plastic sheet or plywood? You would have to hack into the fuselage though, a bit risky maybe.

KariFS- Diamond Member

- Posts : 2044
Join date : 2014-10-10
Age : 53
 Re: Looking for ideas. How would you repair this?
Bob,
I'm not familiar with this model. Does the fuselage assemble as a clamshell, that is too and bottom? Is the elevator bellcrank inside the fuselage, or out? Last one for the moment...trophy display model, or expect to see some airtime?
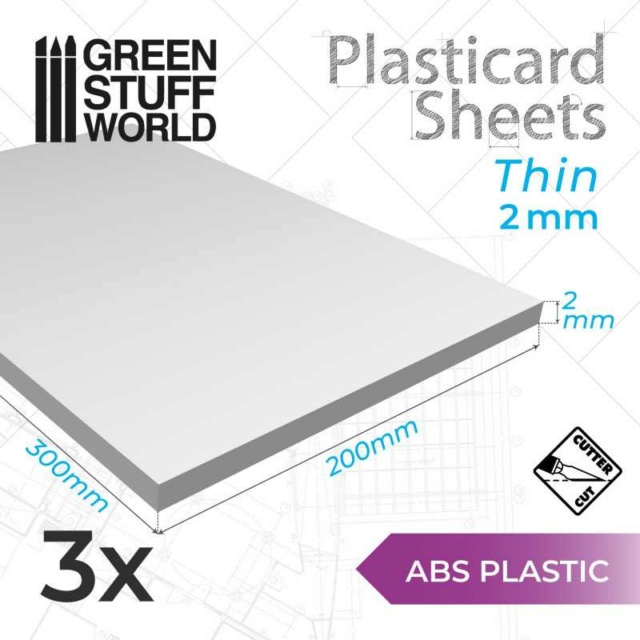
This gets easy if no flight is expected...measure how thick the stab is, and graft in the missing pieces from hobby store styrene sheet. Butt-glue in your scabs (yay, Testor's Red Tube). Sand/blend the seams and finish as desired.
If you plan to fly, I'd look closely at removing what is left of the stab, and replacing it with aircraft plywood, or the appropriate density sheet balsa. Make the stab as one piece and slot the area in the fuselage just as you do one-piece wings in a typical balsa full fuselage.
Last edited by 944_Jim on Sun Oct 30, 2022 12:46 pm; edited 1 time in total (Reason for editing : Spelling)
944_Jim- Diamond Member


Posts : 2022
Join date : 2017-02-08
Age : 59
Location : NE MS
 Re: Looking for ideas. How would you repair this?
Thanks Guys,
There reallly are just two viable options, graft new material onto the old or remove all the old plastic and start from scratch. It's a Cox Corsair but it's the less often seen early side engined model rather than upright. The "good" one is one that Kim sent me, ( I love the up-arrow) I repaired that one also.
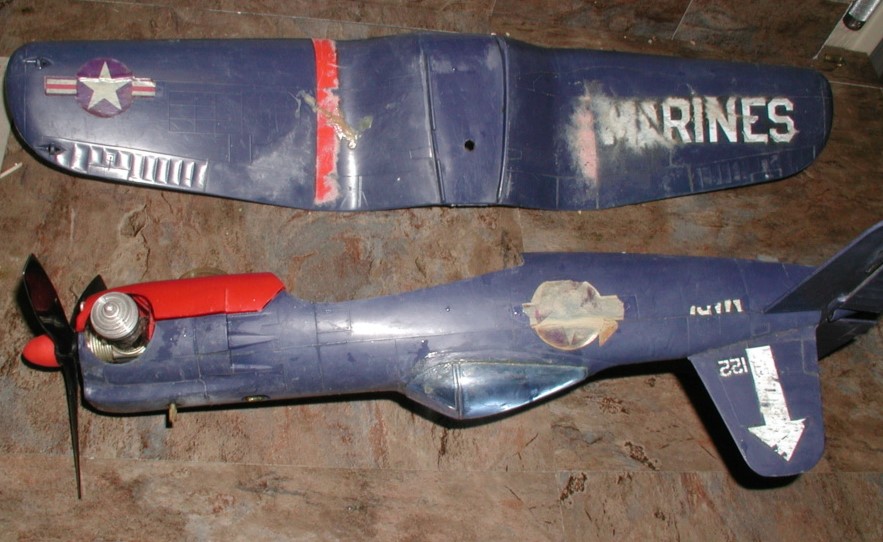
Andras and Jim have outlined my first option as I like to save as much of the original plastic as possible and will be my first try. I anticiate failure, so I will probably wind up with kari's suggestion. Cut at the root of both the horizontal stab and the vertical stab (magic marker lines) and join them both internal to the fuselage vertical stab epoxied onto the horzontal. The horizontal stab being one piece passed through the fuselage openings.
I have already cut out the braces to be cemented (yes, Testors red) on the underside. I'll use 1/16" balsa on the top hardened with sanding sealer and sanded to contour. If it fails, no harm done as the plastic will be cut off anyway. Pivot pins will be either music wire or cutoff tooth pick ends that work really well.
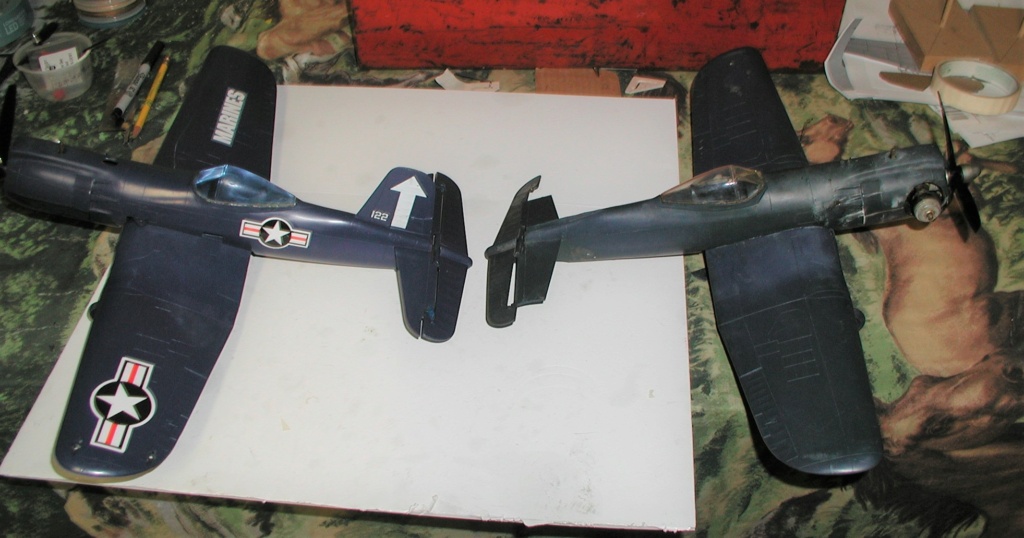

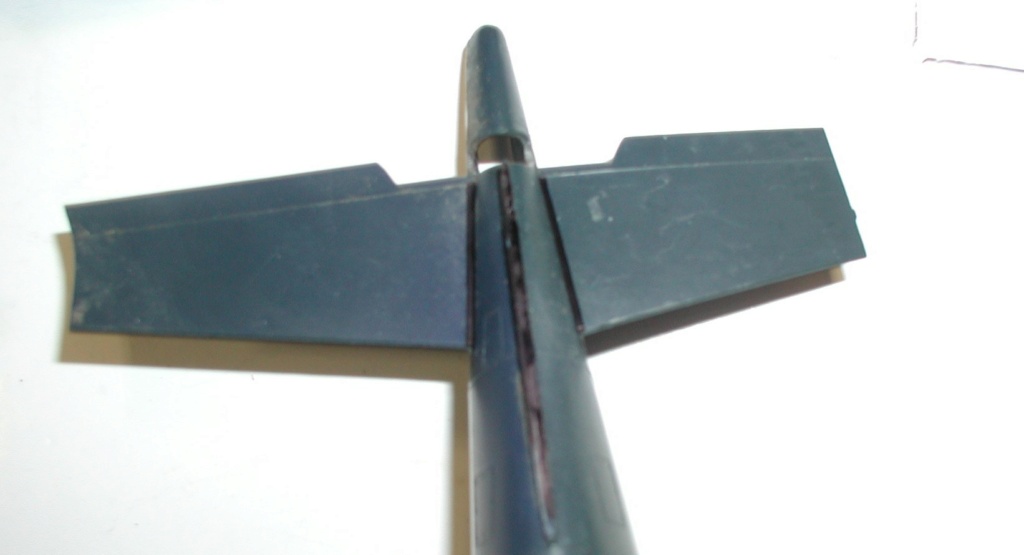
The rest of it isn't too bad, but after seeing Mark Boesens painted example I might just paint this one too not just the repaired portion.
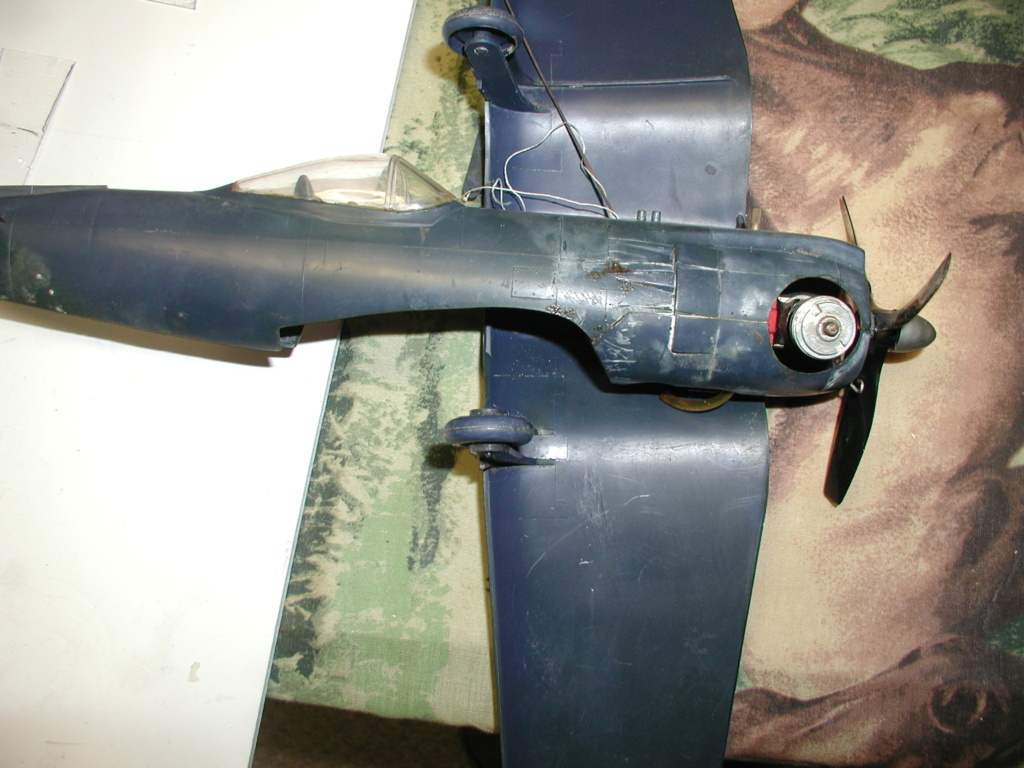
Thanks all for your help.
Marks broken Corsair and repaired and painted Corsair. Mark pointed out that mine like his has the soft aluminum painted spinner indicating an original early model. Mark knows this stuff.
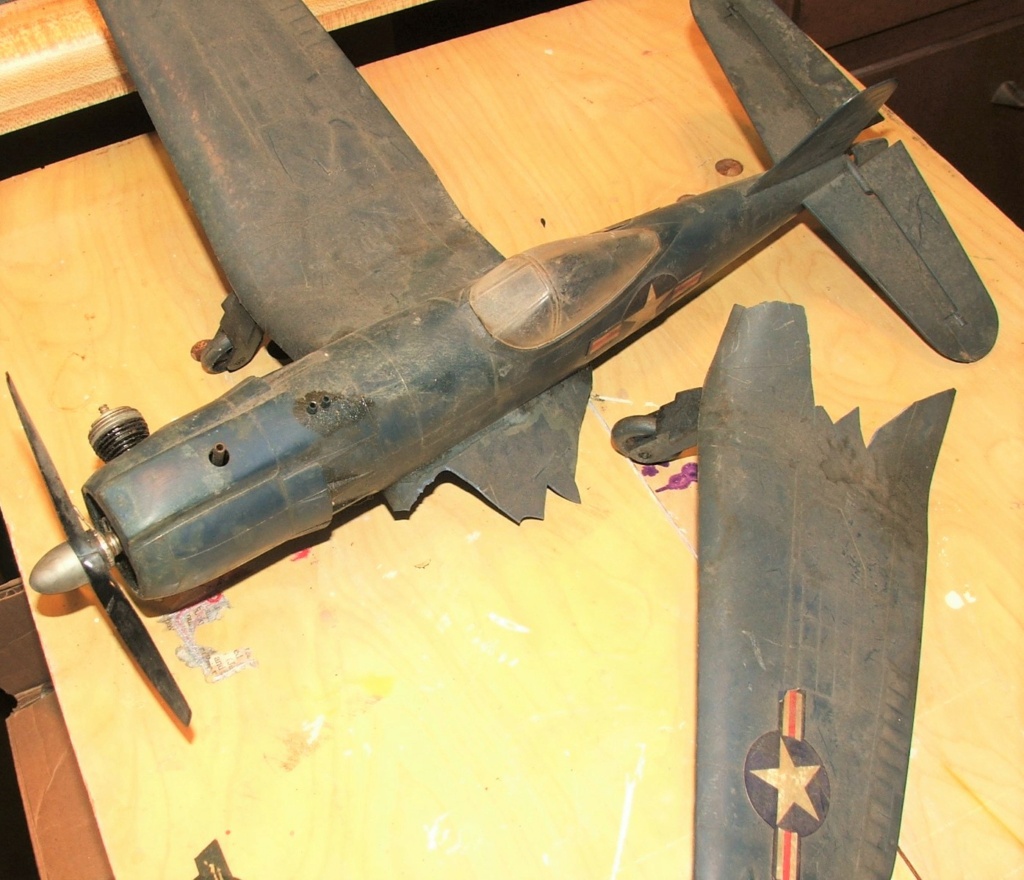

There reallly are just two viable options, graft new material onto the old or remove all the old plastic and start from scratch. It's a Cox Corsair but it's the less often seen early side engined model rather than upright. The "good" one is one that Kim sent me, ( I love the up-arrow) I repaired that one also.

Andras and Jim have outlined my first option as I like to save as much of the original plastic as possible and will be my first try. I anticiate failure, so I will probably wind up with kari's suggestion. Cut at the root of both the horizontal stab and the vertical stab (magic marker lines) and join them both internal to the fuselage vertical stab epoxied onto the horzontal. The horizontal stab being one piece passed through the fuselage openings.
I have already cut out the braces to be cemented (yes, Testors red) on the underside. I'll use 1/16" balsa on the top hardened with sanding sealer and sanded to contour. If it fails, no harm done as the plastic will be cut off anyway. Pivot pins will be either music wire or cutoff tooth pick ends that work really well.


The rest of it isn't too bad, but after seeing Mark Boesens painted example I might just paint this one too not just the repaired portion.

Thanks all for your help.
Marks broken Corsair and repaired and painted Corsair. Mark pointed out that mine like his has the soft aluminum painted spinner indicating an original early model. Mark knows this stuff.


rsv1cox- Top Poster


Posts : 11250
Join date : 2014-08-18
Location : West Virginia
 Re: Looking for ideas. How would you repair this?
I am not very familiar with 3D printer technology, I understand the basic concept and different materials can be used etc. but not any great technical detail or cost of 3D printers and material vs capability/quality of what it can print. Im also not suggesting Bob should buy a 3D printer and regardless I suspect he enjoys the traditional ( hard thought through / learned ideas and tricks ) than the 3D printer option. but I was wondering if making a whole new part for the broken model is something a 3D printer could do in a manner that would very much seem as if it was original? 
Yabby

Yabby

Yabby- Platinum Member


Posts : 712
Join date : 2021-06-08
Location : Yorke Peninsula South Australia
 Re: Looking for ideas. How would you repair this?
I have looked at 3D printers, Amazon has several models. In this case I would have to print out the whole fuselage, minus the accessiories of course. It would take a rather large printer stage to do so. Probably too sophisticated for me anyway.
I'm just gathering ideas, got to finish that blasted mini Avenger first.
I'm just gathering ideas, got to finish that blasted mini Avenger first.

rsv1cox- Top Poster


Posts : 11250
Join date : 2014-08-18
Location : West Virginia
 Re: Looking for ideas. How would you repair this?
It would also take a great deal of time to create the printer files. This isn't as simple as "take picture, print part."
And Wow! Until I saw the side views, I had no idea that much tail was missing! I've been using my phone for CEF almost exclusively for the last few months.
BTW Bob,
Can we get a peek at the Avenger mocked up? I haven't seen the thread since the fuselage was cut.
And Wow! Until I saw the side views, I had no idea that much tail was missing! I've been using my phone for CEF almost exclusively for the last few months.
BTW Bob,
Can we get a peek at the Avenger mocked up? I haven't seen the thread since the fuselage was cut.

944_Jim- Diamond Member


Posts : 2022
Join date : 2017-02-08
Age : 59
Location : NE MS

Levent Suberk- Diamond Member

- Posts : 2265
Join date : 2017-12-24
Location : Türkiye
 Re: Looking for ideas. How would you repair this?
944_Jim wrote:It would also take a great deal of time to create the printer files. This isn't as simple as "take picture, print part."
And Wow! Until I saw the side views, I had no idea that much tail was missing! I've been using my phone for CEF almost exclusively for the last few months.
BTW Bob,
Can we get a peek at the Avenger mocked up? I haven't seen the thread since the fuselage was cut.
I'm all torn up
Hobby stuff
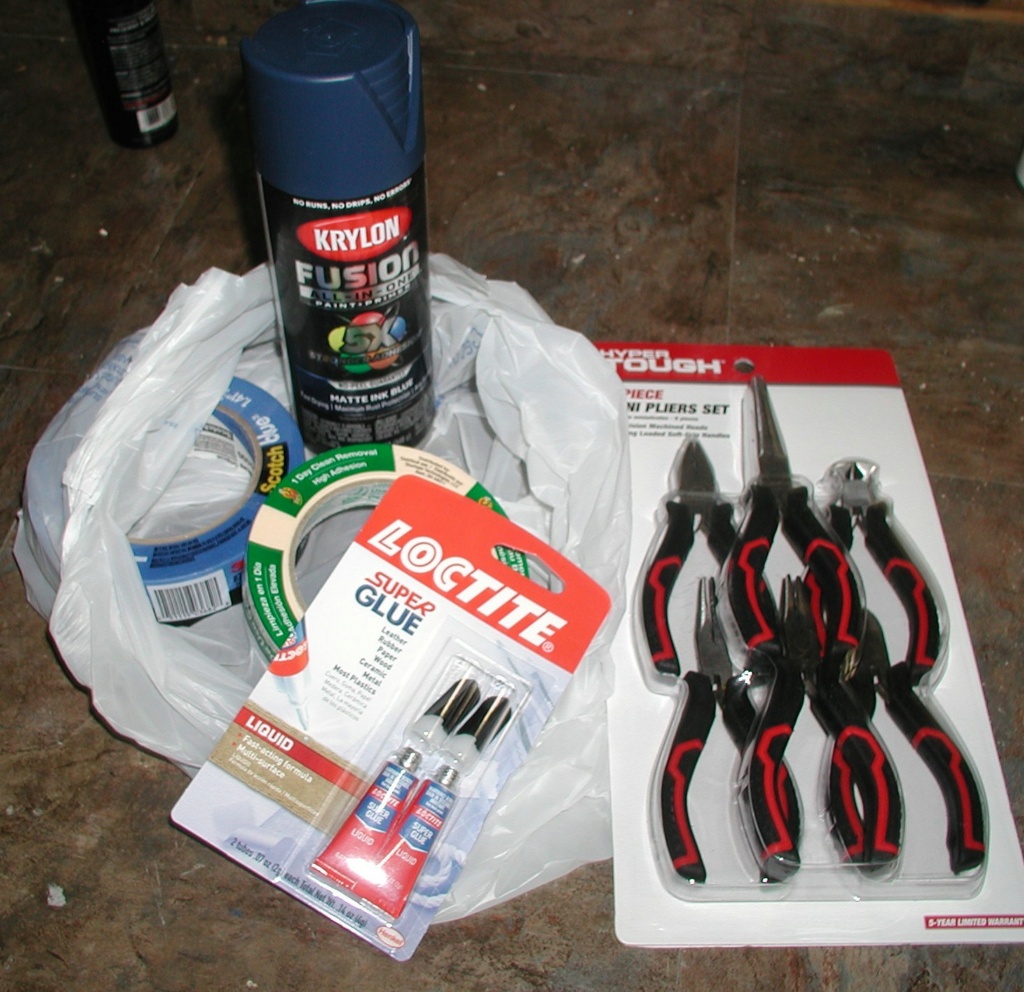
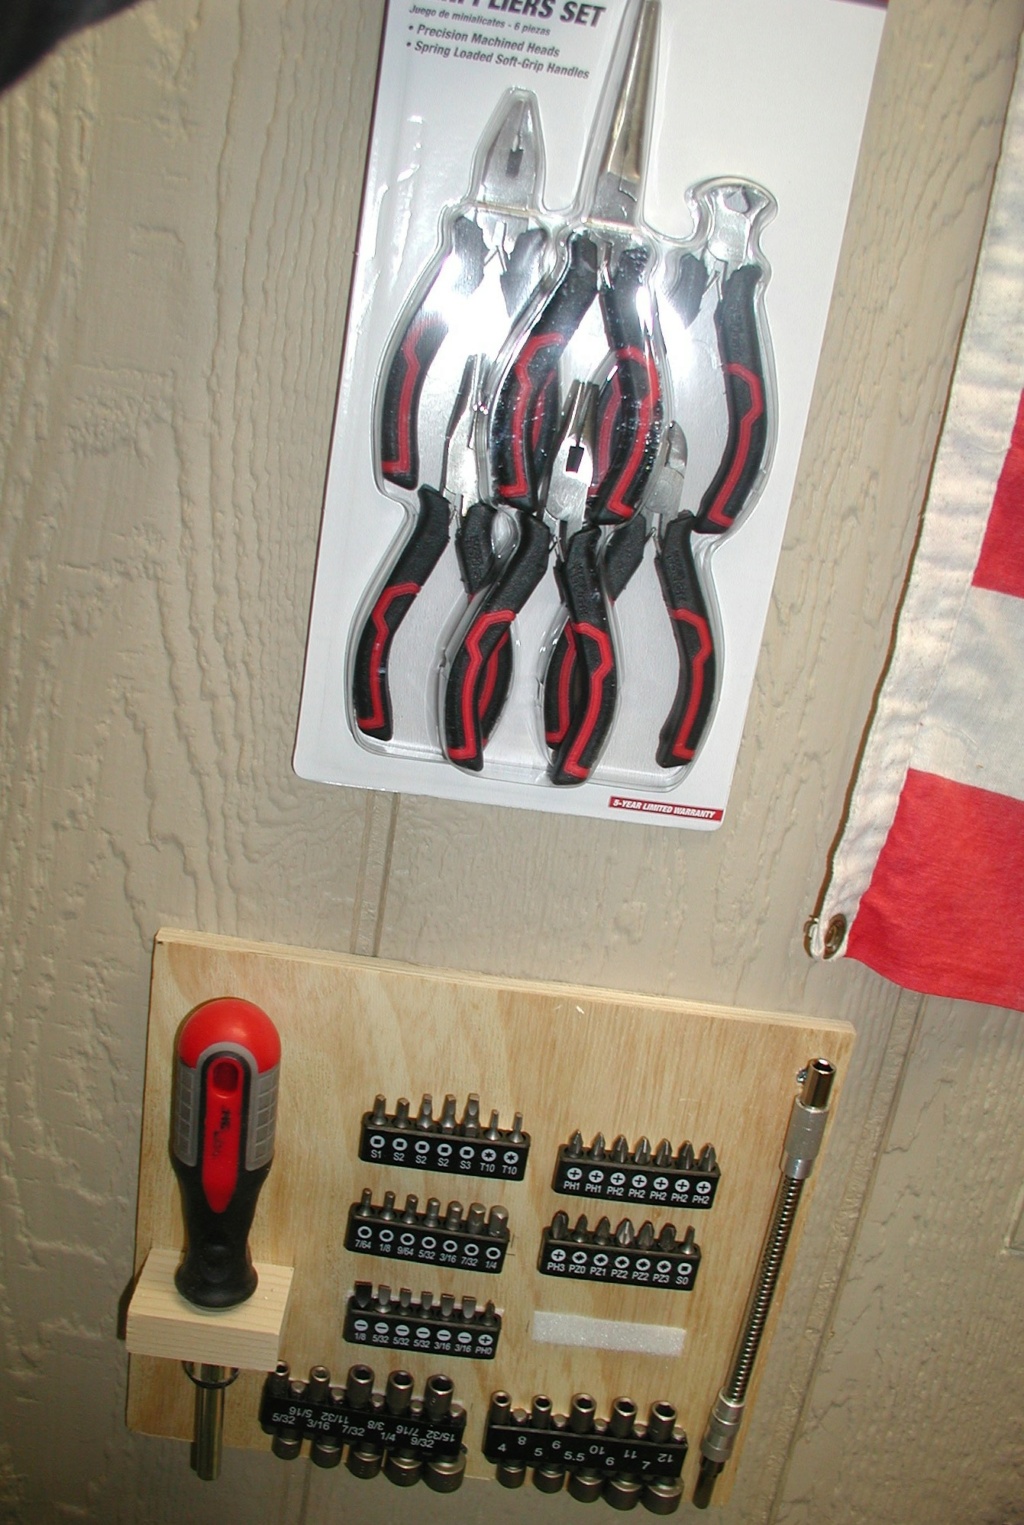
Tools phase two. Problem is - One, I'm lazy. Two, I have five work benches, Three, I hate getting up to retrieve a tool.
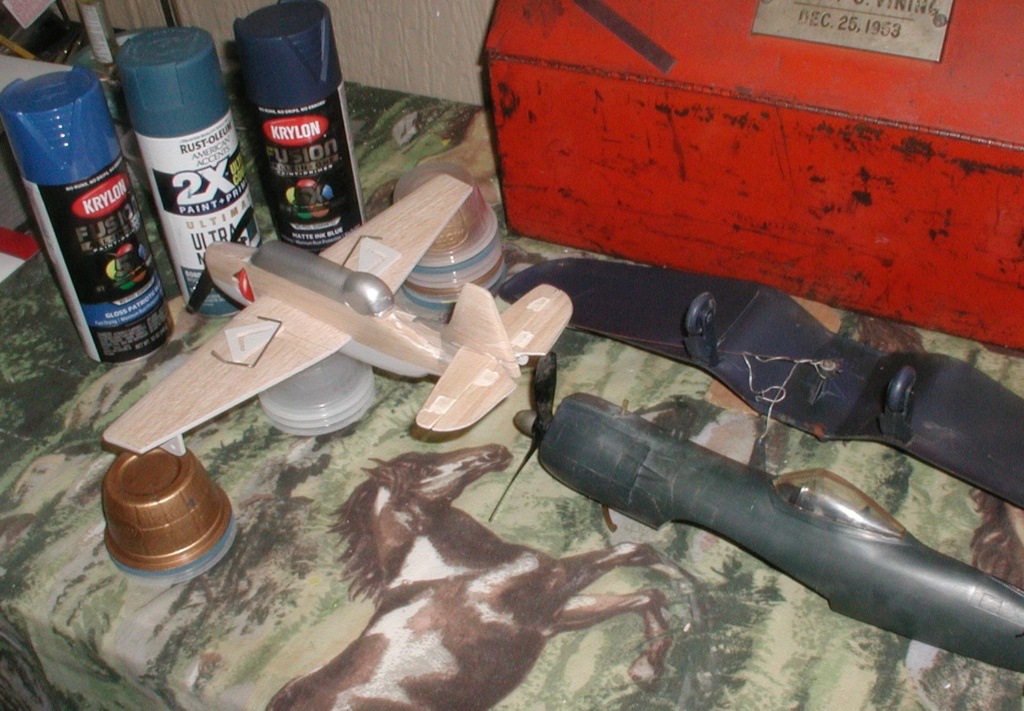
Presently. Waiting for paint to fully dry so I can tape-off and do the body. Leaning to the one on the right, but I love the shade in the middle.
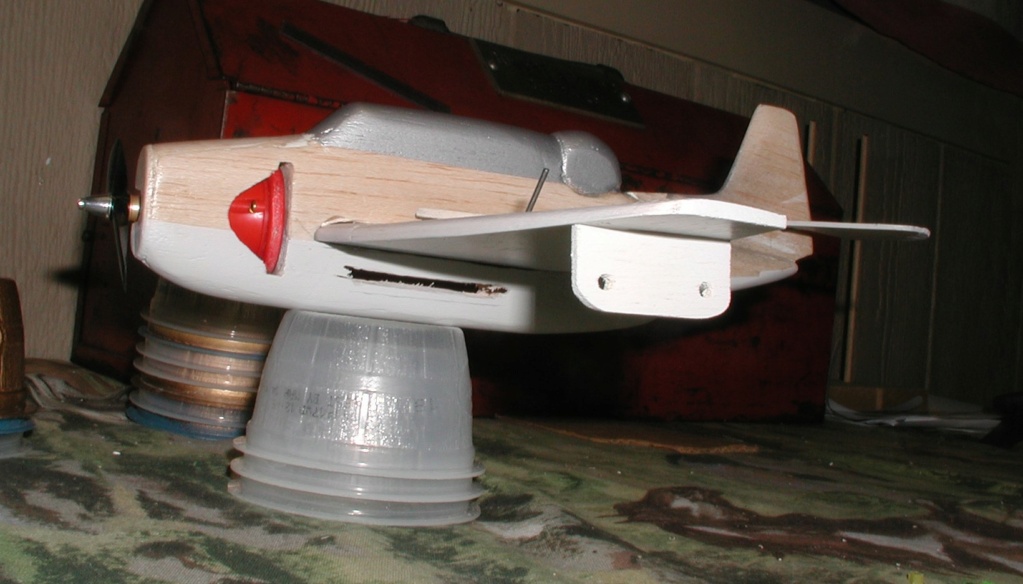
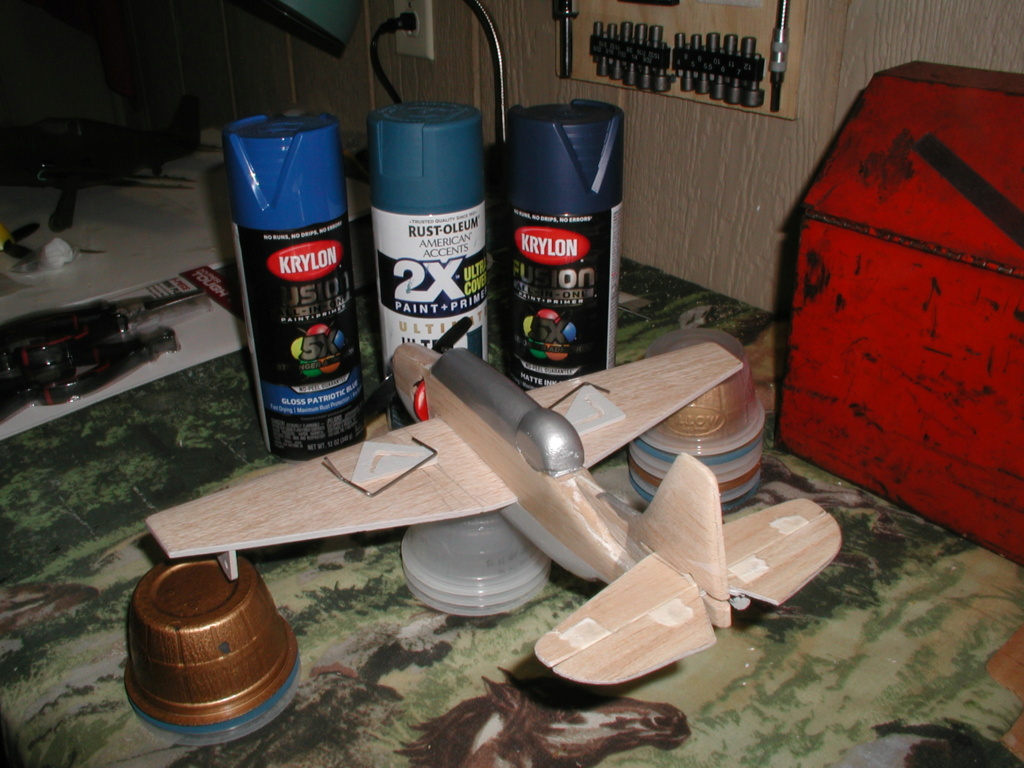
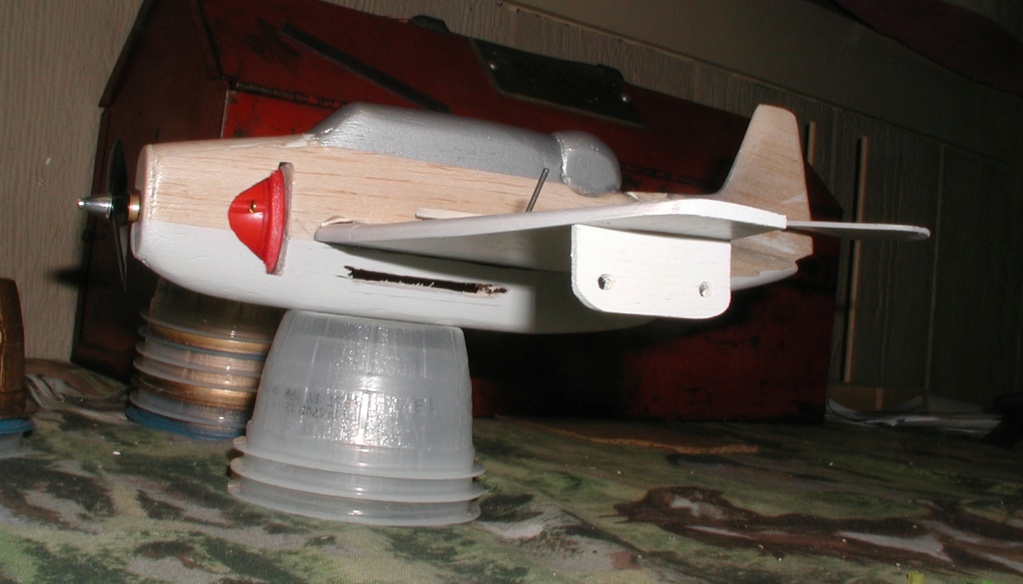
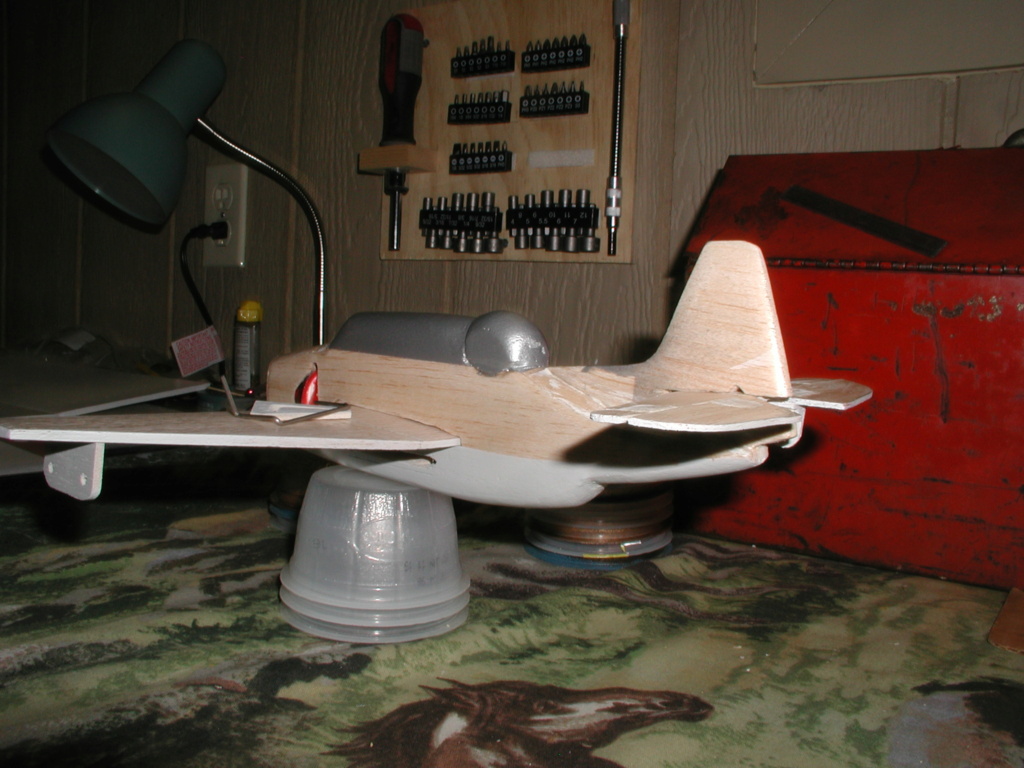
Light gray paint will get masked off wavy. Over-sized lead-out guide meets Ken's spec's for equality between guide and bell-crank position.
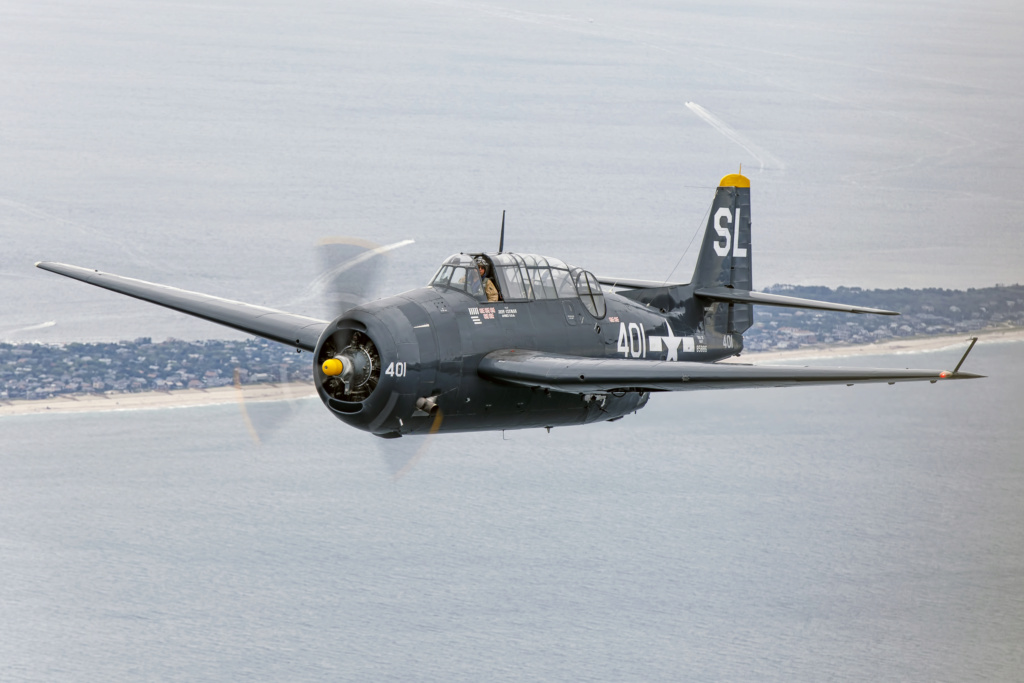
Matte ink blue is closest to Navy blue for Corsairs etc.


rsv1cox- Top Poster


Posts : 11250
Join date : 2014-08-18
Location : West Virginia
 Re: Looking for ideas. How would you repair this?
Doing a great job on the scratched out Avenger Bob…. You have a scheme for the canopy frame lines?… Love the plastic rehabs too…. Some real Cox appreciation 


rdw777- Diamond Member


Posts : 1718
Join date : 2021-03-11
Location : West Texas
 Re: Looking for ideas. How would you repair this?
rdw777 wrote:Doing a great job on the scratched out Avenger Bob…. You have a scheme for the canopy frame lines?… Love the plastic rehabs too…. Some real Cox appreciation
I'm waiting for a stencil Robert.
I don't know. I have thought of everything from magic marker to automotive pin stripes. Work in progress. It will get wheel pants, radio aerial, and pitot tube.
I have reworked the engine compartment so I can cant the engine just enough to gain the fuel filler. Going to take the engine out to the garage and run it first before I mount it. I think finger held.
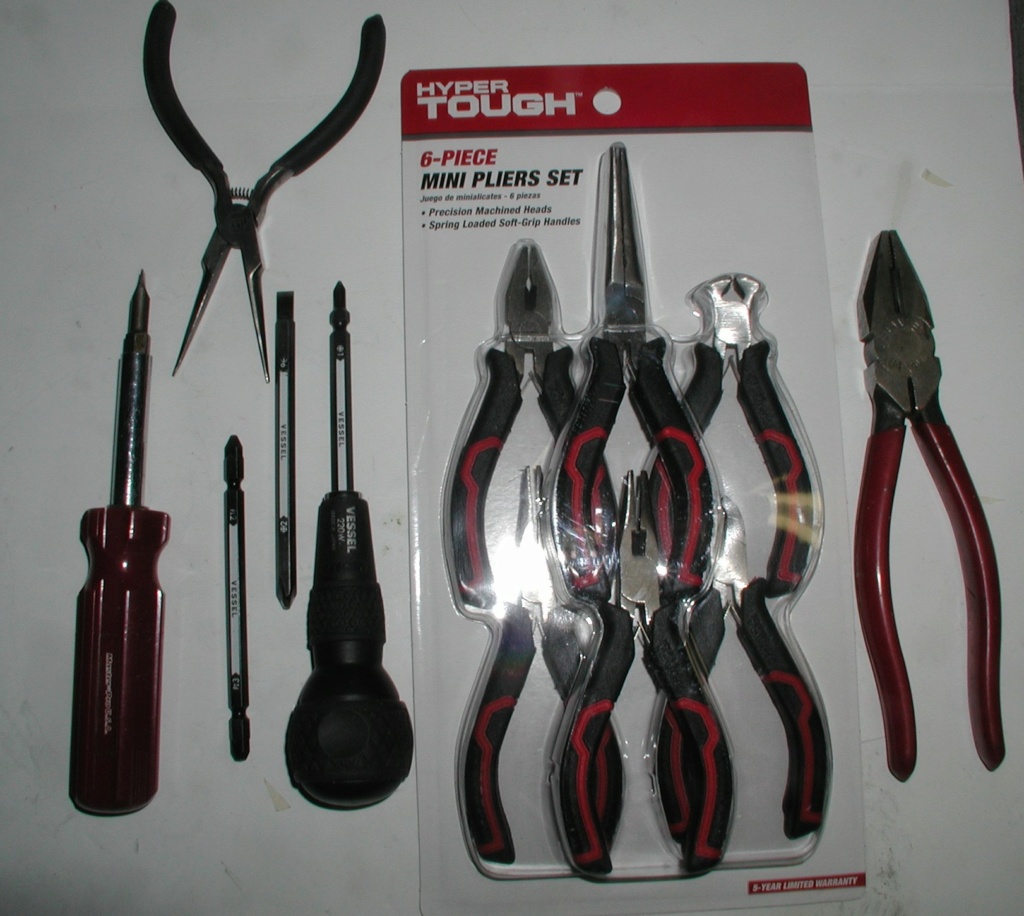
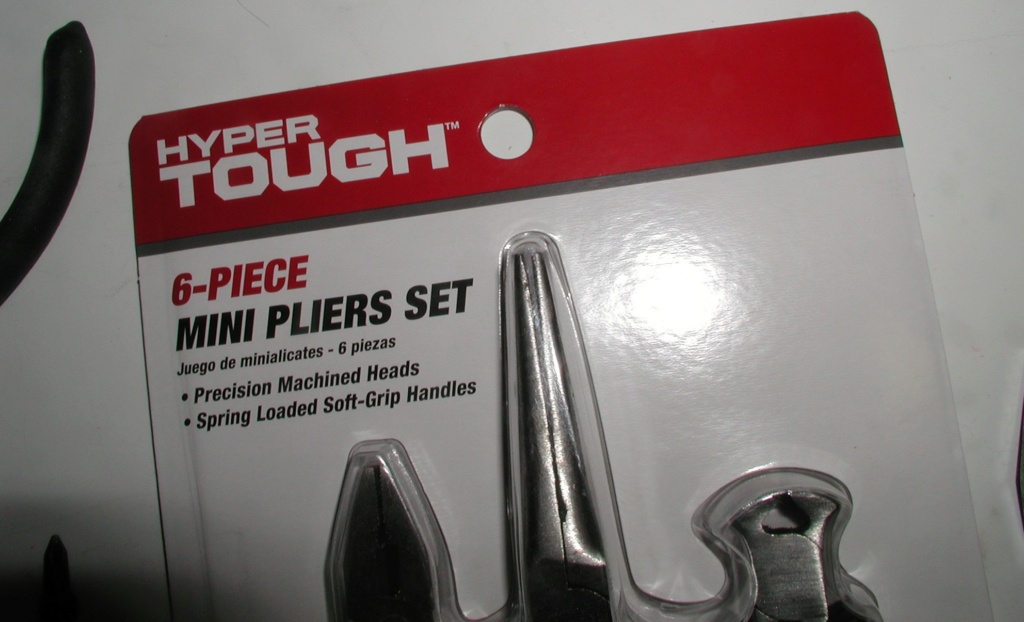
That plier set is going back unopened. Nothing worse than cheap tools. Didn't have my glasses on when I bought them. Junk when compared with my American/Japanese mades. JIS screwdriver best I have ever tried. Quality. Stanley linemans I have had for years and years, still as sharp as ever,
My tip weight.
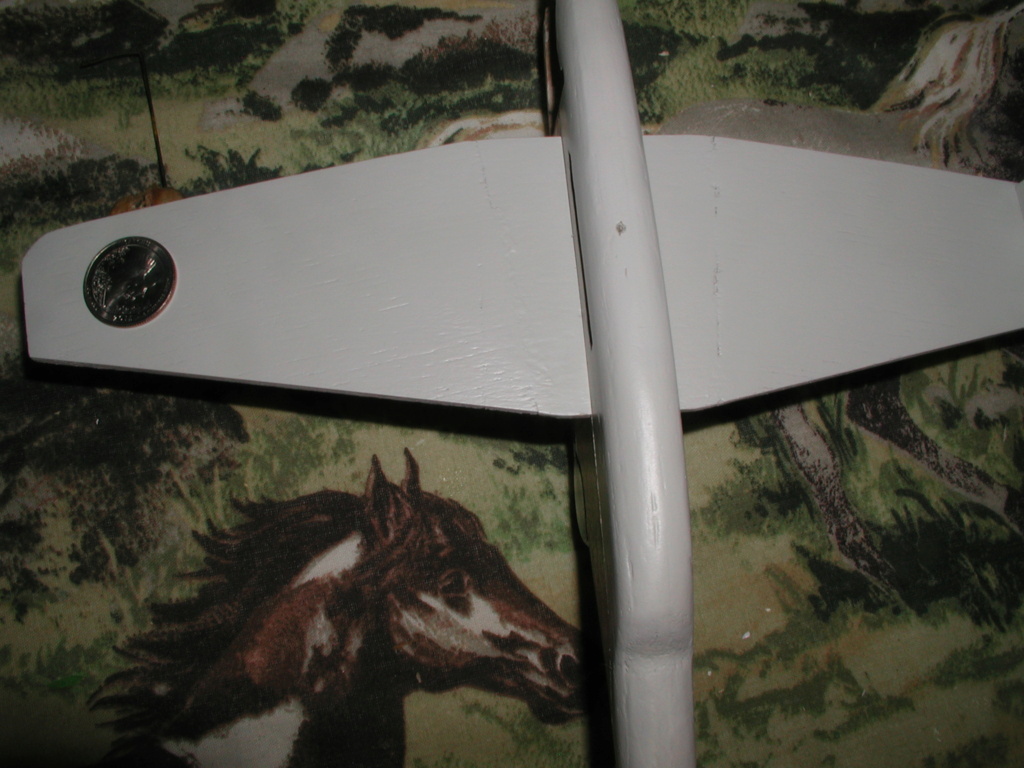
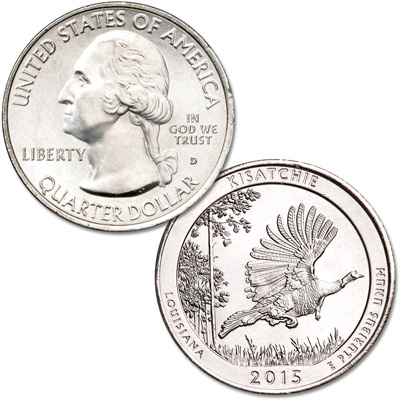
It will always be worth at least a buck and a quarter.

rsv1cox- Top Poster


Posts : 11250
Join date : 2014-08-18
Location : West Virginia
 Re: Looking for ideas. How would you repair this?
Not everyone does, But I like working with paper for trim…. Maybe some 1/16 strips of black tissue or paper with glue stick for adhesive…. Would give you a little time to position…. Course would need a good fuel proofing…
I like that five gram tip weight…. That’s what US nickels weigh usually within a few hundredths…. I made a beam scale using them from an old article in a magazine one time… Try a few on your scale…. They’re surprisingly close to 5 g… At least the older ones were
I like that five gram tip weight…. That’s what US nickels weigh usually within a few hundredths…. I made a beam scale using them from an old article in a magazine one time… Try a few on your scale…. They’re surprisingly close to 5 g… At least the older ones were

rdw777- Diamond Member


Posts : 1718
Join date : 2021-03-11
Location : West Texas
 Re: Looking for ideas. How would you repair this?
rdw777 wrote:Not everyone does, But I like working with paper for trim…. Maybe some 1/16 strips of black tissue or paper with glue stick for adhesive…. Would give you a little time to position…. Course would need a good fuel proofing…
I like that five gram tip weight…. That’s what US nickels weigh usually within a few hundredths…. I made a beam scale using them from an old article in a magazine one time… Try a few on your scale…. They’re surprisingly close to 5 g… At least the older ones were
I always worry about paint migration. Looked at Walmart this morning, $17 for a small roll of clear edge tape.. Gets to a point where I refuse to pay these prices.
If I hung the silver version on it might be worth a bit more, but maybe a trifle right wing heavy.
https://www.ebay.com/itm/115310488526?mkevt=1&mkcid=1&mkrid=711-53200-19255-0&campid=5338904992&customid=US_CoinsAndPaperMoney&toolid=10050

rsv1cox- Top Poster


Posts : 11250
Join date : 2014-08-18
Location : West Virginia
 Re: Looking for ideas. How would you repair this?
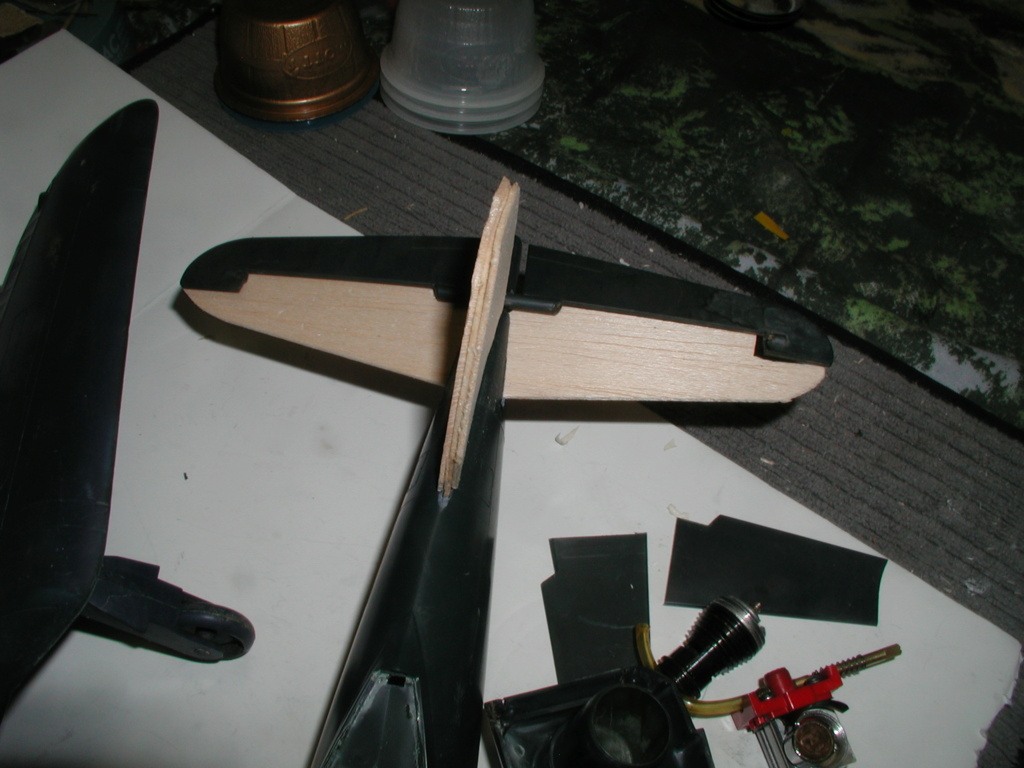
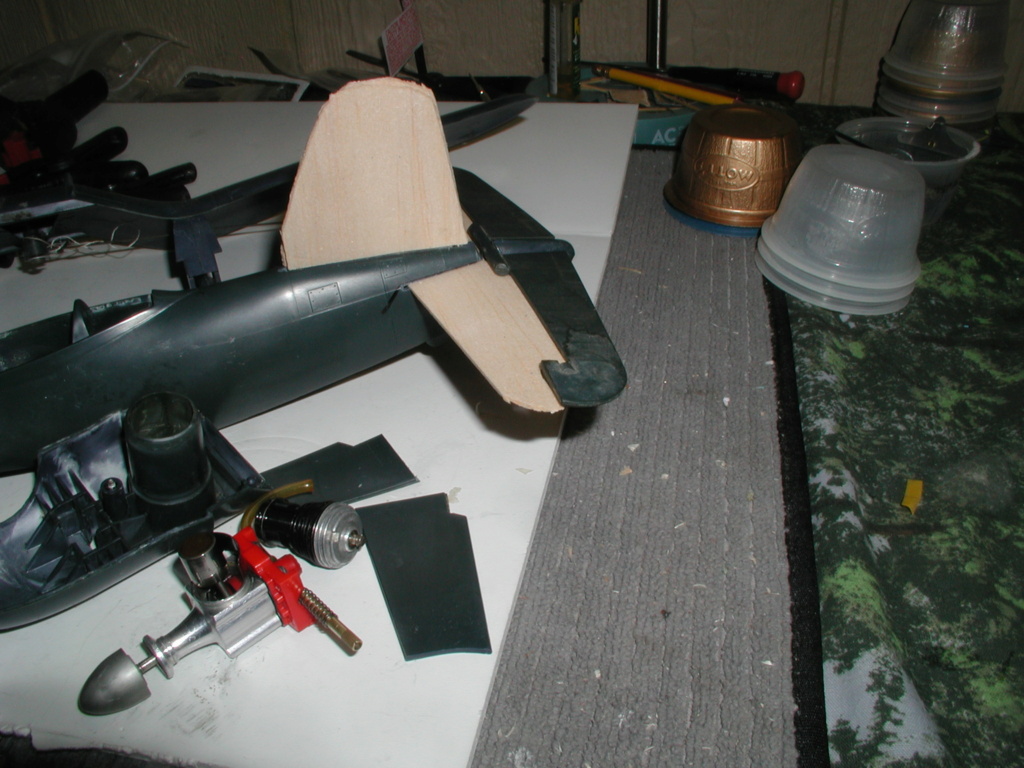
Well, it did'nt take me long to realize that the graft technique wasn't going to work. Quickly did a little surgery.
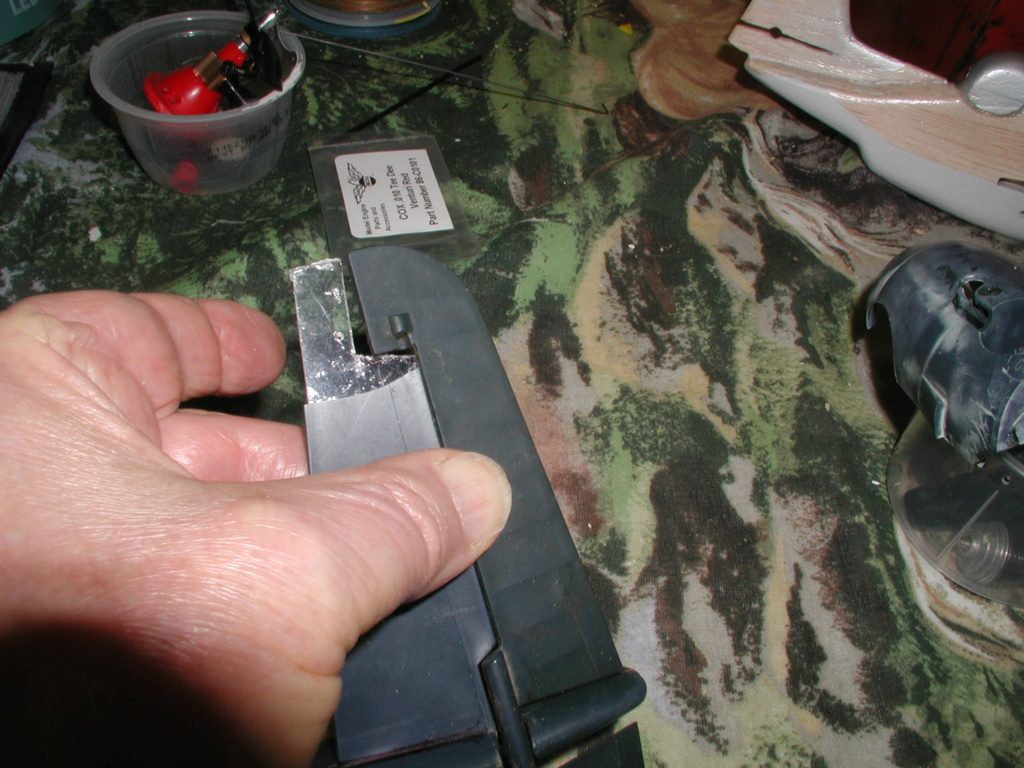

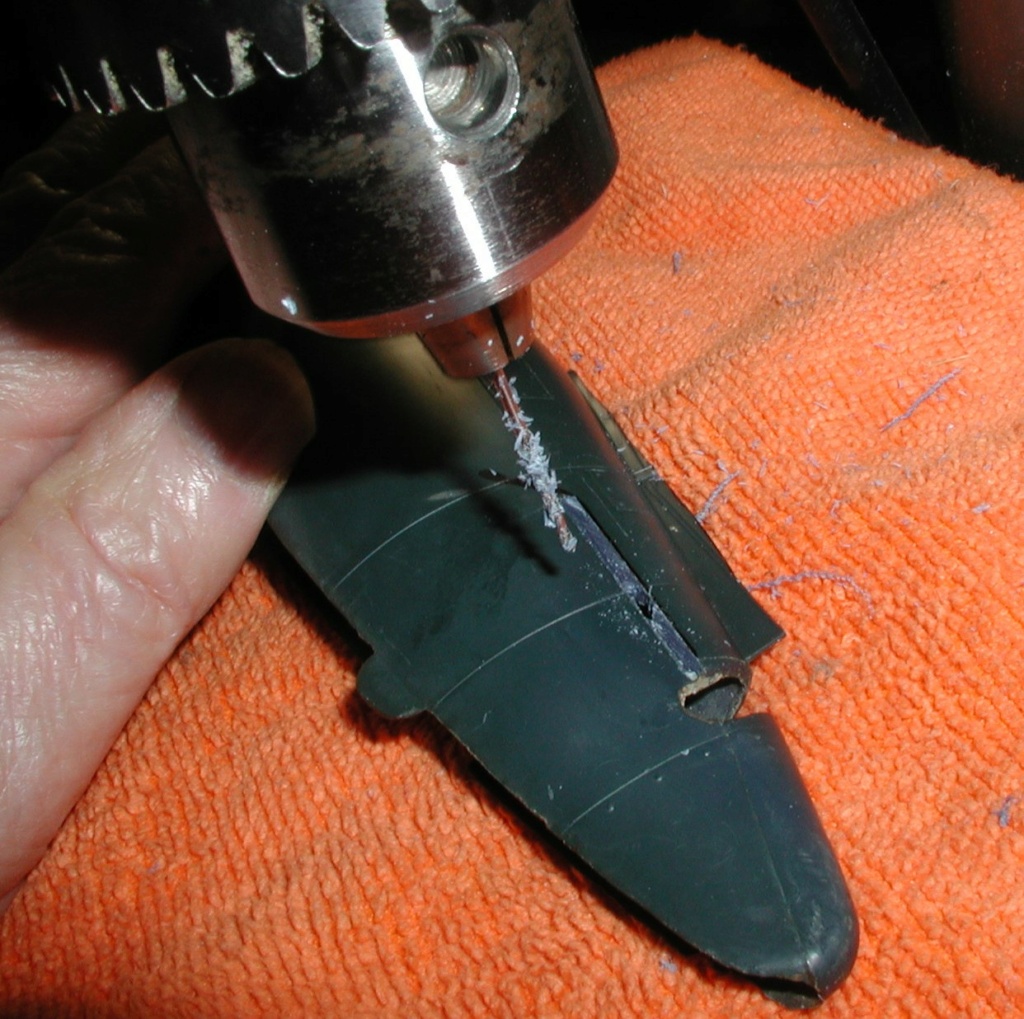
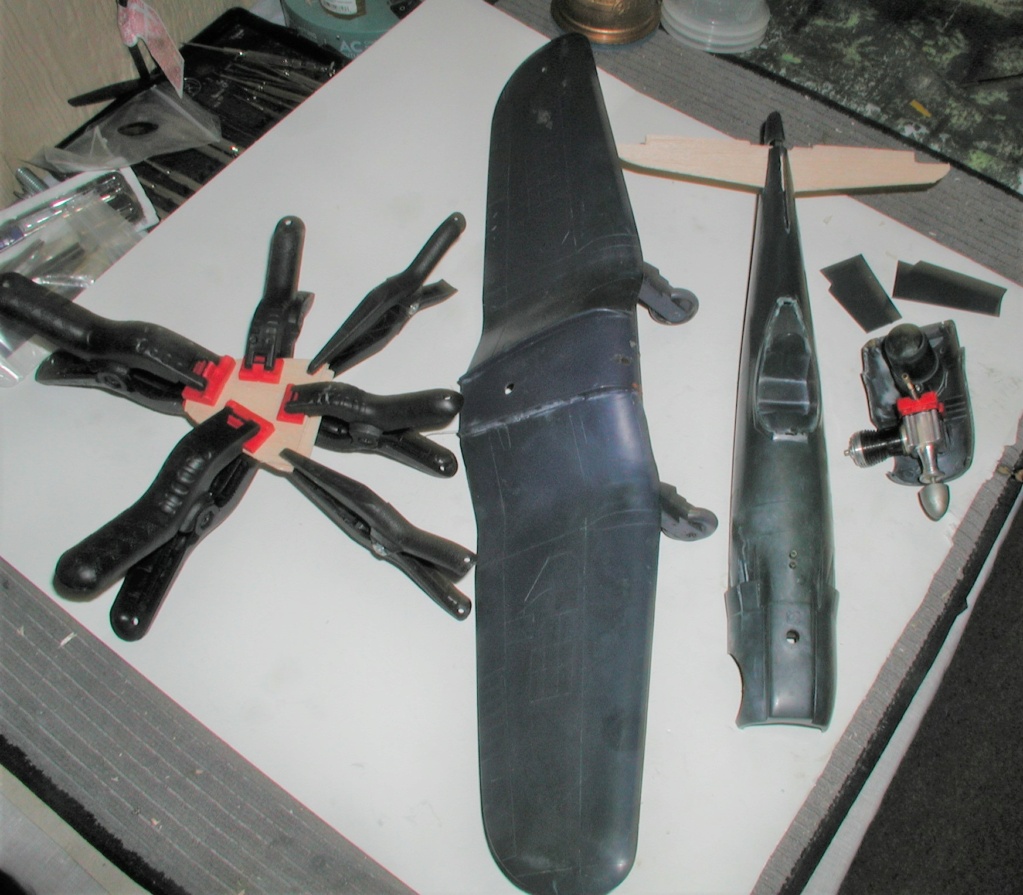
Also did a little engine work. This is a beautiful engine, like the P-51 perhaps the best used engine that I have seen. Beautiful cylinder, beautiful reed, beautiful piston, beautiful needle.
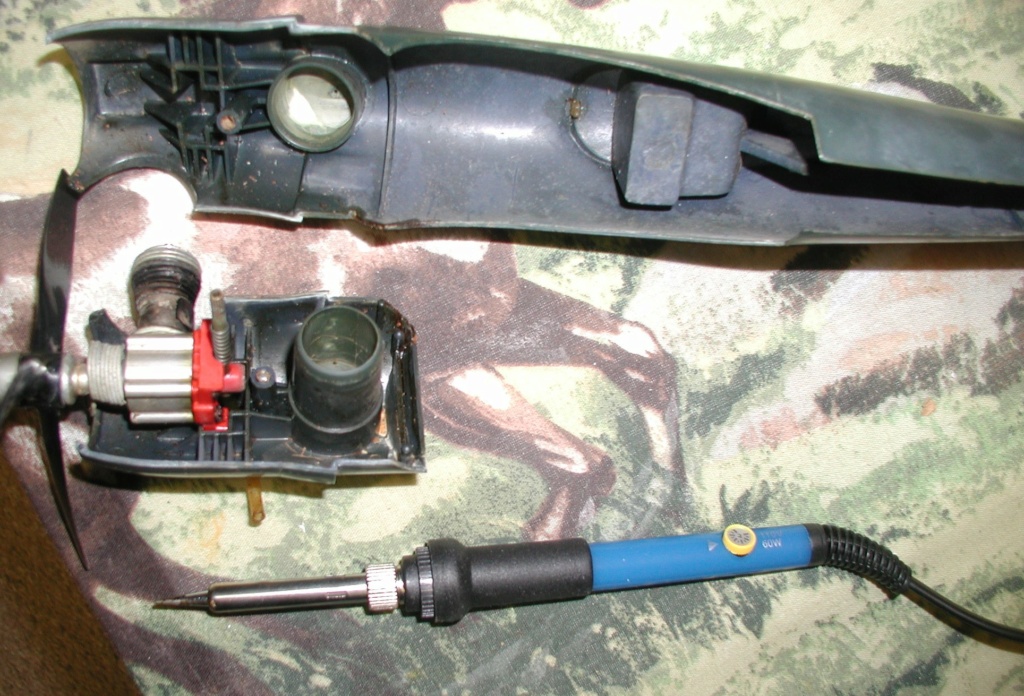
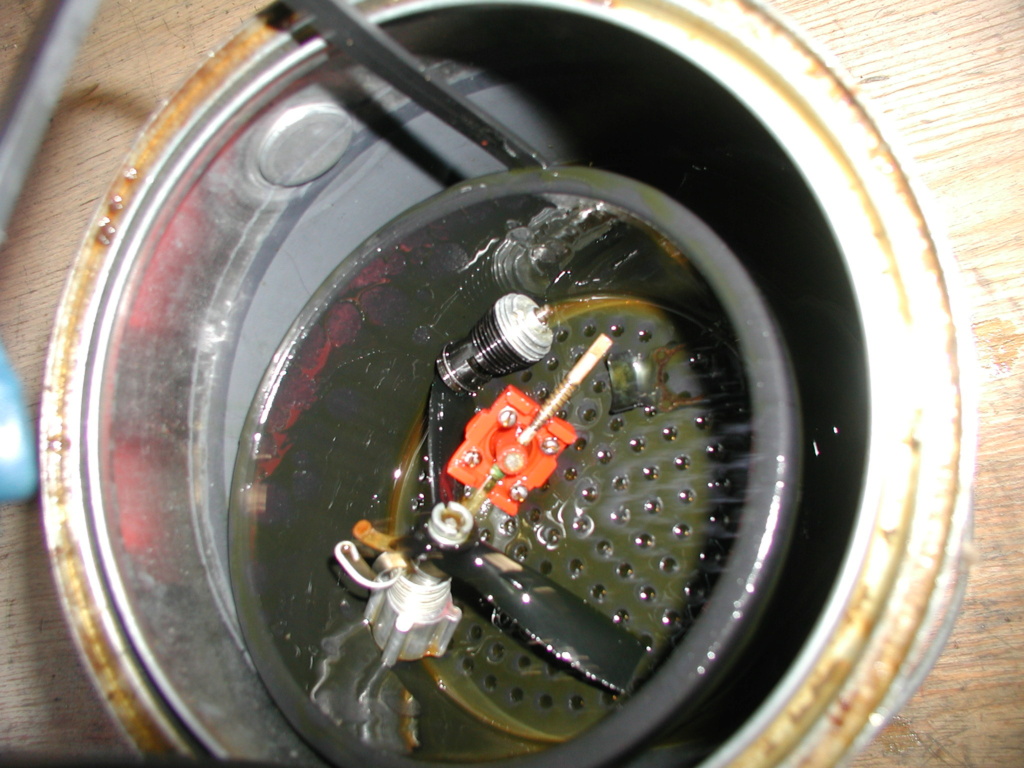
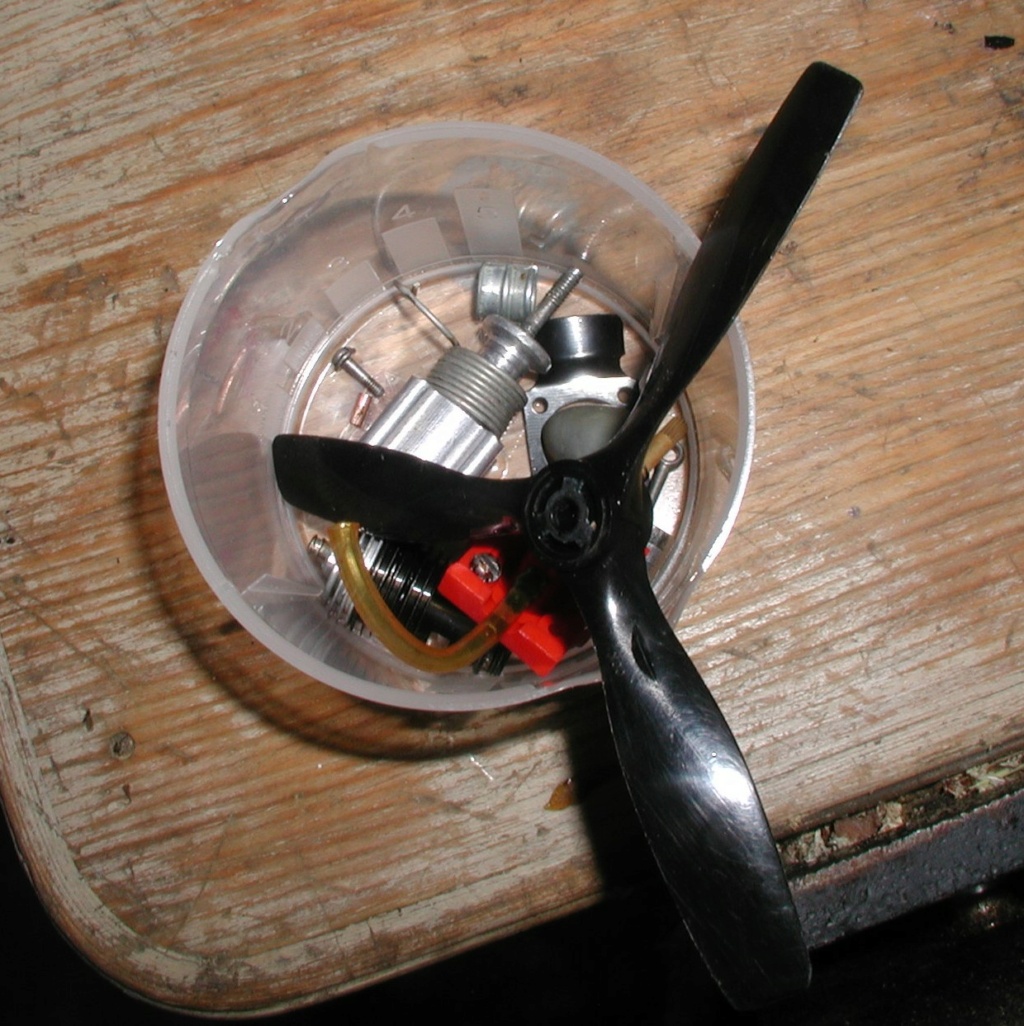
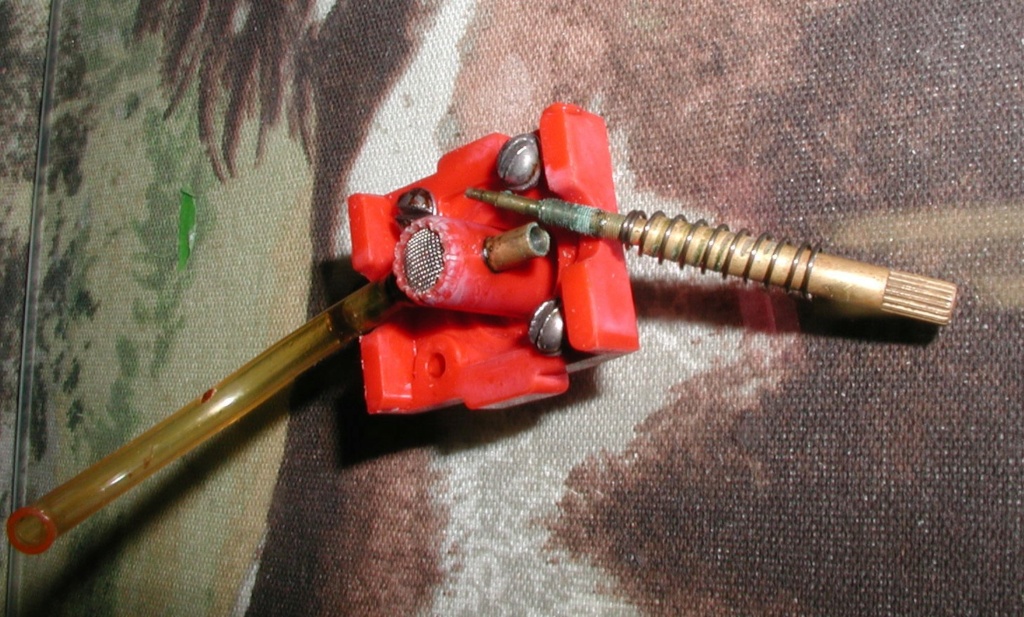

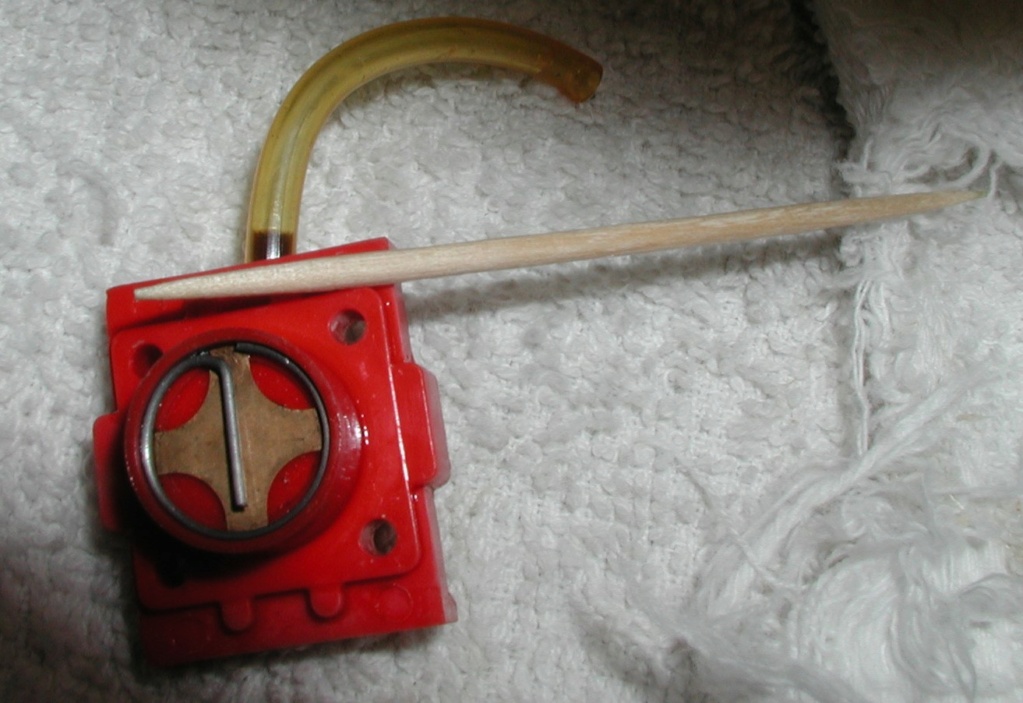
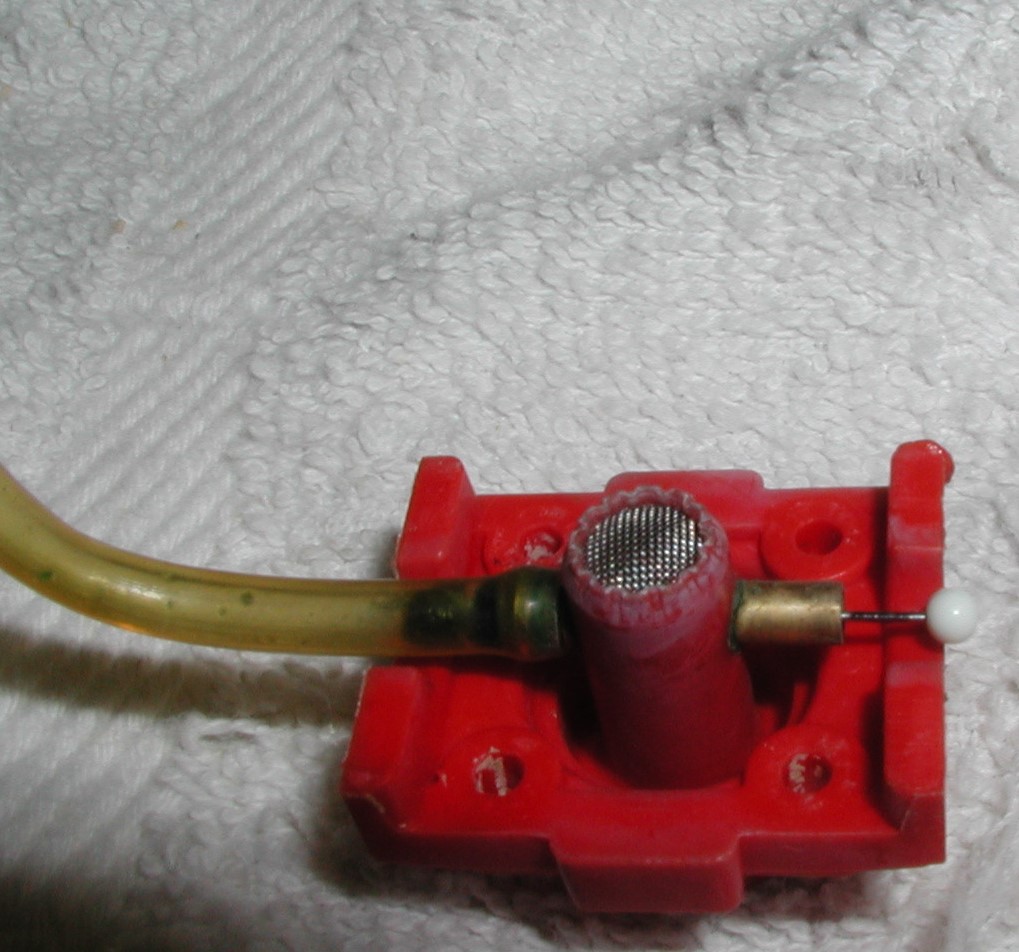
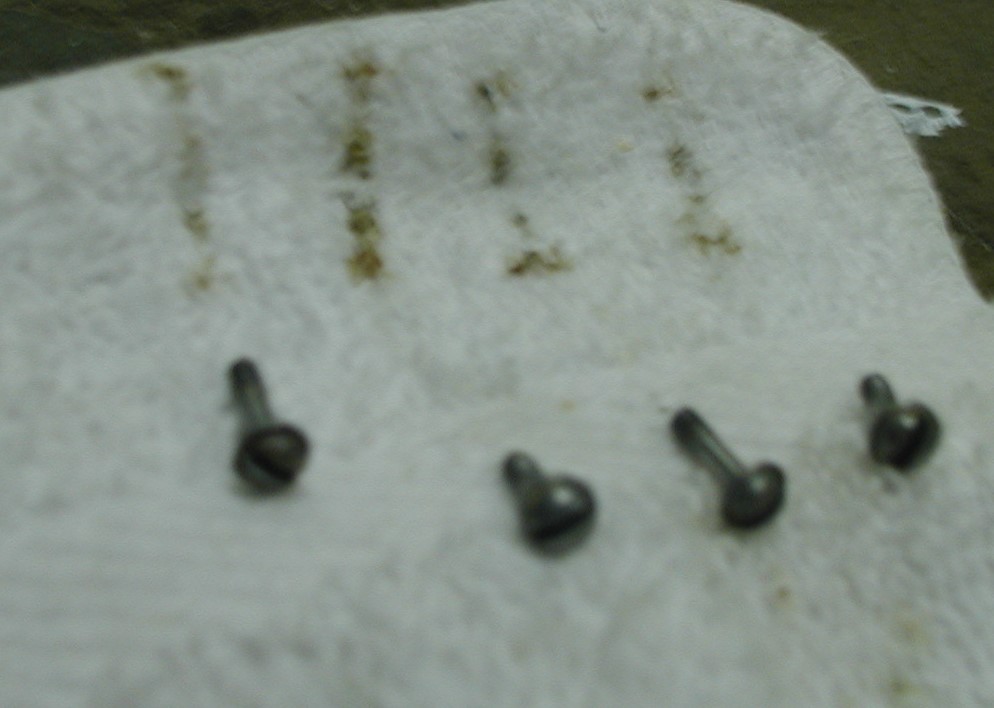

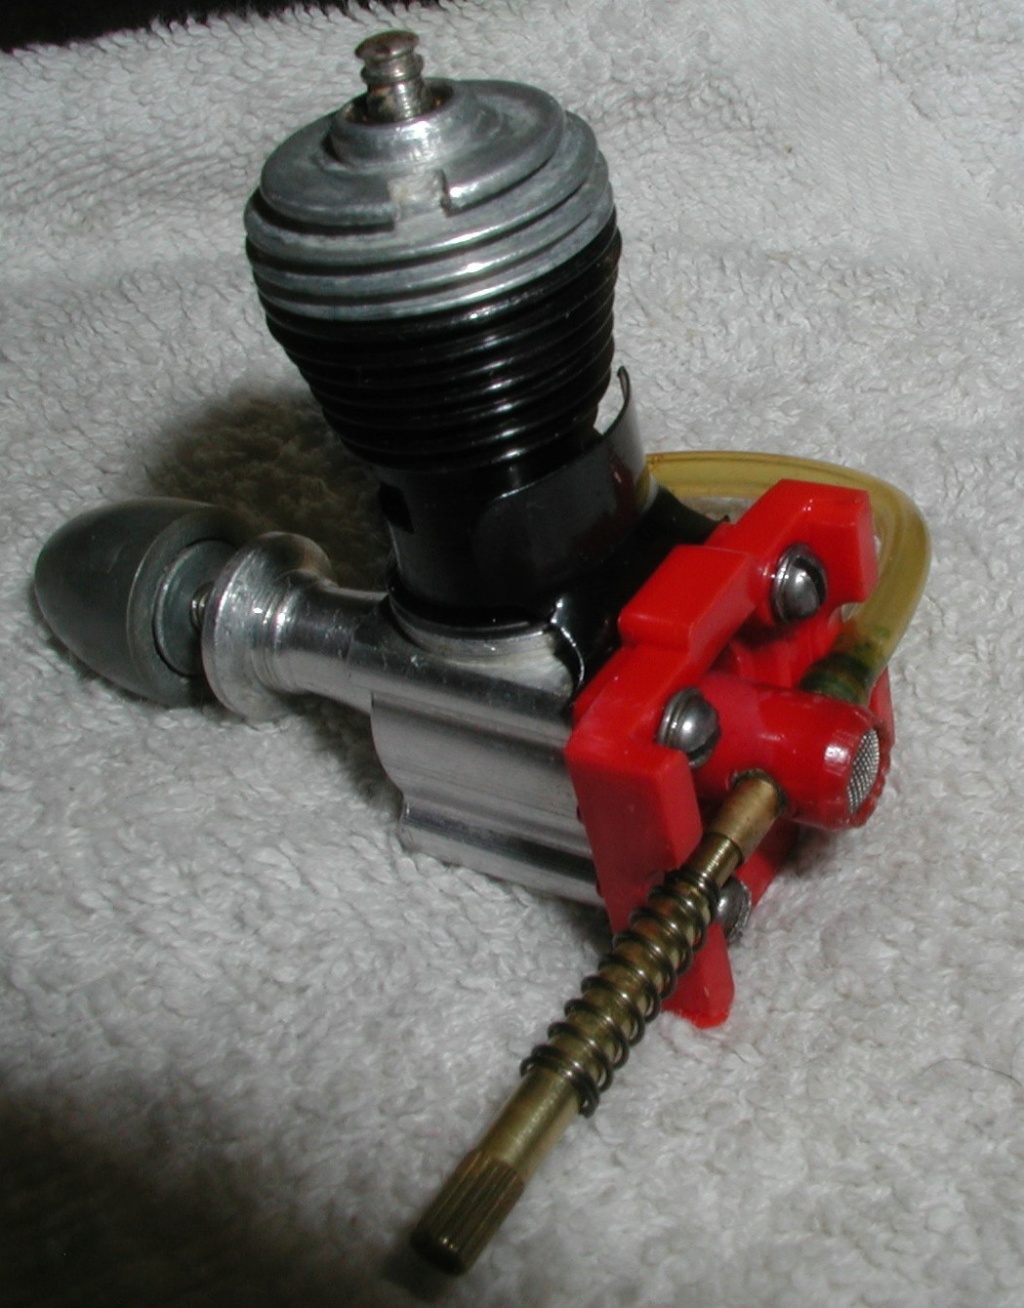
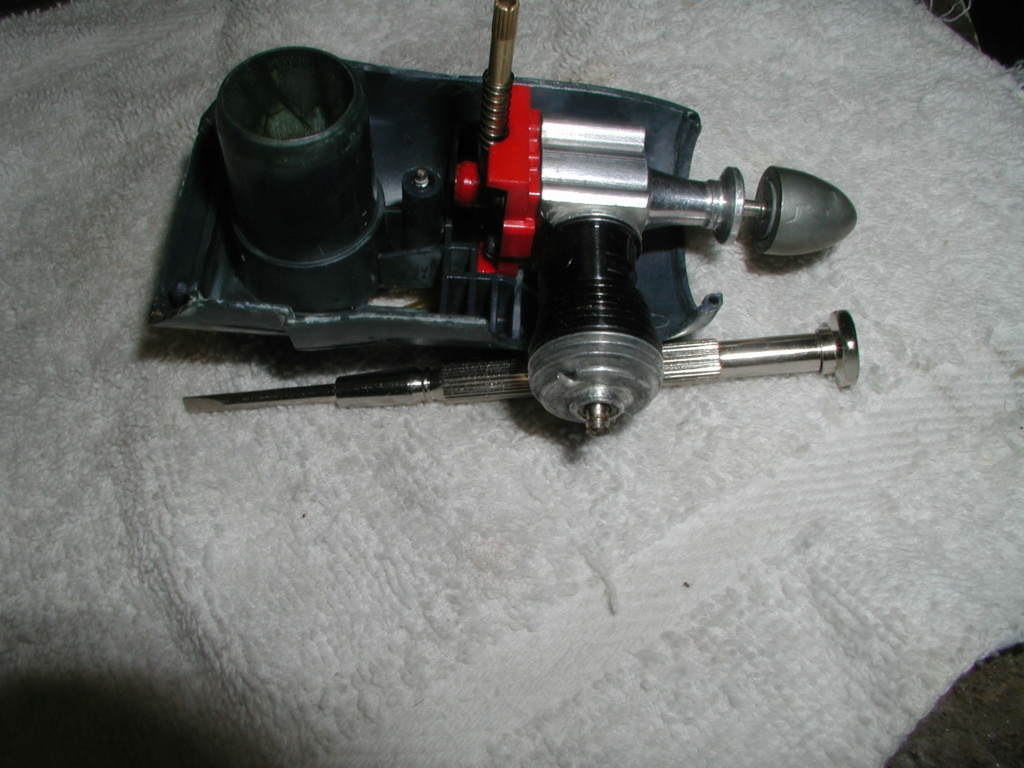
Might have over-done the picture thing a bit.


Also did a little engine work. This is a beautiful engine, like the P-51 perhaps the best used engine that I have seen. Beautiful cylinder, beautiful reed, beautiful piston, beautiful needle.


Might have over-done the picture thing a bit.

rsv1cox- Top Poster


Posts : 11250
Join date : 2014-08-18
Location : West Virginia
 Re: Looking for ideas. How would you repair this?
Bob, no, you did not overdo with those pics, I for one like this kind of eye candy diet..judging by its looks on the photos, you have a very slightly used, beautiful red postage backplate reedie, born in the early to mid-60's, with old stock thin wall cylinder that I bet has tapered bore..long NV and tapered crankcase nose..apparently intact and unused beryllium reed valve...the lack of black nylon seal on the spraybar threaded end testifies to it being one of the first production runs of the red postage backplate reedies..the best and highest quality vintage COX reedie one can possibly wish to own, referred to as the 290 engine in the COX Model Engine handbook of Dan Sitter..can you please check the taper bore for my curiosity? Of course if already assembled and the glowhead is tight, disregard my request..A jackpot engine, if the cylinder is stamped No.1 then the icing on the cake is the dual bypass port...I have this critter on my Quickie100 that if you remember my flight video posted here spins the prop beyond 28k when unloading in the air...a real beast of burden, my favorite reedie, congrats..and way to go with the P51 restoration, these goodies have found the best home to be cared for and to recover their glory.
Ironically, for us the best thing that happened to these production engines was that they wound up in a irreparably broken COX plane maybe after the first few flights, then retired, otherwise only slightly used, in the attics or garage of the first owner after the crash as valueless junk, resurfacing now decades later, with the excellent, COX-heyday manufacturing tolerance inherent to it, as a time capsule for us present-day COX engine enthusiasts.
I am hunting for these slightly used old stock 290-s, and strangely, found a few with several UK ebayers, and bought each at a bargain price 15+£, plus shipping..
Last edited by balogh on Thu Nov 03, 2022 6:37 pm; edited 1 time in total

balogh- Top Poster


Posts : 4958
Join date : 2011-11-06
Age : 66
Location : Budapest Hungary
 Re: Looking for ideas. How would you repair this?
balogh wrote:Bob, no, you did not overdo with those pics, I for one like this kind of eye candy diet..judging by its looks on the photos, you have a very slightly used, beautiful red postage backplate reedie, born in the early to mid-60's, with old stock thin wall cylinder that I bet has tapered bore..long NV and tapered crankcase nose..apparently intact and unused beryllium reed valve...the lack of black nylon seal on the spraybar threaded end testifies to it being one of the first production runs of the red postage backplate reedies..the best and highest quality vintage COX reedie one can possibly wish to own..can you please check the taper bore for my curiosity? Of course if already assembled and the glowhead is tight, disregard my request..A jackpot engine, if the cylinder is stamped No.1 then the icing on the cake is the dual bypass port...I have this critter on my Quickie100 that if you remember my flight video posted here spins the prop beyond 28k when unloading in the air...a real beast of burden, my favorite reedie, congrats..and way to go with the P51 restoration, these goodies have found the best home to be cared for and to recover their glory.
Ironically, for us the best thing that happened to these production engines was that they wound up in a irreparably broken COX plane maybe after the first few flights, that retired, otherwise only slightly used, in the attics or garage if the first owner after the crash as valueless junk, resurfacing now decades later, with the excellent manufacturing tolerance retained as a time capsule for us COX engine enthusiasts.
Thanks Andras, when I was typing (above -beautiful this and that I thought I'm beginning to sound like Andras.
No problem, I had not screwed the cylinder down tight. I wanted to see if it had a "W" element (Rene) anyway.
The glow head is good, checks on a meter but no tell-tale "W" bump. Yes, stamped 1, dual bypass, tapered.............beautiful.
The P-51 razorback from the same seller, the same way. Engine near new but the airframe had much less damage. Got a couple of sets of decals from the UK. The best that I have found. Water slides.
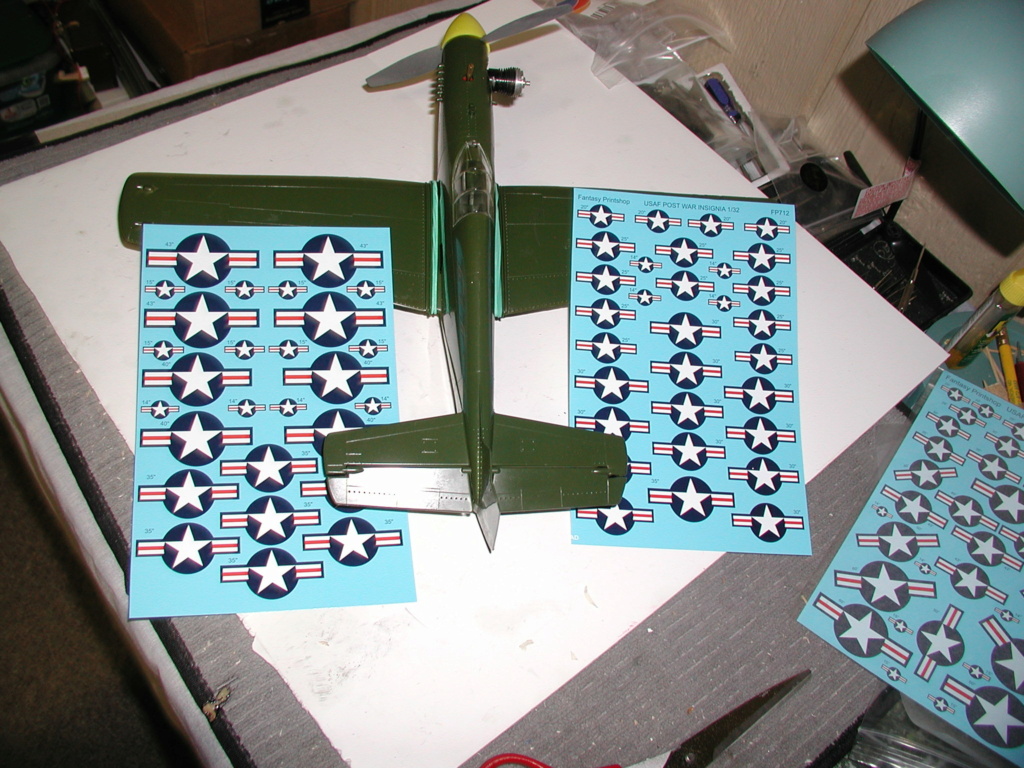
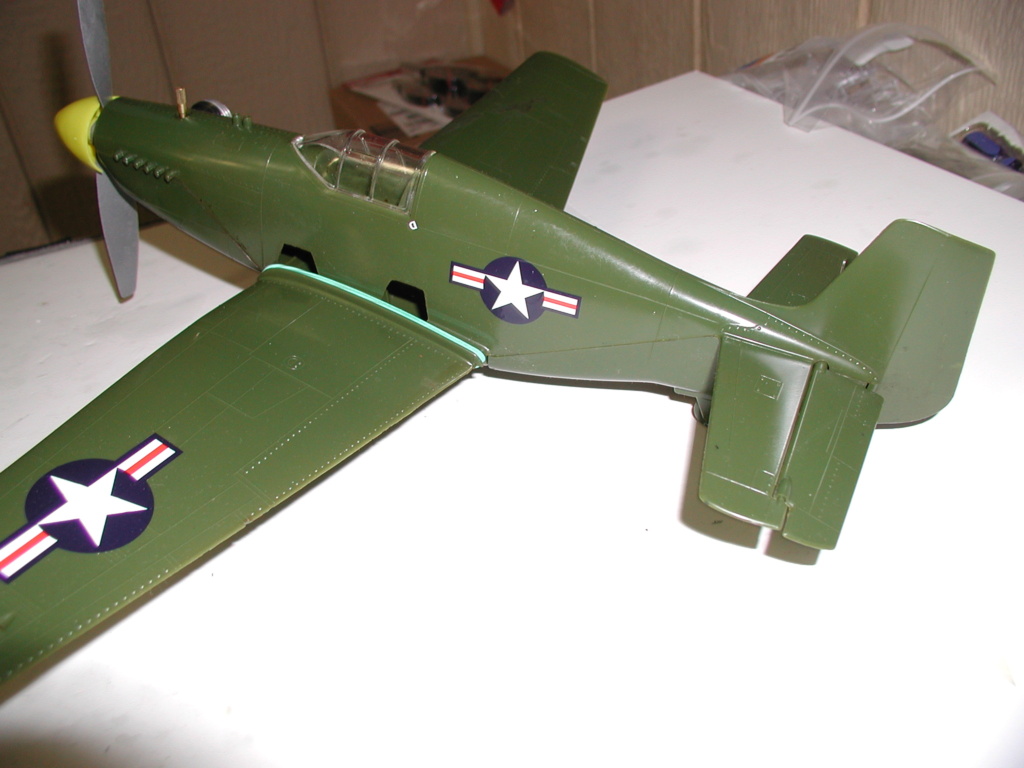
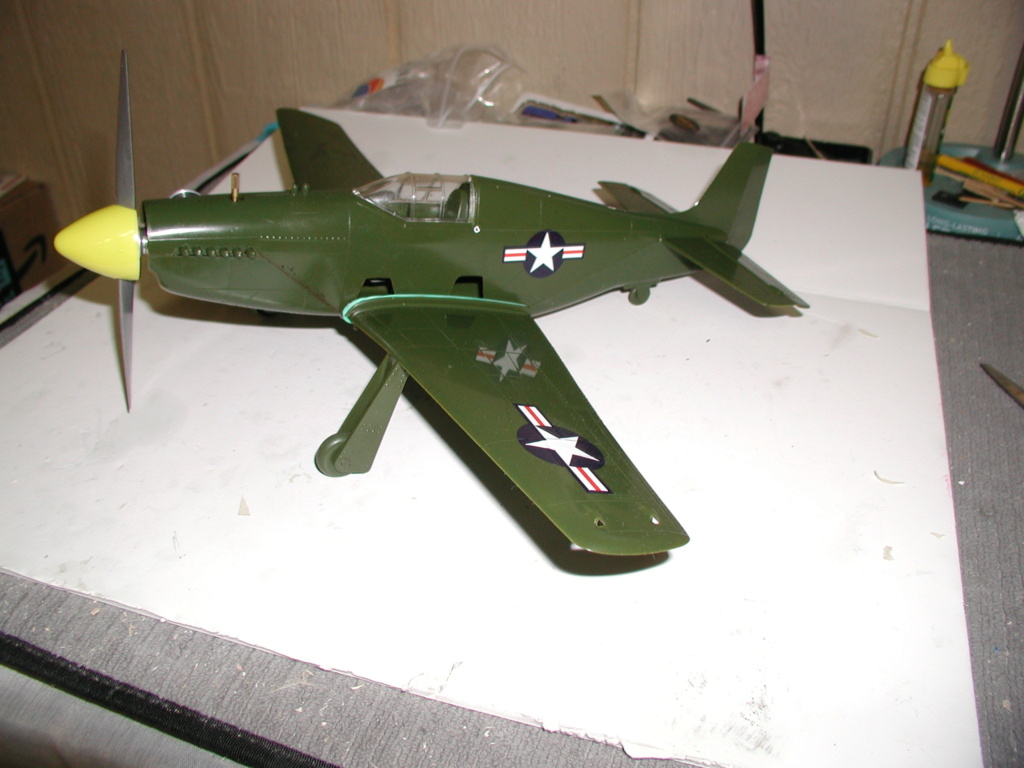
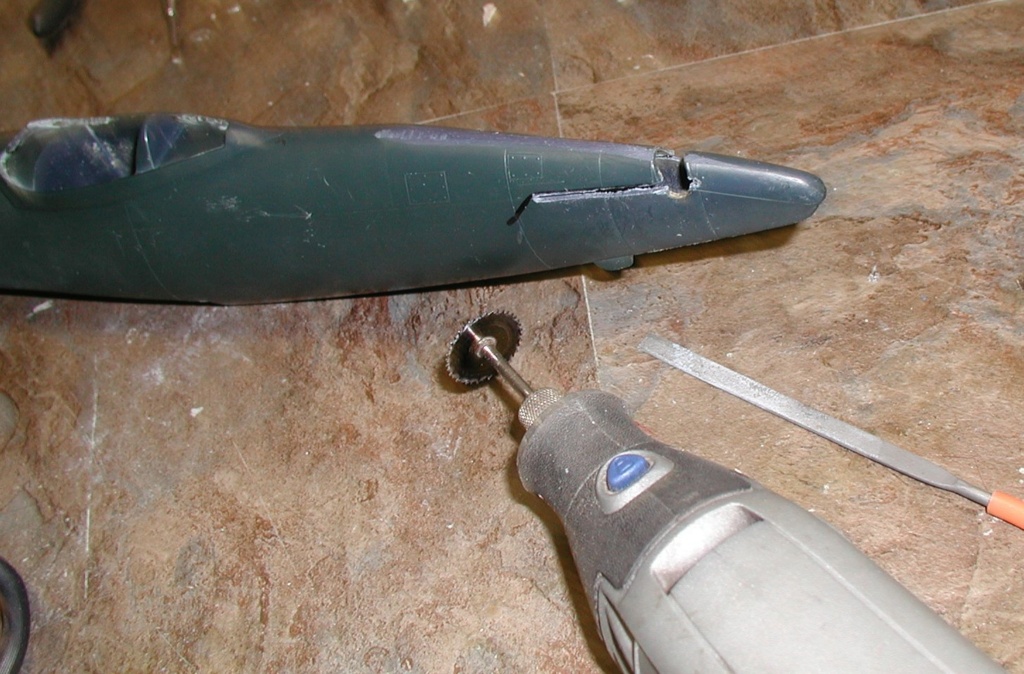
Dremel with a saw blade made short work for cutting the slots. Vertical stab was airfoiled, so I sandwiched 1/16" balsa on a center piece that extendinds down through the slot to cement to the horizontal stab. Final sanding and shaping to follow.


rsv1cox- Top Poster


Posts : 11250
Join date : 2014-08-18
Location : West Virginia
 Re: Looking for ideas. How would you repair this?
This engine, judging by the look of the piston, must have retired short of getting even broken in...what a jackpot hit, Bob!!
The vertical and horizontal stabs glued together make the tail section very strong..if you recall my recently built Tigercat, that adopts the same design.
My, my...what a BEAUTIFUL P51 too! (This is my best go-to adjective in my humble vocabulary to describe whatever old stock COX stuff I see )
)
The vertical and horizontal stabs glued together make the tail section very strong..if you recall my recently built Tigercat, that adopts the same design.
My, my...what a BEAUTIFUL P51 too! (This is my best go-to adjective in my humble vocabulary to describe whatever old stock COX stuff I see

balogh- Top Poster


Posts : 4958
Join date : 2011-11-06
Age : 66
Location : Budapest Hungary
 Re: Looking for ideas. How would you repair this?
This is interesting.
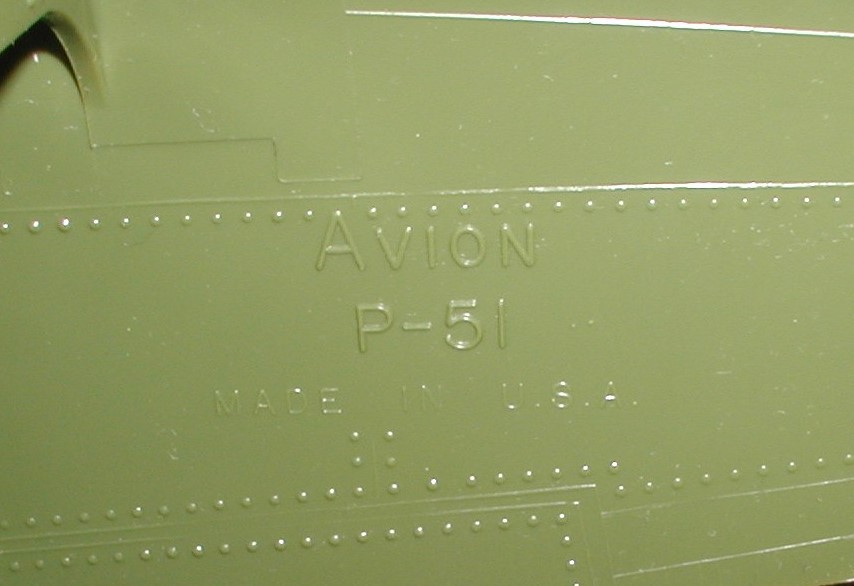
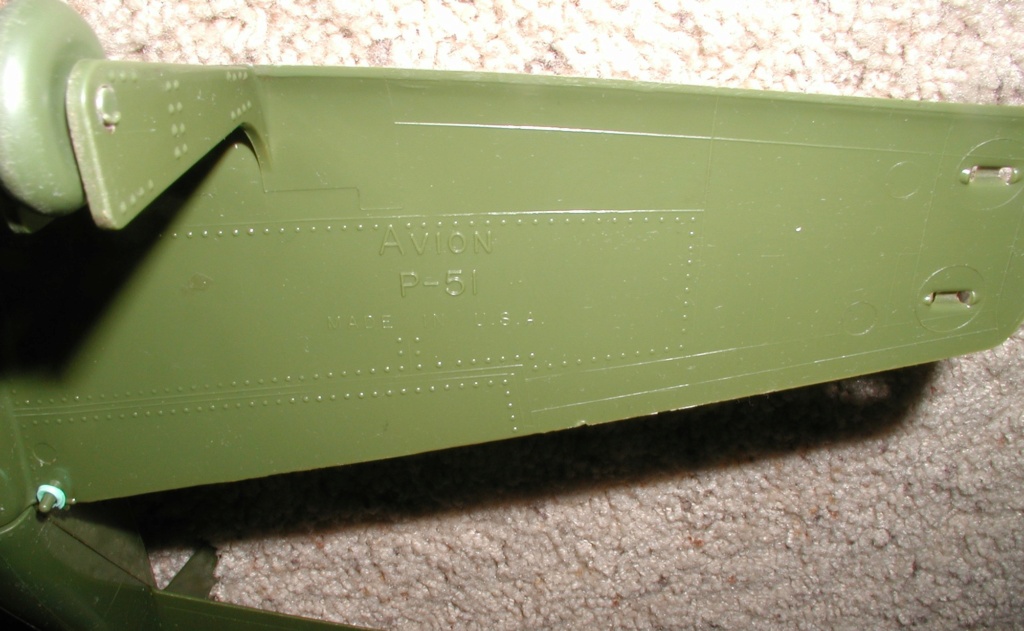
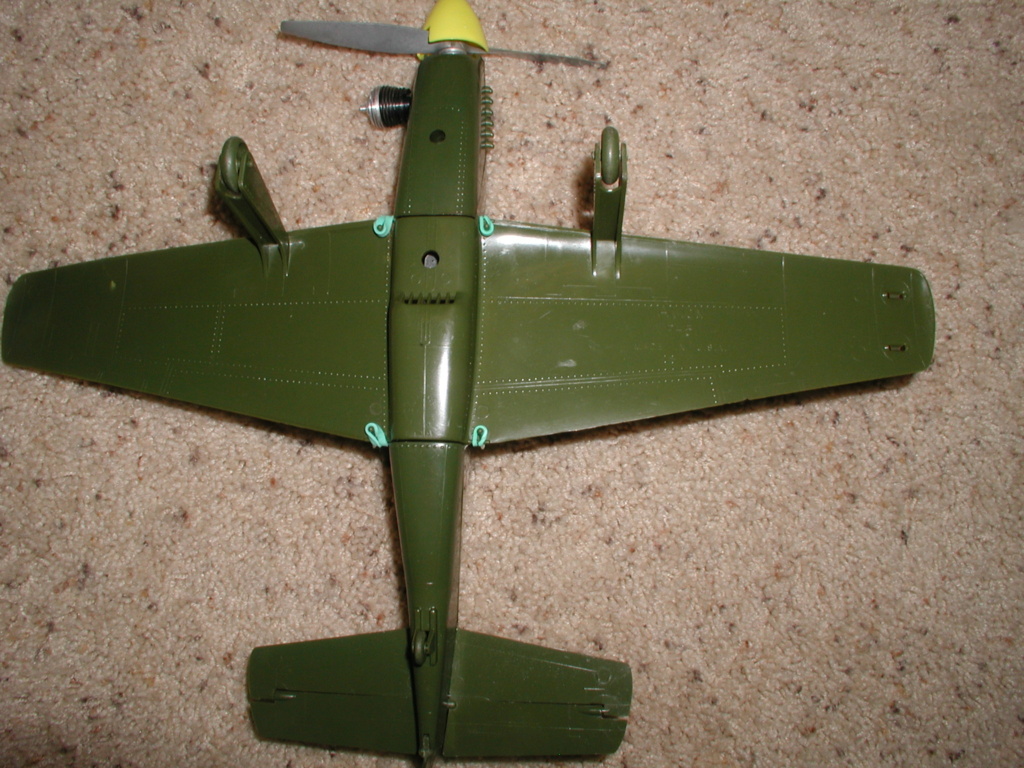
I noticed it in the sellers ad and again when I cleaned it up but it didn't sink in. More info here:
https://www.coxengineforum.com/t14433-what-is-cox-avion
Mudhen scrubbed all of his comments when he departed the forum, but Happydad referanced them. Mud mentioned the the engine was a single bipass, but rest assured, it's a dual bypass engine.
Spook engine?
Original ebay ad can be found here:
https://www.ebay.com/itm/275495361615

rsv1cox- Top Poster


Posts : 11250
Join date : 2014-08-18
Location : West Virginia
 Re: Looking for ideas. How would you repair this?
rsv1cox wrote:....Mud mentioned the the engine was a single bipass, but rest assured, it's a dual bypass engine.
....
Bob, the COX parts Catalogue says the P51 and the Corsair had the same COX 290 engine, which is your dual bypass gem...see pages 4 and 17 in the link below
https://60d46b49-a-62cb3a1a-s-sites.googlegroups.com/site/coxengineid/Cox%201970%20Parts%20Catalog.PDF?attachauth=ANoY7cqebNlIYBF40OwA9I2VgRWhJ1U1axEkKeqw7cs8vF9DlkEsniA5tvmpdQBZgSYisnCPnhZctOcgkVvxzZnzFXbkdXm2jpgaMShpyNSsCraEnKZmraOq8W-1LUCW3Mib8fnDxdDQvm7Oo11oskSU9MnyQC4GCLoVVKOXnYZdZgp0u0obKwMzZCVmLLTb7lDJAybnc_faOwVQebetr8jIWQJ9NLZrU-XLXHFHe5lpbnpnLe36dI4%3D&attredirects=0

balogh- Top Poster


Posts : 4958
Join date : 2011-11-06
Age : 66
Location : Budapest Hungary
 Re: Looking for ideas. How would you repair this?
Mudhen wrote:
The engine is the "Avion 190." It was the first non-integral tank product engine used in the Shinn 2150A.
Confusing Andras, it's definately a 290 engine, but who made the airframe, Cox or Avion?
The engine is the "Avion 190." It was the first non-integral tank product engine used in the Shinn 2150A.
Confusing Andras, it's definately a 290 engine, but who made the airframe, Cox or Avion?

rsv1cox- Top Poster


Posts : 11250
Join date : 2014-08-18
Location : West Virginia
 Similar topics
» Out of ideas - Help :(
» McCutchen Wing AKA Charibdis
» "Winterizing" ideas
» Sanding ideas..add yours too please
» All-Star Biplane for .020
» McCutchen Wing AKA Charibdis
» "Winterizing" ideas
» Sanding ideas..add yours too please
» All-Star Biplane for .020
Page 1 of 1
Permissions in this forum:
You cannot reply to topics in this forum

 Rules
Rules


