Log in
Search
Latest topics
» Tee Dee .020 combat modelby Ken Cook Today at 3:23 am
» My latest doodle...
by batjac Yesterday at 9:47 pm
» My N-1R build log
by roddie Yesterday at 8:50 pm
» Free Flight Radio Assist
by rdw777 Yesterday at 4:51 pm
» Purchased the last of any bult engines from Ken Enya
by getback Yesterday at 12:05 pm
» Funny what you find when you go looking
by rsv1cox Wed Nov 20, 2024 3:21 pm
» Landing-gear tips
by 1975 control line guy Wed Nov 20, 2024 8:17 am
» Cox NaBOO - Just in time for Halloween
by rsv1cox Tue Nov 19, 2024 6:35 pm
» Canada Post strike - We are still shipping :)
by Cox International Tue Nov 19, 2024 12:01 pm
» Duende V model from RC Model magazine 1983.
by getback Tue Nov 19, 2024 6:08 am
» My current avatar photo
by roddie Mon Nov 18, 2024 9:05 pm
» Brushless motors?
by rsv1cox Sun Nov 17, 2024 6:40 pm
Cox Engine of The Month
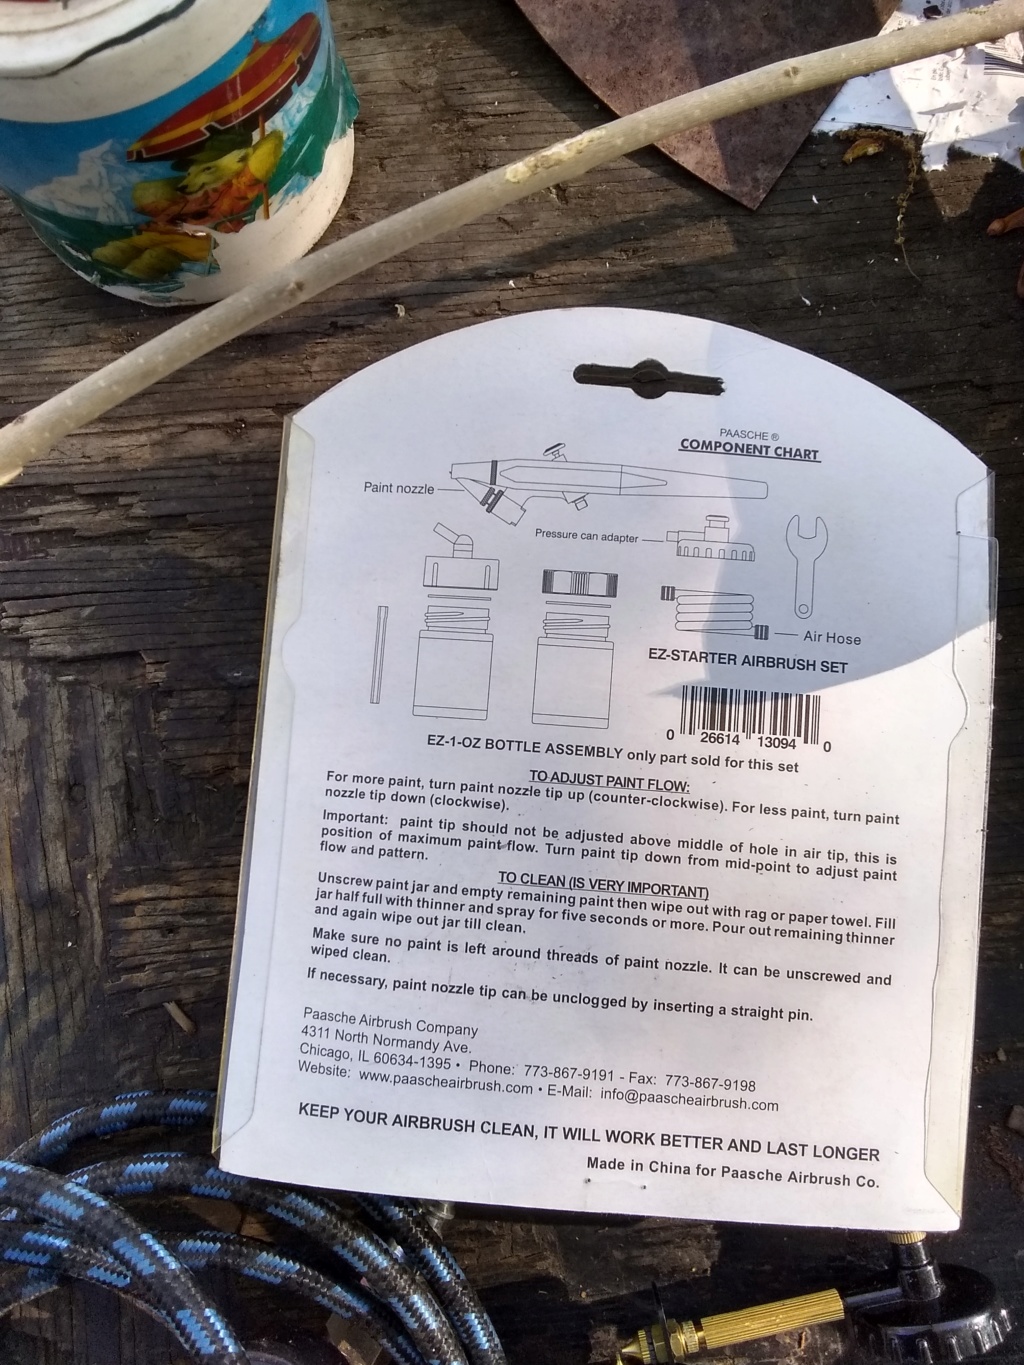
Airbrush setup
Page 2 of 2
Page 2 of 2 •  1, 2
1, 2

getback- Top Poster


Posts : 10439
Join date : 2013-01-18
Age : 67
Location : julian , NC
 Re: Airbrush setup
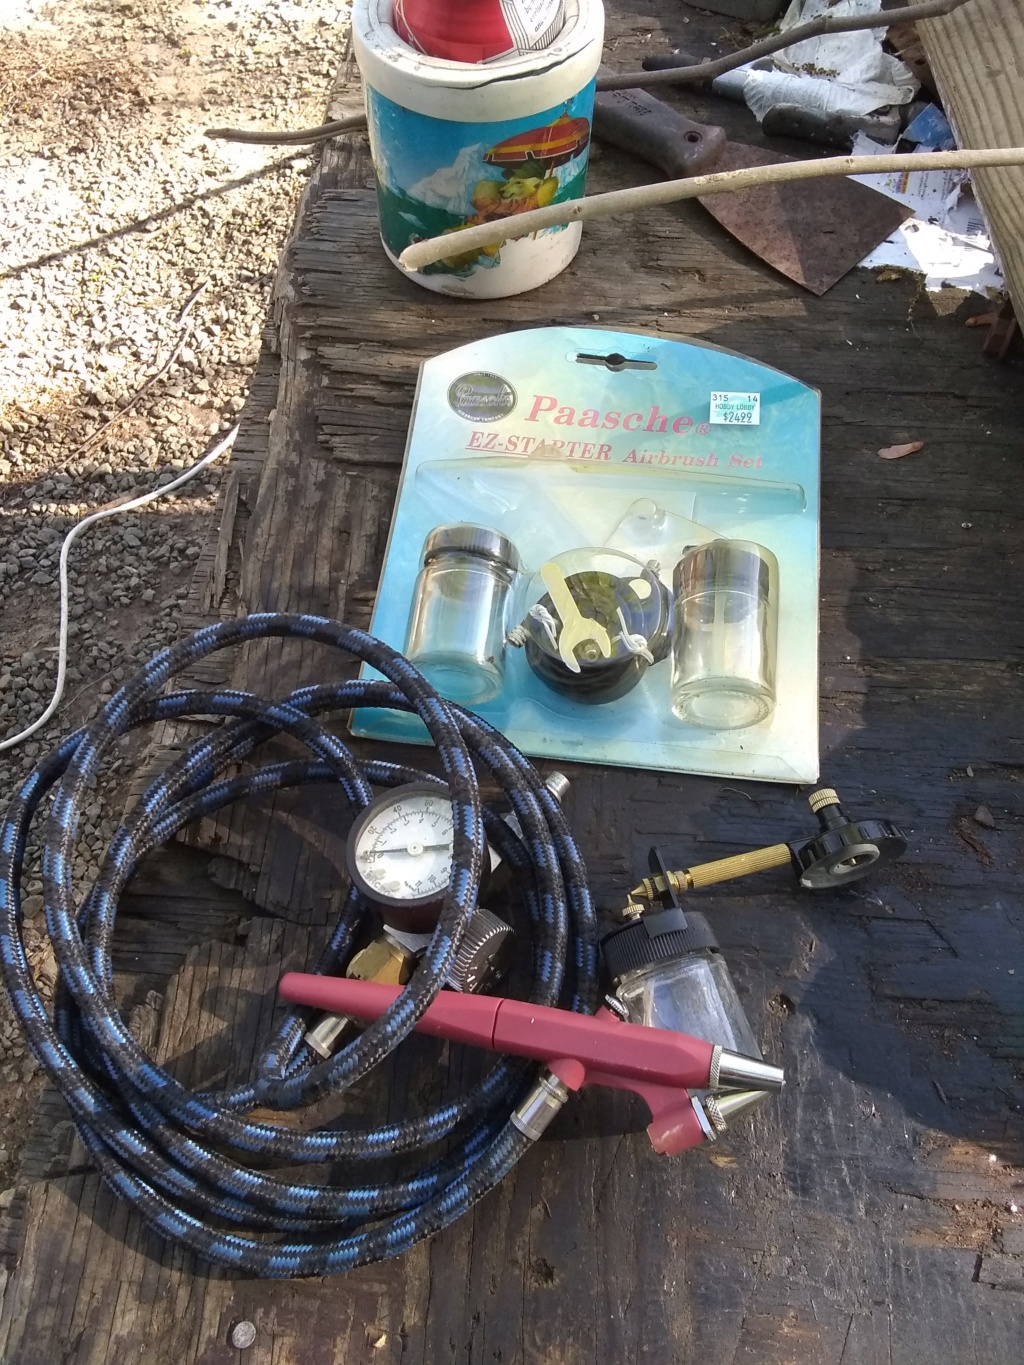
Eric, if it was black it would look just like mine. Except your inline regulator is better than mine. What I have is a simple brass ballcock with a separate plastic filter/water trap. Have you had any trouble regulating the spray pressure?
I pump the 6 gallon tank up to 160 lbs, and set the output pressure to 85 lbs, which is the max for the hose to the sprayer. Then I press the trigger on the sprayer and adjust my inline ballcock regulator to 35 Lbs while it's spraying air. When I release the trigger, it goes back to 85. When I press the trigger again, it sags to 35, but it takes a few seconds. I wonder how much paint I'll waste while I wait for it to stabilize at 35. I still have not tried it with the small harder plastic hose in place of the fabric hose. Your hose looks about like my fabric covered one.
What do you think, how does the action of yours compare to mine? I've only tried it with air so far. If I wasn't so damn gimpy I would have probably figured all this out by now without asking a bunch of questions. I might go try that narrow hose this afternoon.
____________
EDIT: Hmm, I must have never clicked "Send..."
So I did try the narrow harder plastic hose, and I also fixed the minor leak I was working on last Saturday. I'm betting No leak is minor with an airbrush. So, now if I set the pressures as described above, when I press the trigger, it only takes +/- 2 seconds for the brush to settle from 80 to 35, and it's repeatable. It's time to try it with some paint on a test board. Whenever I do that. I'll report back and won't be too far from painting the Hyper Viper.
Rusty
_________________
Don't Panic!
...and never Ever think about how good you are at something...
while you're doing it!
My Hot Rock & Blues Playlist
...and never Ever think about how good you are at something...
while you're doing it!
My Hot Rock & Blues Playlist

RknRusty- Rest In Peace

- Posts : 10869
Join date : 2011-08-10
Age : 68
Location : South Carolina, USA
 Re: Airbrush setup
No not adjusting , But the paint mixing (thinning) is very important !! I use my reg. comp. witch is 20-30 gal tank Can't remember wight off , i have a water separator but have not put it in / straight from comp. 150 psi through hose 50' 1/4 " ID then to the reg. to fabric hose // I would suggest getting yourself a good regulator And have the trap at the comp. outlet (( when you do get to the point of painting get you a larger jar to mix/thin what paint you think you will need add extra ))) because tring to mix the same color again is a pain!! I guess if you measure it correctly every time you could do it in small batches . I hope that helps you will really enjoy how fast you can paint or screw up a model lol and the coats dry very Fast !!What I have is a simple brass ballcock with a separate plastic filter/water trap. Have you had any trouble regulating the spray pressure? wrote:


getback- Top Poster


Posts : 10439
Join date : 2013-01-18
Age : 67
Location : julian , NC
 Re: Airbrush setup
Don't think a ballcock is good pressure regulator, I been testing with 5 to 25 lbs and pressure drop is a few lbs before it quickly gives steady airflow.
Also a two stage trigger helps, press for air and pull rearward for paint feed.
Also a two stage trigger helps, press for air and pull rearward for paint feed.

crankbndr- Top Poster

- Posts : 3109
Join date : 2011-12-10
Location : Homestead FL
Page 2 of 2 •  1, 2
1, 2
 Similar topics
» 049 td runup
» RC setup question
» CL line proper setup.
» cox rc cars gtp 049 mod
» Throttle Sleeve, ACE OR COX Setup??
» RC setup question
» CL line proper setup.
» cox rc cars gtp 049 mod
» Throttle Sleeve, ACE OR COX Setup??
Page 2 of 2
Permissions in this forum:
You cannot reply to topics in this forum

 Rules
Rules


