Log in
Search
Latest topics
» Cox films/videos...by Coxfledgling Today at 4:46 am
» Purchased the last of any bult engines from Ken Enya
by Coxfledgling Today at 4:18 am
» My N-1R build log
by roddie Today at 12:32 am
» Happy 77th birthday Andrew!
by akjgardner Today at 12:27 am
» TEE DEE Having issues
by TD ABUSER Yesterday at 9:43 pm
» Landing-gear tips
by roddie Yesterday at 6:17 pm
» Roger Harris revisited
by TD ABUSER Yesterday at 2:13 pm
» Tee Dee .020 combat model
by Ken Cook Yesterday at 1:41 pm
» Retail price mark-up.. how much is enough?
by Ken Cook Yesterday at 1:37 pm
» My latest doodle...
by roddie Yesterday at 10:43 am
» Chocolate chip cookie dough.........
by roddie Fri Nov 22, 2024 1:13 pm
» Free Flight Radio Assist
by rdw777 Fri Nov 22, 2024 9:24 am
Cox Engine of The Month
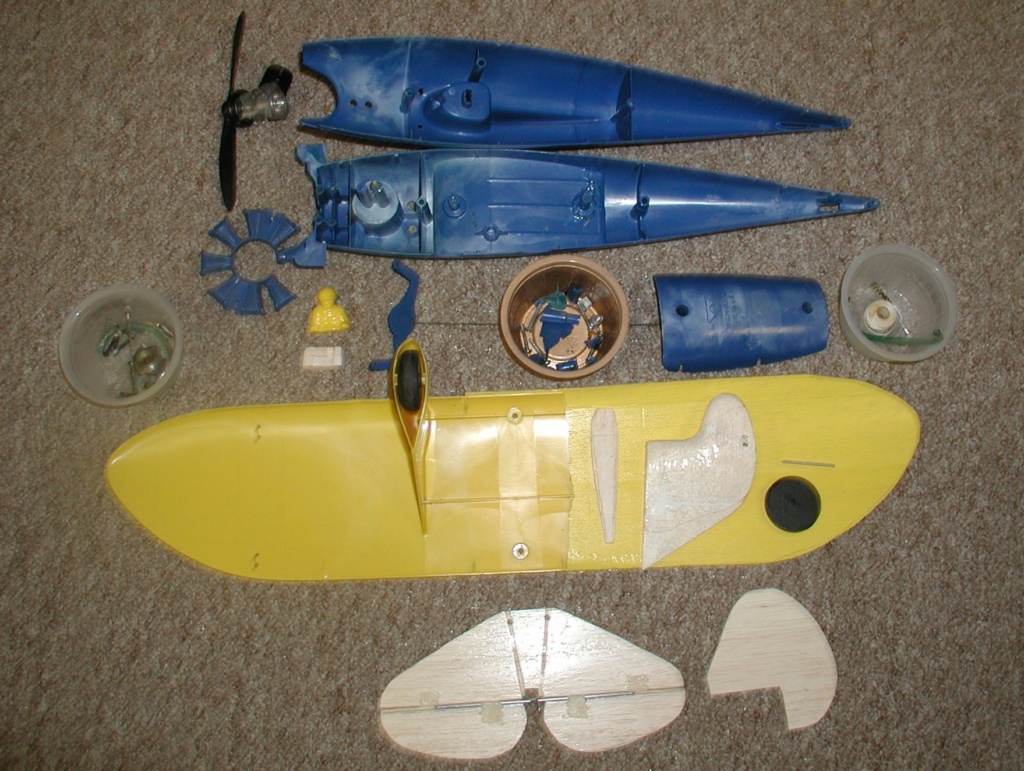
Pieces................
Page 1 of 2
Page 1 of 2 • 1, 2 
 Re: Pieces................
rsv1cox wrote:This ain't easy....................
and I thought......just slap on a little plastic cement and I'm through. Not so fast Charlie Brown!
AHH SHoot, If it were EASY, anybody could do it! You do have a special talent for Restoration!

Marleysky- Top Poster


Posts : 3618
Join date : 2014-09-28
Age : 72
Location : Grand Rapids, MI
 Re: Pieces................
looks easier than 10,000 piece all white puzzle. Still don't get why they actually sell

fredvon4- Top Poster


Posts : 4012
Join date : 2011-08-26
Age : 69
Location : Lampasas Texas
 Re: Pieces................
More pieces.
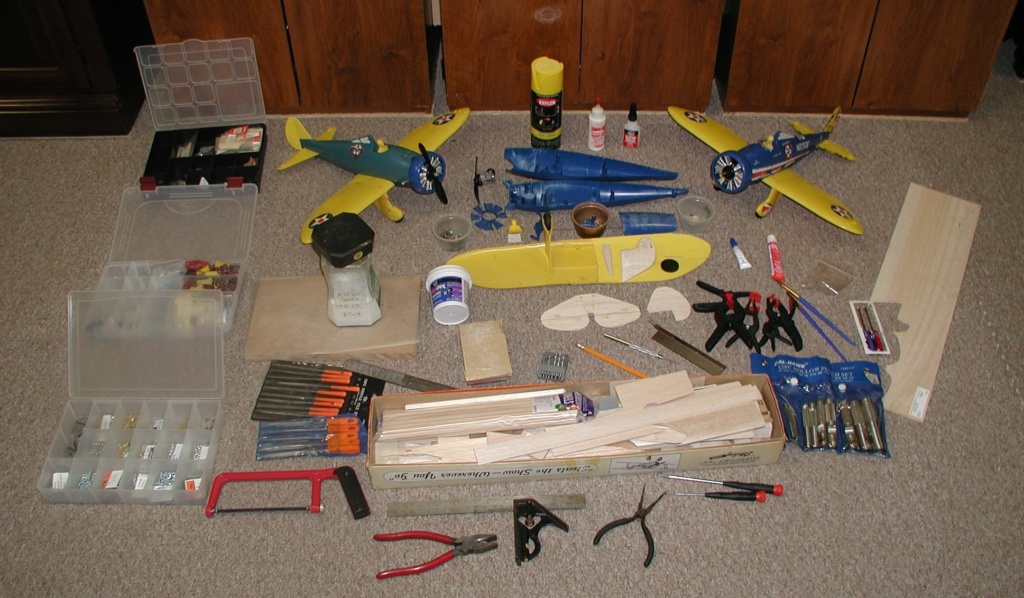
Just for fun I got out most of the stuff that I am using on this broken piece of plastic rubbish. Probably could have got out much more, but I have to put this stuff away.
White bottle at top works great (canopy cement) gluing plastic to balsa. Happened to have an almost exact yellow plastic pilot replacement for the missing one, just have to set him on a pedestial. Airfoil wheel pant is pretty close, had to cut my own wheel out of luan to fit. Had to leave the balsa proud to accommodate the axle, balsa not being as strong as plastic. Love that little red hack saw.
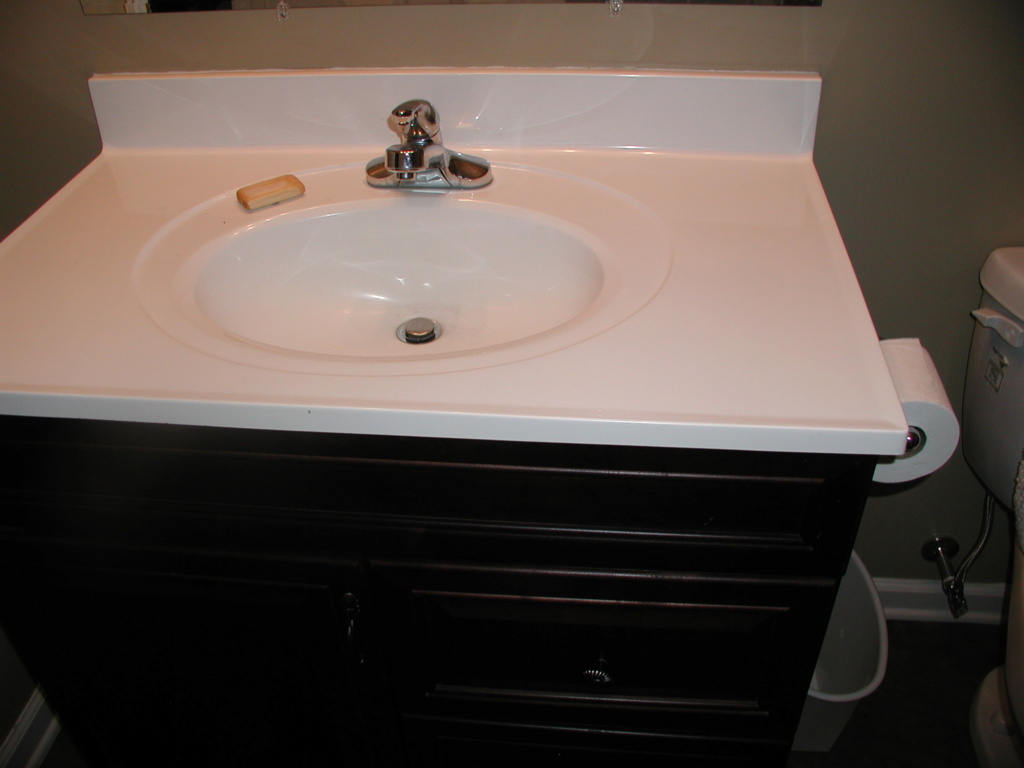
Even involved the kitchen sink,,,well basement bathroom. Wife would kill me. Lord I miss that woman!
BTW, turning out better than I had expected.

Just for fun I got out most of the stuff that I am using on this broken piece of plastic rubbish. Probably could have got out much more, but I have to put this stuff away.
White bottle at top works great (canopy cement) gluing plastic to balsa. Happened to have an almost exact yellow plastic pilot replacement for the missing one, just have to set him on a pedestial. Airfoil wheel pant is pretty close, had to cut my own wheel out of luan to fit. Had to leave the balsa proud to accommodate the axle, balsa not being as strong as plastic. Love that little red hack saw.
Even involved the kitchen sink,,,well basement bathroom. Wife would kill me. Lord I miss that woman!

BTW, turning out better than I had expected.

rsv1cox- Top Poster


Posts : 11250
Join date : 2014-08-18
Location : West Virginia
 Re: Pieces................
Imagine that! Your rebuilds always look like the factory intended

fredvon4- Top Poster


Posts : 4012
Join date : 2011-08-26
Age : 69
Location : Lampasas Texas
 Re: Pieces................
It's a Colonel Steve Austin Special.
Gentlemen we can rebuild it
We have the technology
We have the capability to make the world's first superior plane
That P-26 Peashooter will be that plane
Better than it was before
Better, Stronger, Faster
I took a little liberty to part of the Six Million Dollar Man's opening.
Gentlemen we can rebuild it
We have the technology
We have the capability to make the world's first superior plane
That P-26 Peashooter will be that plane
Better than it was before
Better, Stronger, Faster
I took a little liberty to part of the Six Million Dollar Man's opening.

sosam117- Diamond Member

- Posts : 1350
Join date : 2016-03-23
Location : Suburb of Chicago, Illinois
 RE:Pieces..............
Great job Bob!!
I can't wait to see everything finished up.
After seeing the sole remaining P-26 at the Wright Patterson AFB Museum, I looked for years to find a decent Testors P-26.
They were either too far gone (for me anyway) or NIB so that they were no bueno dinero for me to justify.
My last shot was to buy a Dare Design P-26 kit NIB just after they went OOB for $50!
My plan is to build the kit with either a PAW .061RC or a PAW.09RC diesel and get a sound somewhat near the actual plane rather than a 18k rpm screamer. That's still in my mind and it would be my first building priority.
Keep up the good work !!
Steve....

66 Malibu- Gold Member

- Posts : 477
Join date : 2012-02-28
Location : Georgia
 Re: Pieces................
66 Malibu wrote:Great job Bob!!
I can't wait to see everything finished up.
After seeing the sole remaining P-26 at the Wright Patterson AFB Museum, I looked for years to find a decent Testors P-26.
They were either too far gone (for me anyway) or NIB so that they were no bueno dinero for me to justify.
My last shot was to buy a Dare Design P-26 kit NIB just after they went OOB for $50!
My plan is to build the kit with either a PAW .061RC or a PAW.09RC diesel and get a sound somewhat near the actual plane rather than a 18k rpm screamer. That's still in my mind and it would be my first building priority.
Keep up the good work !!
Steve....
Thanks Steve, I just like the little critters and they were still flying them when I was born in 1937.
There are two Sterling kits on ebay right now that could be beefed up and adapted to glow. one for $99 "open box" and one NIB for $125. There was a nice vintage kit that must have sold for $75 but I am leaving all for those more able to build and do them justice.
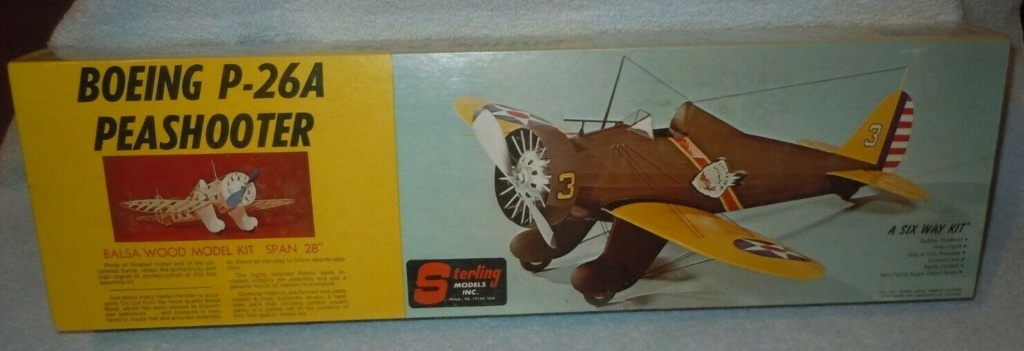
BTW, on kits marked BIN I seldom pay the asking price even though they don't specify - Make an offer. I contact them as ask - Will you accept? etc. etc. Usually they drop the price by at least 20%. Insignificant when you just buy one or two things, but I buy a lot of stuff.
I did pick up this Dumas kit though for $32.


rsv1cox- Top Poster


Posts : 11250
Join date : 2014-08-18
Location : West Virginia
 Re: Pieces................
Nice job on the rebuild of those P-26’s…. Especially the one with shop made balsa parts!….I know the wheel pant had to be a bit of a challenge but it looks nice…More of a carver than you thought, right?  ….. Press on sir, I’ll like to see the finished rehab…..
Robert
Robert

rdw777- Diamond Member


Posts : 1718
Join date : 2021-03-11
Location : West Texas
 RE:Pieces..............
Bob,
I'm glad someone had the foresight to pick up some of those cool kits that seemed to disappear overnight.
Our LHS within an hour drive only has a few kits anymore due to low/no demand and I still hesitate to buy something for $30-40 that I bought as a kid for under $1.50!
I know from the kids and grandkids that I'm over the hill already so there ...
Like my buddy from Alabama used to say " When you go over the hill, you pick up speed " HA !!
Steve....

66 Malibu- Gold Member

- Posts : 477
Join date : 2012-02-28
Location : Georgia
 Re: Pieces................
I got lucky on the wheel pant, didn't turn out wonderful but not too bad.

I always knew that I would have to build a base for it to get the contour of the wing and the height right. I'm pretty sure that the canopy cement will hold it to the wing, but if not I will have to come down through the top with a couple of screws for a mechanical hold.

I always knew that I would have to build a base for it to get the contour of the wing and the height right. I'm pretty sure that the canopy cement will hold it to the wing, but if not I will have to come down through the top with a couple of screws for a mechanical hold.

rsv1cox- Top Poster


Posts : 11250
Join date : 2014-08-18
Location : West Virginia
 Re: Pieces................
But it is wonderful work 

Levent Suberk- Diamond Member

- Posts : 2265
Join date : 2017-12-24
Location : Türkiye

rsv1cox- Top Poster


Posts : 11250
Join date : 2014-08-18
Location : West Virginia
 Re: Pieces................
Wow. You did another fantastic job there. Looks great. You sure do have a thing for bringing these old wrecks back to life!

NEW222- Top Poster

- Posts : 3896
Join date : 2011-08-13
Age : 46
Location : oakbank, mb
 Re: Pieces................
You could make the cowl (ring) by using some 1/64" ply, then use some 1/4" sq. (soft balsa on either end of the plywood (steamed into a round ring).
Then glue it onto the 1/64 ply. Sand a radius into the 1/4 balsa, paint it blue and have your cowl made?
Or use some close cell "blue" foam instead of the balsa wood?

sosam117- Diamond Member

- Posts : 1350
Join date : 2016-03-23
Location : Suburb of Chicago, Illinois
 Re: Pieces................
Thanks Mike, I have built cowlings out of balsa before and it's a big job.
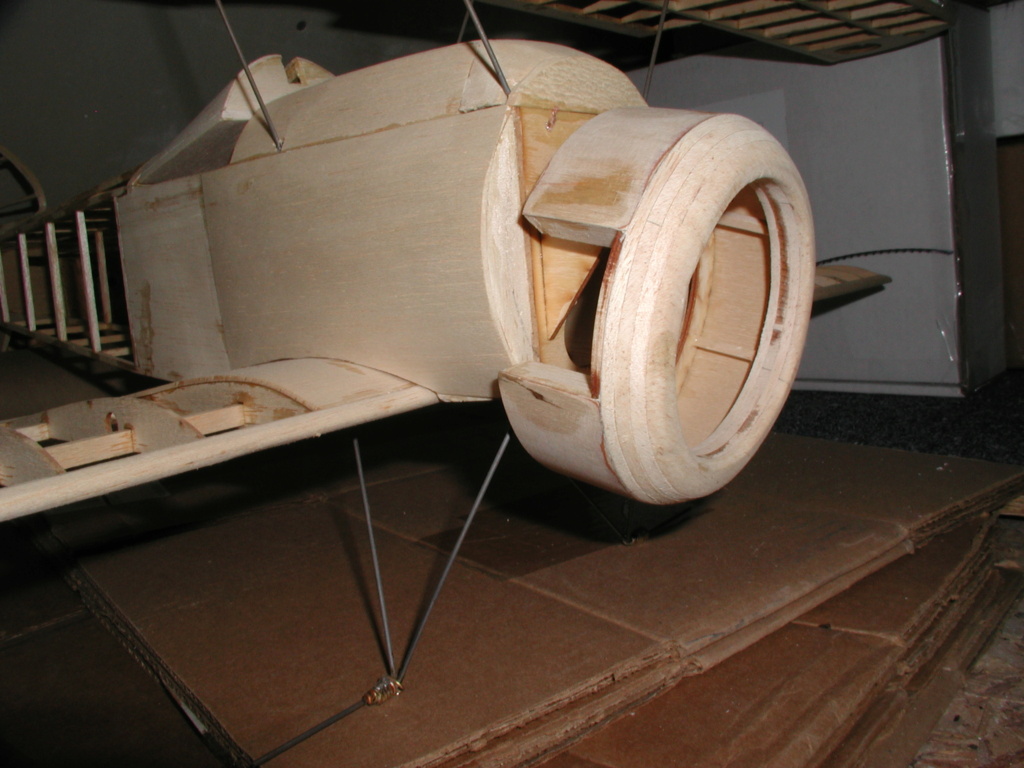
My Camel. But this one has to be plastic to fit in the retaining slots. rather thin. I tried a Pine Sol bottle but it's a little too large but if cut right, very close.
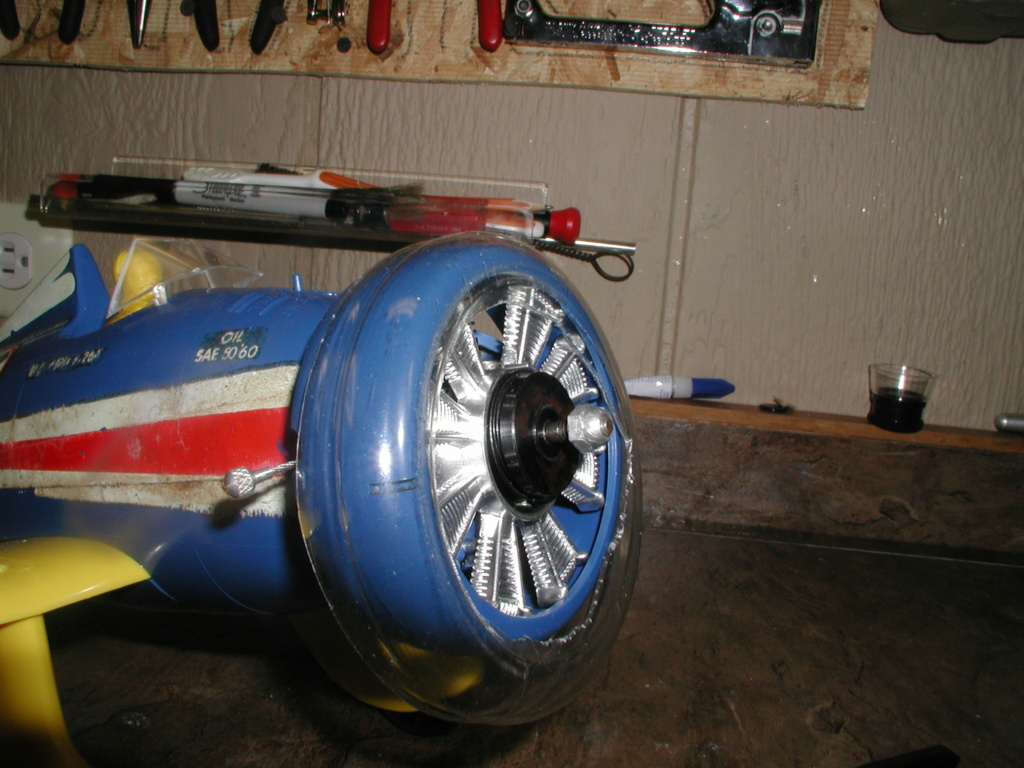

It's done, but I'm not happy with it. Flyable as is. Got the control lines installed, full throw and very smooth. I hate cloth hinges but they worked out very well on this model. A dot of CA to hold in position then painted with Elmers white glue, then coats of sanding sealer and paint.
Biggest job was the fuel line. The plastic nipples are always broken off or break due to fatigue. I have never had any success trying to glue them back on but I persist. Finally gave up and drilled a hole and inserted an aerosol straw down to the bottom of the tank then up a bit and secure with CA.
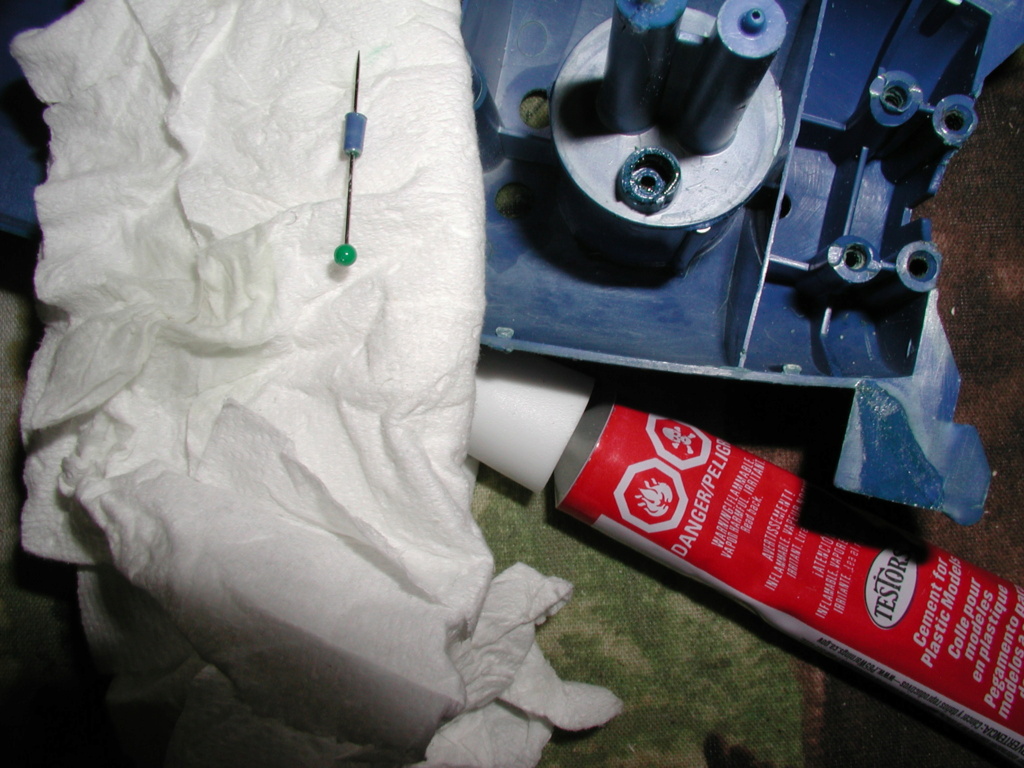
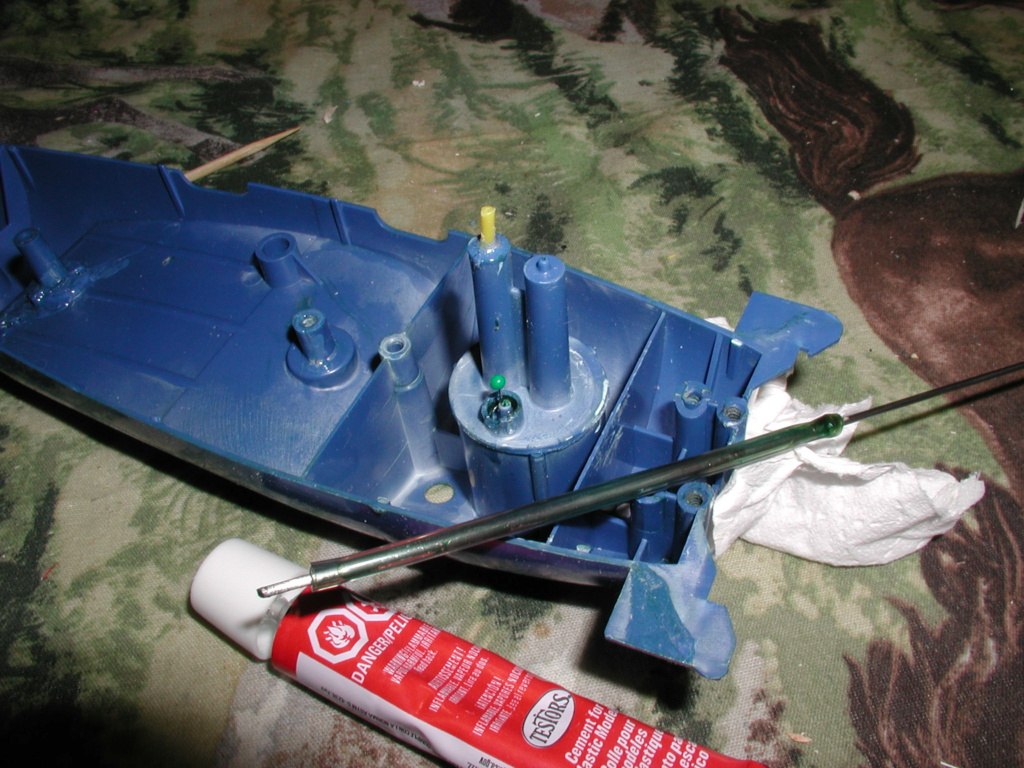
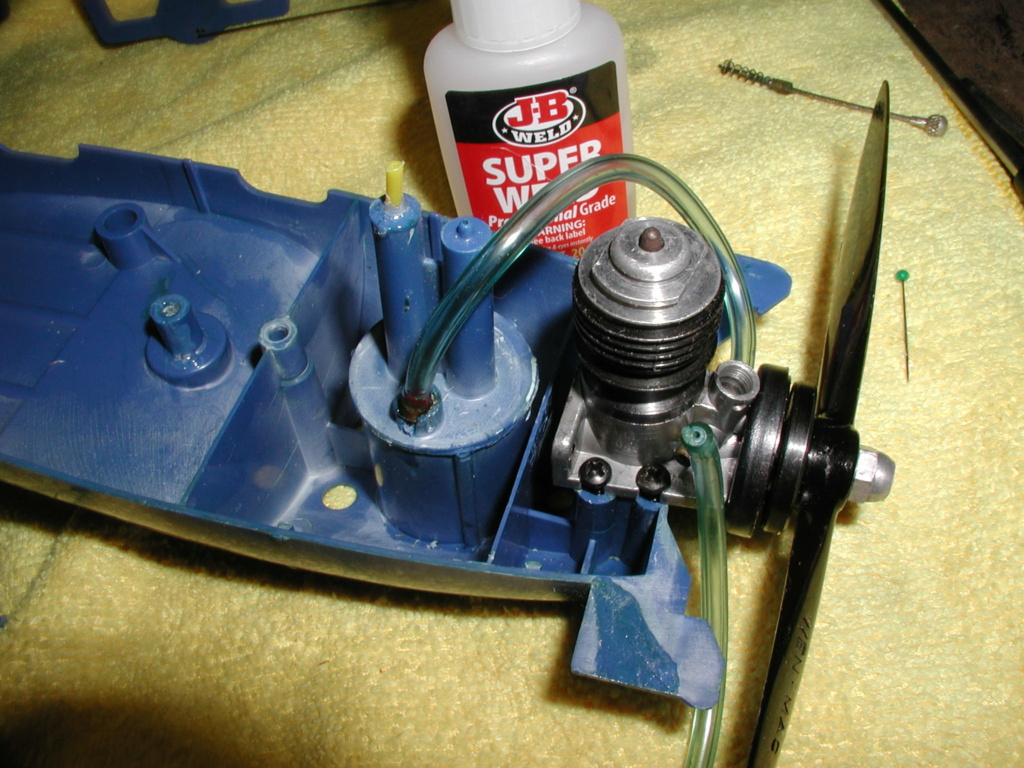
As I said, I'm not happy with it. Coming apart (screwdriver takedown) and redoing the wing. By overlaping the wing it left me with a 1/16" gap in the belly pan (width of the overlapping balsa) and butting the two bitter ends together and reenforcing with maybe cut to fit tongue depressors hidden inside the belly pan. Going to trim back the balsa wheel pant too. Can't go to much, I had to hog out quite a hole for the wheel. Haven't finished that either. Cut the axle to length, putty and paint.
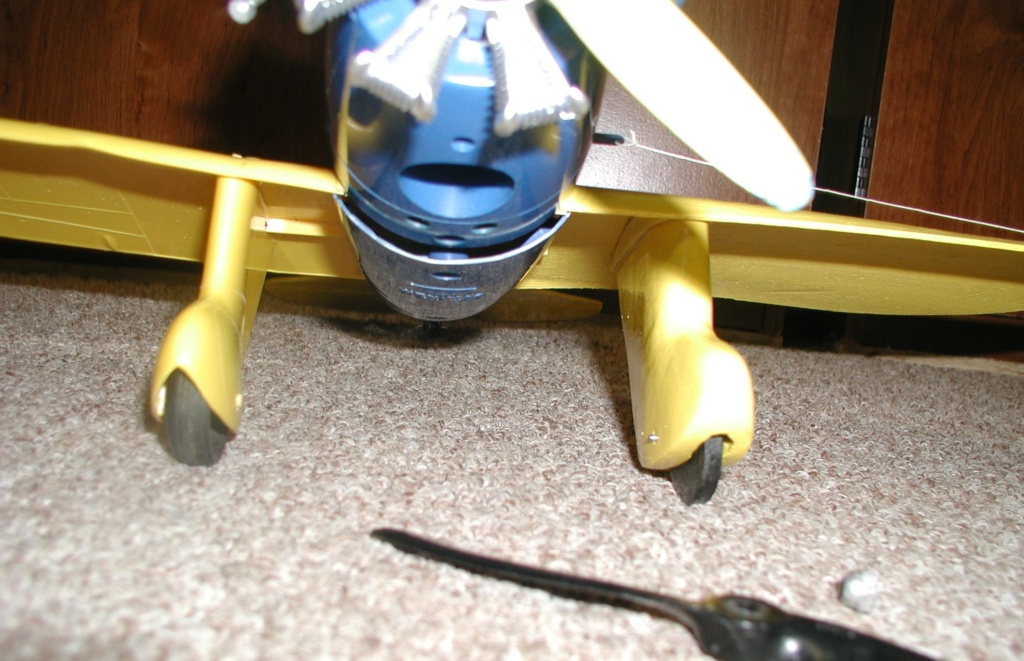
I will be fiddling with this thing for weeks to come before I get it right.

My Camel. But this one has to be plastic to fit in the retaining slots. rather thin. I tried a Pine Sol bottle but it's a little too large but if cut right, very close.


It's done, but I'm not happy with it. Flyable as is. Got the control lines installed, full throw and very smooth. I hate cloth hinges but they worked out very well on this model. A dot of CA to hold in position then painted with Elmers white glue, then coats of sanding sealer and paint.
Biggest job was the fuel line. The plastic nipples are always broken off or break due to fatigue. I have never had any success trying to glue them back on but I persist. Finally gave up and drilled a hole and inserted an aerosol straw down to the bottom of the tank then up a bit and secure with CA.


As I said, I'm not happy with it. Coming apart (screwdriver takedown) and redoing the wing. By overlaping the wing it left me with a 1/16" gap in the belly pan (width of the overlapping balsa) and butting the two bitter ends together and reenforcing with maybe cut to fit tongue depressors hidden inside the belly pan. Going to trim back the balsa wheel pant too. Can't go to much, I had to hog out quite a hole for the wheel. Haven't finished that either. Cut the axle to length, putty and paint.

I will be fiddling with this thing for weeks to come before I get it right.

rsv1cox- Top Poster


Posts : 11250
Join date : 2014-08-18
Location : West Virginia
 Re: Pieces................
Looking good!! If you cut the Pine Sol bottle and trimmed it down would that get you any closer?…. You maybe use the piece that was trimmed off for reinforcement on the inside….Don’t know how much it would pull it out of round though…. Have fun fiddling with them!

rdw777- Diamond Member


Posts : 1718
Join date : 2021-03-11
Location : West Texas
 Re: Pieces................
rdw777 wrote:Looking good!! If you cut the Pine Sol bottle and trimmed it down would that get you any closer?…. You maybe use the piece that was trimmed off for reinforcement on the inside….Don’t know how much it would pull it out of round though…. Have fun fiddling with them!
Thanks, as you can see from the second picture down above, it's a pretty good fit. I just cut it out randomally as there are a bunch of Pine-Sol bottles out there.
But when I made a single cut and pulled it to fit the P-26 (about 1/2" overlap) it distorted rather badly and I could not get the Testors red tube cement to hold it. There has to be a solution, it just hasn't dawned on me yet. Any ideas are appreciated.
Also, I was trying to get all three P-26's together when I couldn't find the third windshield. I looked everywhere for the last few hours, even took the trash apart. Nothing. Then I thought, I had it on one of the planes while I was going around the house. Took a flashlight and looked up and down the stairs leading to the basement. More nothing. Got down on the floor in my workshop and started looking inch by inch. And, there it was under my workbench on a piece of white cardboard I had laid there. Clear plastic, white cardboard, I had looked under there several times just not with a flashlight.
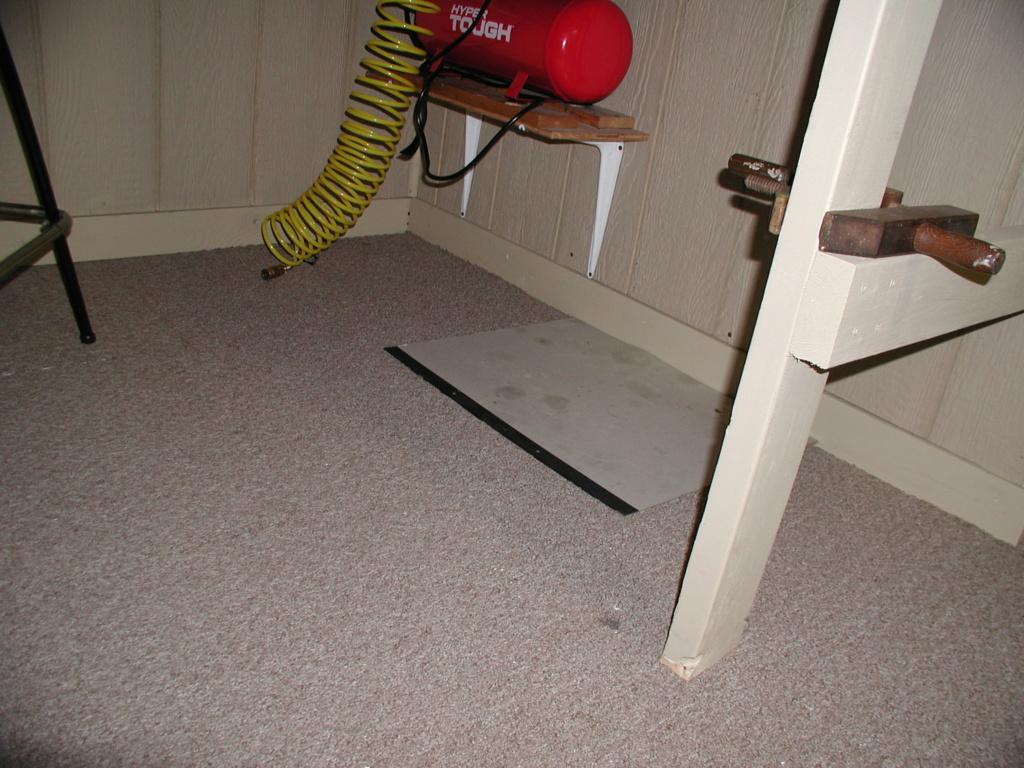
Of the four I have, none came with windshields. They have tabs that just snap in and are not very secure. I will put a drop of plastic cement on each tab from inside the fuselage before messing with them much more.


rsv1cox- Top Poster


Posts : 11250
Join date : 2014-08-18
Location : West Virginia
 Re: Pieces................
I make windshields from .030 celluloid. Here's one I'm currently doing for a Stearman PT-17. I then tack glue sticks of 1/16" square for a windshield frame. I dope it and paint it and epoxy it on. What you don't see very clear is on the bottom of the windshield is the tabs that I left to epoxy into the body. Use a piece of 3x5 card to make a template first.

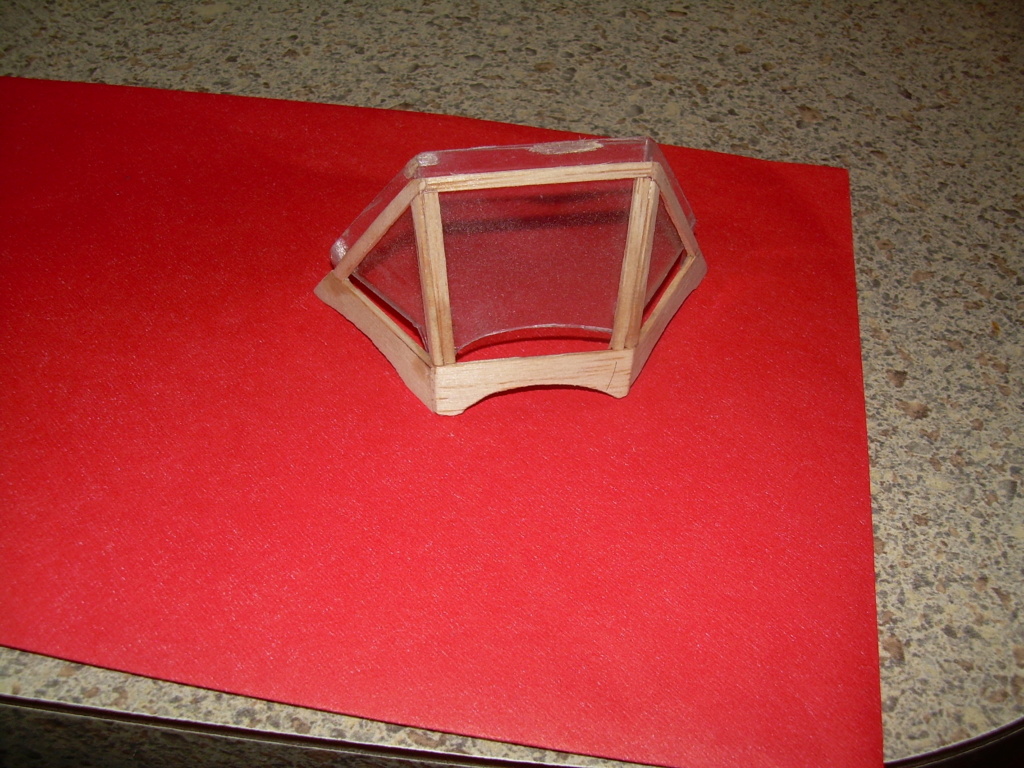


Ken Cook- Top Poster

- Posts : 5640
Join date : 2012-03-27
Location : pennsylvania
 Re: Pieces................
I've made cowls from the clear water bottles.
I make a plug (from a very hard block of balsa).
Then what I do is cut the top of the water bottle slide in my balsa plug (cowl) and place it at the bottom of the water bottle.
Then carefully, heat the water bottle. The plastic from the water bottle shrinks around my plug.
After letting the plastic cool, I carefully trim the plastic around my plug, so I have the outer ring of plastic (cowl).
If the cowl is rounded like your Peashooter, I would carefully cut the ring from front to back at the bottom to release my balsa plug to use it next time. Then use a piece of plastic and glue up the cut I made at the bottom of my "new" cowl.
The other way I have done it is in foam.
From your original cowl:
1st find the outside dia of your cowl. Next is the height. Then last is the i.d. size of the cowl.
Using blue foam that is 1" thick (if you cowl is 1" in height -- if not you may have to glue up laminations of the foam to get the correct height), mark the outside dia. using a compass. Next is to make a circle for the inside dia.
Cut the outside diameter out of the blue foam. Then cut the i.d. out.
Now the messy part. Using 150 grit sandpaper shape the outside dia. to the contour of you wanted cowl.
When you got the shape, you want on the outside, use "Foam Armour" from Deluxe Materials to give the foam an outer "egg" shell. I have used it on my foam cowls I've made to replaced broken up plastic cowls.
After applying the Foam Armor on the outside diameter and letting it dry overnight.
You can start carving the inside diameter to fit you plane.
Here I use the Dremel with the round bits (deburring bits?) and small sanding drums.
Remove only what you need on the inside. Maybe try to make it match the exterior of the cowl. Just don't go too thin!
After you have removed enough foam from the inside, give the inside a coat of the "Foam Armour" as well.
Let that dry overnight. Then "if" you want you can paint your cowl whatever color you want?
Last edited by sosam117 on Thu Dec 23, 2021 6:27 am; edited 1 time in total (Reason for editing : Doing a cowl in foam)

sosam117- Diamond Member

- Posts : 1350
Join date : 2016-03-23
Location : Suburb of Chicago, Illinois
 Re: Pieces................
Thanks Ken, I have tried styrene plastic for windshields with poor results, it fractures when cut and doesn't accept Testors red tube well. I'll try celluoid, but I'm no longer able to do really fussy work.
and...thanks Mike I'll look into the blue foam method but I think the plastic bottle is my bet bet. Wish I had a wood turning lathe.
But, the propellors that came on those engines were a mess. Used my heat gun and a really flat board to straighten them. Wen Mac and Testors engines have a larger diameter prop shaft, saves me drilling out a Cox prop.
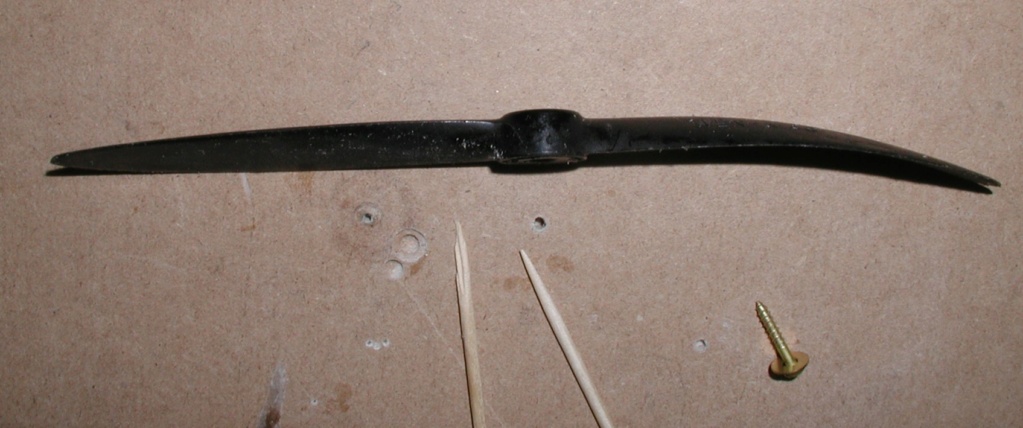
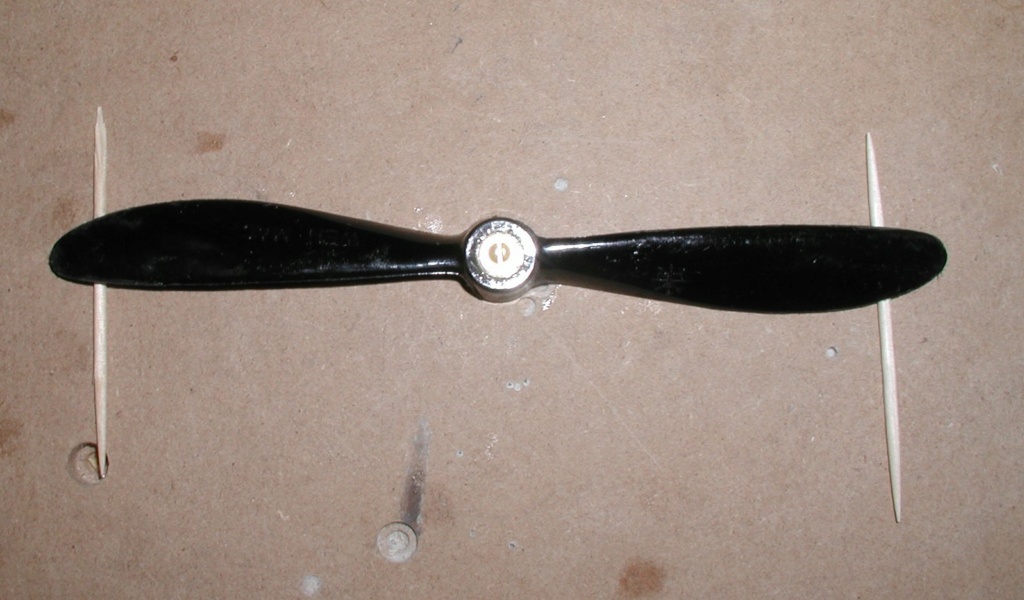
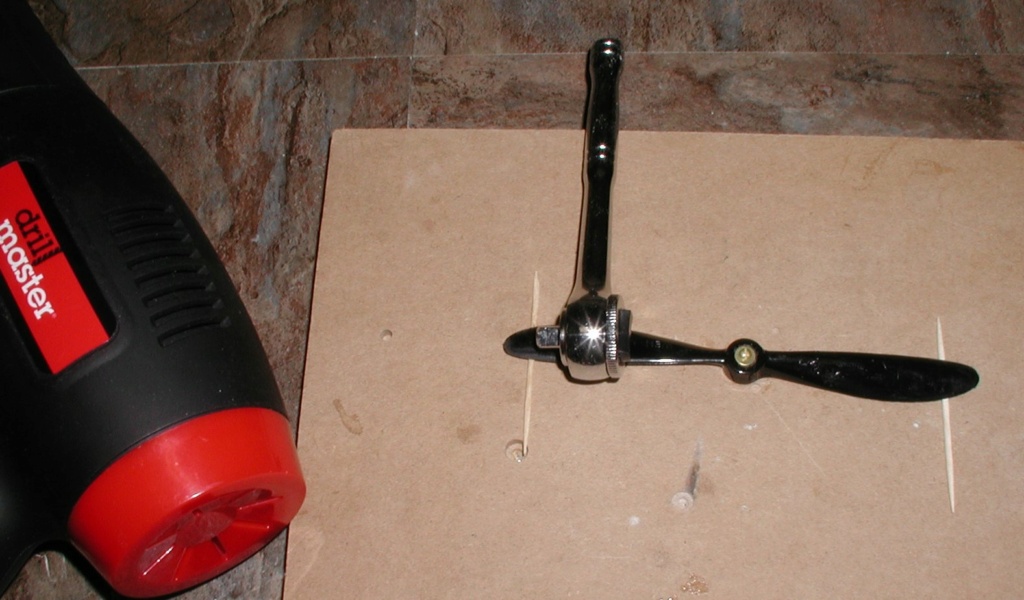
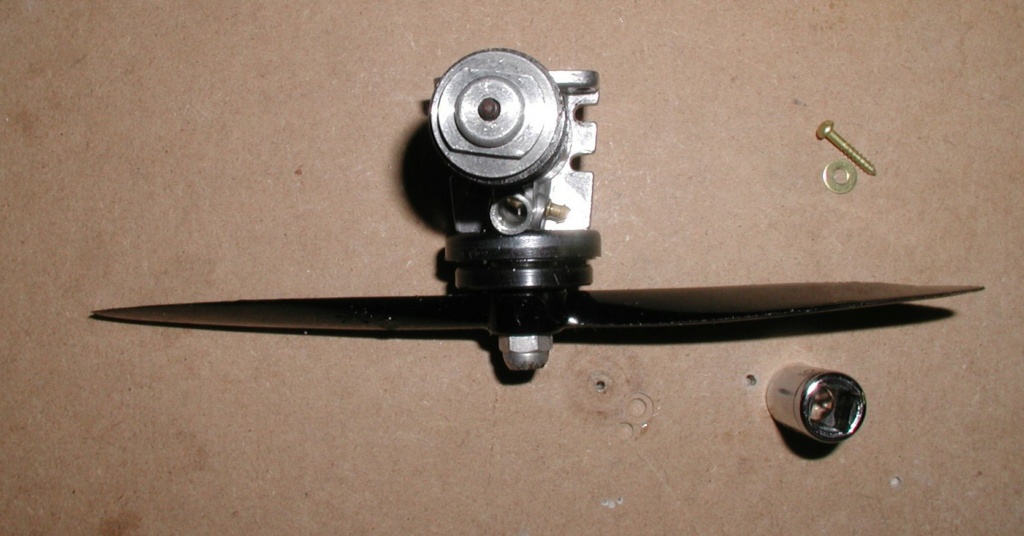
Not as nice as new, but I probably have used worse props in the past.
and...thanks Mike I'll look into the blue foam method but I think the plastic bottle is my bet bet. Wish I had a wood turning lathe.
But, the propellors that came on those engines were a mess. Used my heat gun and a really flat board to straighten them. Wen Mac and Testors engines have a larger diameter prop shaft, saves me drilling out a Cox prop.


Not as nice as new, but I probably have used worse props in the past.

rsv1cox- Top Poster


Posts : 11250
Join date : 2014-08-18
Location : West Virginia
 Re: Pieces................
rsv1cox wrote:Thanks Ken, I have tried styrene plastic for windshields with poor results, it fractures when cut and doesn't accept Testors red tube well. I'll try celluoid, but I'm no longer able to do really fussy work.
and...thanks Mike I'll look into the blue foam method but I think the plastic bottle is my bet bet. Wish I had a wood turning lathe.
But, the propellors that came on those engines were a mess. Used my heat gun and a really flat board to straighten them. Wen Mac and Testors engines have a larger diameter prop shaft, saves me drilling out a Cox prop.
Not as nice as new, but I probably have used worse props in the past.
Have you tried to place the props in "hot" water?
Most of the time the props will soften enough to bend it back and you are also putting back the moisture that has been drawn out of the plastic over the years.
You may have to play around on how hot the water has to be?
I usually have the water bubbling in the pot, remove it from the heat, then insert the props in the water.
Then leave them in the water for 15 -- 20 min. pull them out and straighten them (remember to wear some gloves!)

sosam117- Diamond Member

- Posts : 1350
Join date : 2016-03-23
Location : Suburb of Chicago, Illinois
 Re: Pieces................
Coming along pretty good Bob , At least it will give you something to do for a little while  I made a wheel cowel one tome LOL Looked like a coffin , never did finish it

getback- Top Poster


Posts : 10442
Join date : 2013-01-18
Age : 67
Location : julian , NC
 Re: Pieces................
Yes, I have tried the boiling water method, but this way is much quicker. I just pass the heat gun over the prop evenly about ten times then let it cool naturally. I usually just smooth it out with my finger but this one was so bad that I leaned that little ratchet on it until it cooled.
There was some discussion here about boiling nylon props to strengthen them, but I think Ken was a desenter.
I'm just an old used up guy having fun Eric.
There was some discussion here about boiling nylon props to strengthen them, but I think Ken was a desenter.
I'm just an old used up guy having fun Eric.

rsv1cox- Top Poster


Posts : 11250
Join date : 2014-08-18
Location : West Virginia
 Re: Pieces................
Bob,
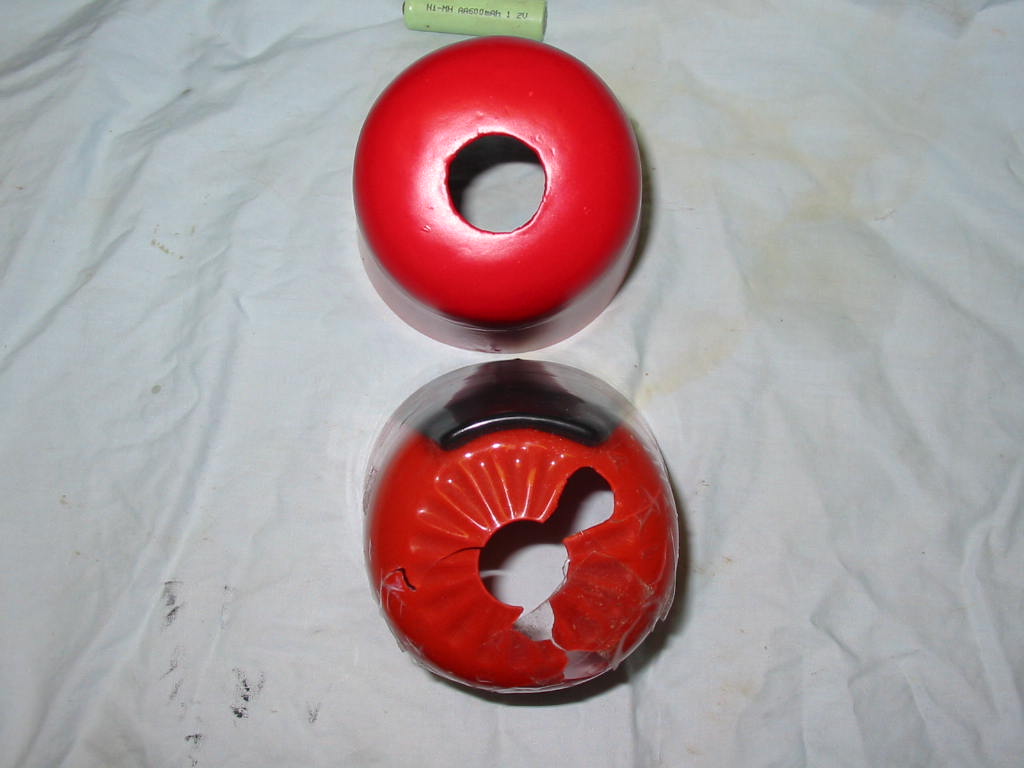
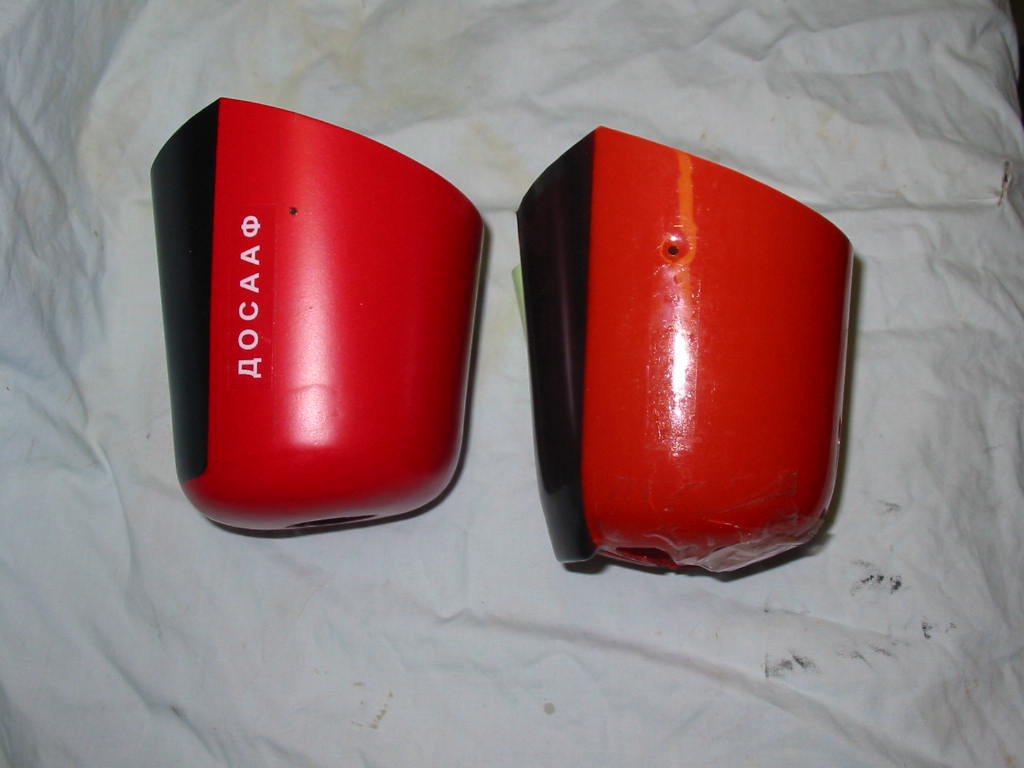
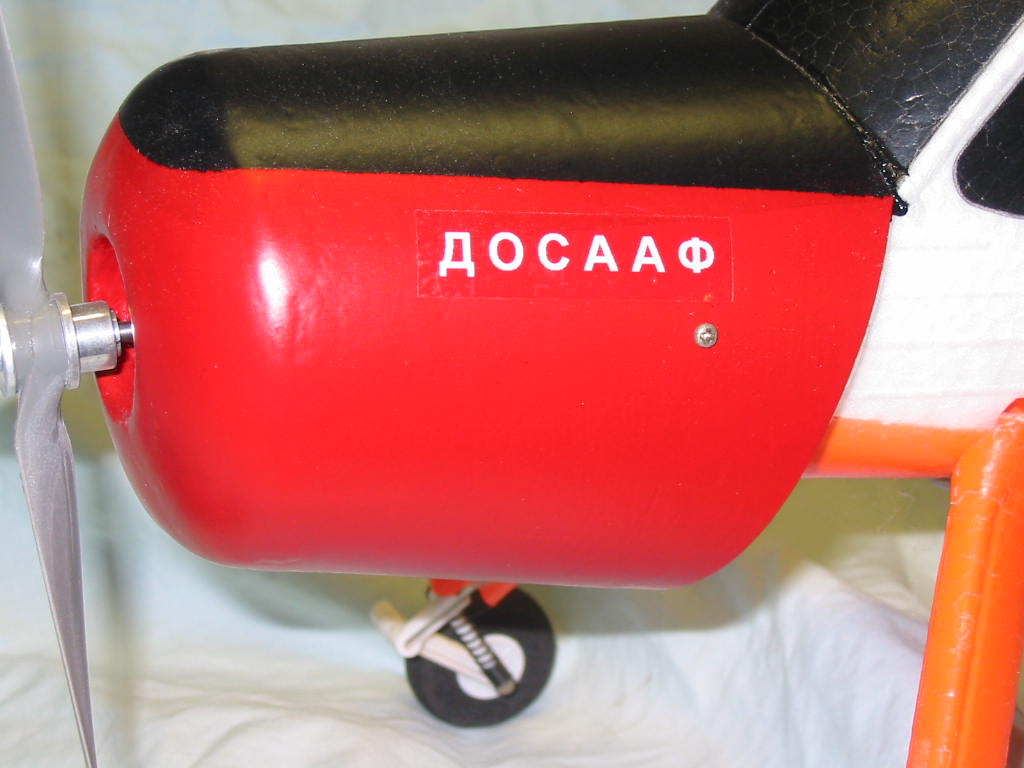
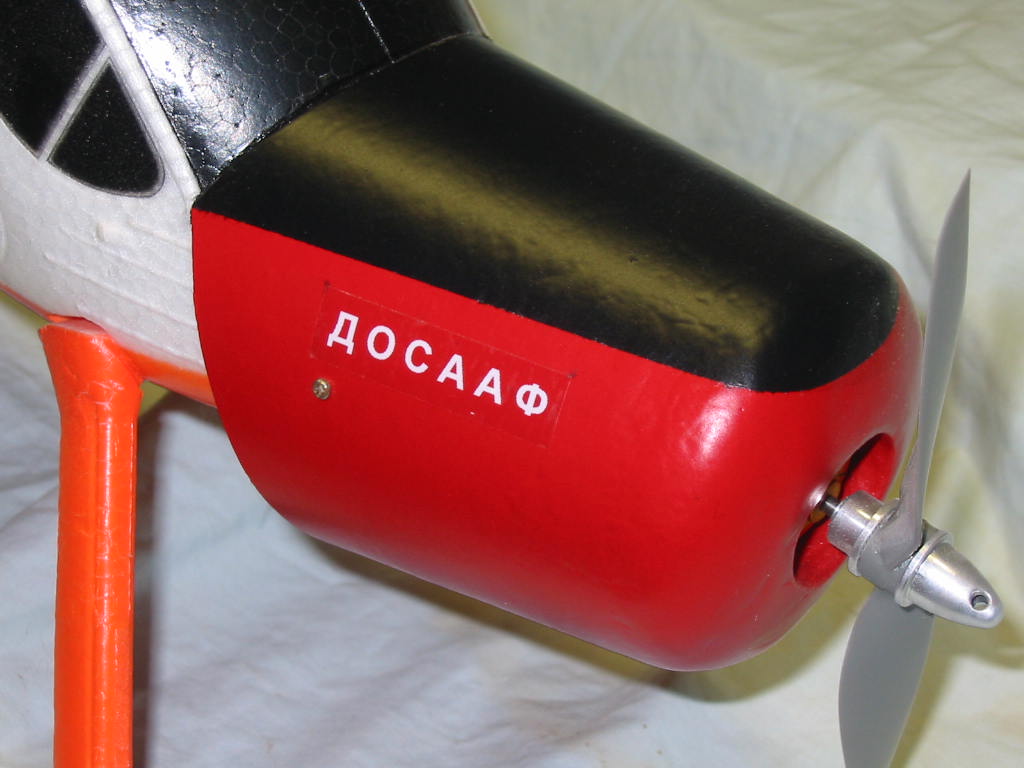
Here is the last "foam" cowl I made (this spring).
Broke the original cowl last fall (Turkey fly 2020 -- week before Thanksgiving at the club field).
That plastic got a little brittle in that cold weather! Learned that a little too late.
Anyway, Hobby King no longer was selling the plane, along with any of the parts.
Went to the manufacture's website which was on their assembly instruction book
On their website their website had --- cowl and prop "in stock"
Placed it in my shopping cart (1-cowl and 2-props) --- went to check out and then said not available?
Emailed mfg. and got a reply from them (in China) to try website in a few days.
O.K. waited a week after their email. Same problem?
Emailed mfg. again got same email --- try website in a few days.
This went on for 2 months.
The heck with it!
I'll make my own cowl and just use a prop that doesn't pull too many amps.
So, my cowl is made from construction paper and blue foam.
The construction paper is 1/2 the cowl and the foam is the other 1/2.
I glued the construction paper to the outside of the foam then shaped the foam to match the old cowl.
Then removed foam inside to make clearance for the motor.

I used the Foam Armour on the inside and outside of the cowl and then painted it to match the old cowl.
It's not an exact copy but close enough to look good and it is 1/2 oz lighter than the original cowl, so I now use a slightly larger capacity battery to balance it and I now get almost 1/2-hour flights over the old 15 minutes.
The graphics are from Callie Graphics.



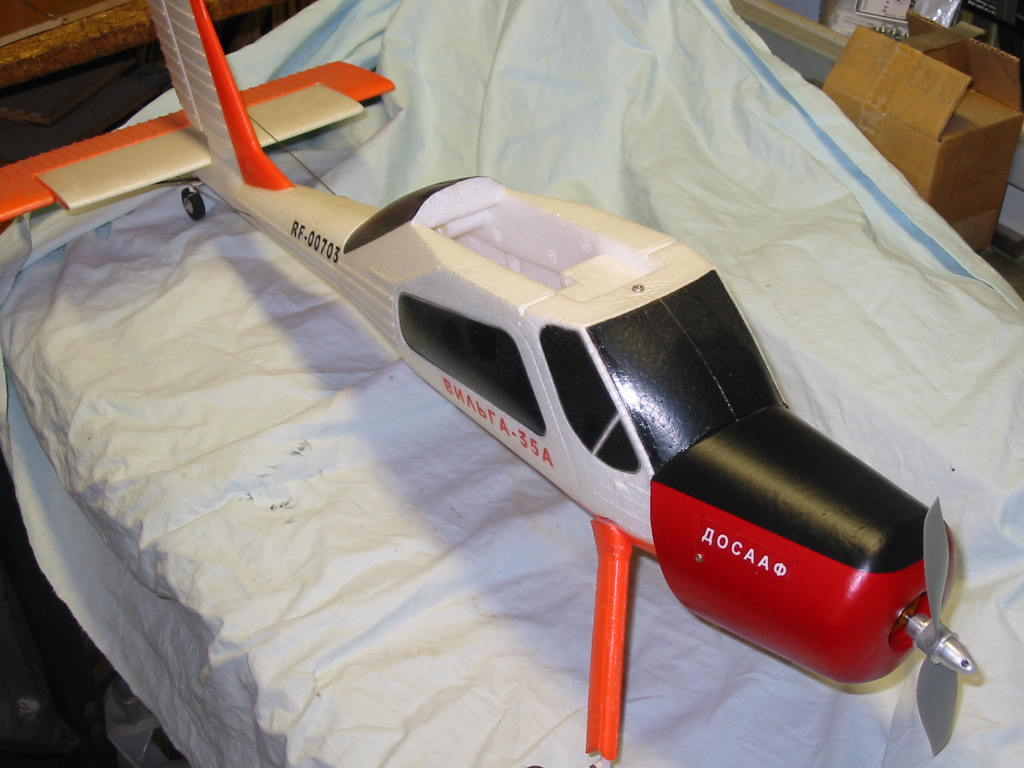
Here is the last "foam" cowl I made (this spring).
Broke the original cowl last fall (Turkey fly 2020 -- week before Thanksgiving at the club field).
That plastic got a little brittle in that cold weather! Learned that a little too late.
Anyway, Hobby King no longer was selling the plane, along with any of the parts.
Went to the manufacture's website which was on their assembly instruction book
On their website their website had --- cowl and prop "in stock"
Placed it in my shopping cart (1-cowl and 2-props) --- went to check out and then said not available?
Emailed mfg. and got a reply from them (in China) to try website in a few days.
O.K. waited a week after their email. Same problem?
Emailed mfg. again got same email --- try website in a few days.
This went on for 2 months.
The heck with it!
I'll make my own cowl and just use a prop that doesn't pull too many amps.
So, my cowl is made from construction paper and blue foam.
The construction paper is 1/2 the cowl and the foam is the other 1/2.
I glued the construction paper to the outside of the foam then shaped the foam to match the old cowl.
Then removed foam inside to make clearance for the motor.

I used the Foam Armour on the inside and outside of the cowl and then painted it to match the old cowl.
It's not an exact copy but close enough to look good and it is 1/2 oz lighter than the original cowl, so I now use a slightly larger capacity battery to balance it and I now get almost 1/2-hour flights over the old 15 minutes.
The graphics are from Callie Graphics.


Last edited by sosam117 on Thu Dec 23, 2021 10:23 am; edited 2 times in total (Reason for editing : spelling mistakes)

sosam117- Diamond Member

- Posts : 1350
Join date : 2016-03-23
Location : Suburb of Chicago, Illinois
Page 1 of 2 • 1, 2 
 Similar topics
» Three piece piston
» Pick up the Pieces
» Restoring a rusty engine
» Repairs Bits and Pieces
» all needles gone For Sale: Cox Needle valve and spring short #1968 4 pieces NIP
» Pick up the Pieces
» Restoring a rusty engine
» Repairs Bits and Pieces
» all needles gone For Sale: Cox Needle valve and spring short #1968 4 pieces NIP
Page 1 of 2
Permissions in this forum:
You cannot reply to topics in this forum

 Rules
Rules


