Log in
Search
Latest topics
» My latest doodle...by batjac Today at 10:05 pm
» Retail price mark-up.. how much is enough?
by gkamysz Today at 9:29 pm
» Happy 77th birthday Andrew!
by roddie Today at 9:22 pm
» Roger Harris revisited
by rsv1cox Today at 3:38 pm
» My N-1R build log
by GallopingGhostler Today at 3:04 pm
» Tee Dee .020 combat model
by 1/2A Nut Today at 2:43 pm
» Chocolate chip cookie dough.........
by roddie Today at 1:13 pm
» Purchased the last of any bult engines from Ken Enya
by sosam117 Today at 11:32 am
» Free Flight Radio Assist
by rdw777 Today at 9:24 am
» Funny what you find when you go looking
by rsv1cox Wed Nov 20, 2024 3:21 pm
» Landing-gear tips
by 1975 control line guy Wed Nov 20, 2024 8:17 am
» Cox NaBOO - Just in time for Halloween
by rsv1cox Tue Nov 19, 2024 6:35 pm
Cox Engine of The Month
Piston reset tool worked
Page 1 of 1
 Piston reset tool worked
The Cox Intl. .049 piston reset tool reset the ball socket and did not mushroom the piston. Play before was .040" which is surprising because it is a low time free flight contest engine that never varnished up, never used starter. Maybe high nitromethane fuel and small props did it. Was able to reduce play to .002". Did not risk going for .001".
Set tool cup on a heavy vise's rear anvil. Filed a small burr off the end of the channel in the reset tool with needle files in the channel. Marked con rod with Sharpie Laundry marker so as to be able to replace same way on crankpin. Wrapped piston periphery one layer masking tape so that it would not slip around and make rotations between taps hard to track. Perhaps centres it better in the tool cup over the raised part that prevents mushrooming. Also less chance of scratching piston. The instructions say to lay the rod in the groove, then insert tool and rod into the cup. I ignored this and put the piston in the cup and then lowered the tool in. BUT, one time I nearly tapped the con rod direct, having forgotten to add the tool. Now I do it their way.
A lot of very light taps did nothing. It takes a threshold amount of impact to accomplish anything. This is still quite a light tap.
Approached .002 very gradually, .020, .015, .010, .008, .005 over fifteen to twenty minutes. Now that I have a feel for the work it could be done much more quickly. But have been warned that if go too far it becomes a difficulty. See other "reset" posts. With .002 the joint was still completely smooth and free.
Thank you to Cox Intl. and the forum posts which helped me approach the job in an informed and careful way.

DougW- Moderate Poster

- Posts : 27
Join date : 2016-07-13
Age : 79
Location : North York (Toronto), Ontario
 Re: Piston reset tool worked
Hi Doug, It's definitely a "must-have" tool for the Cox engine! I'm curious; how you were able to accurately measure the setting? I've set some of mine a "tad" too tight.. but have read that this isn't necessarily a problem that needs attention. I've also read that the "slight" mushrooming of the piston that can occur from resetting, can actually increase compression in a tired engine. Generally when resetting a ball/socket-joint, I rotate the rod (and tool) between taps, and feel for the ball-end starting to get snug in the socket. That's typically where I stop. When the rod doesn't fall when oriented horizontally from gravity.. but can be moved-about with only slight finger-pressure.
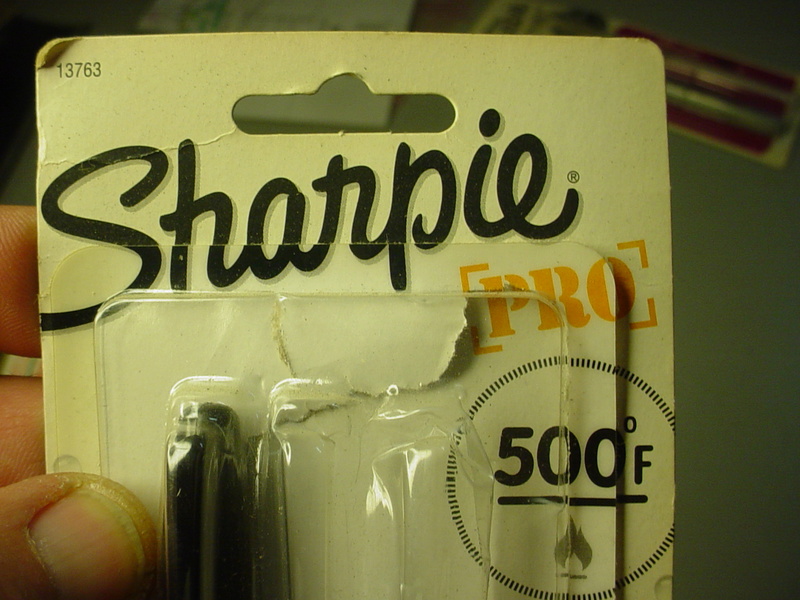
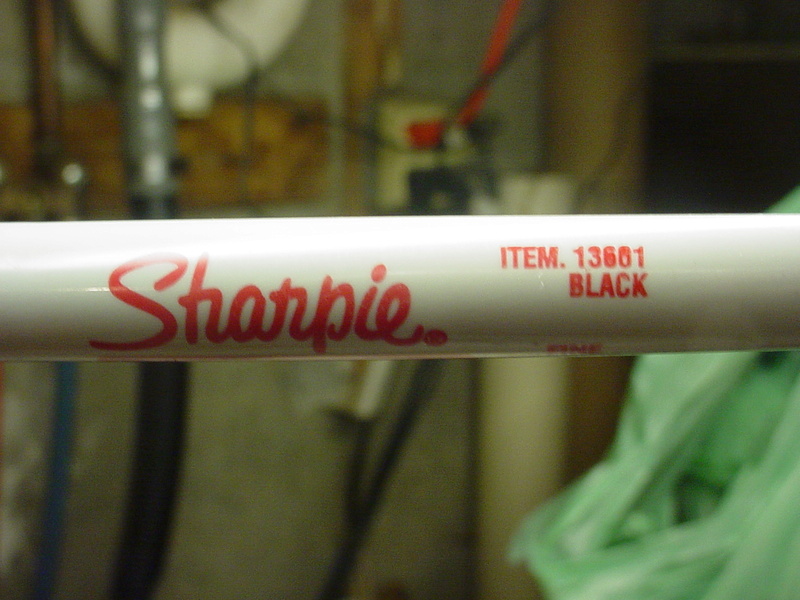
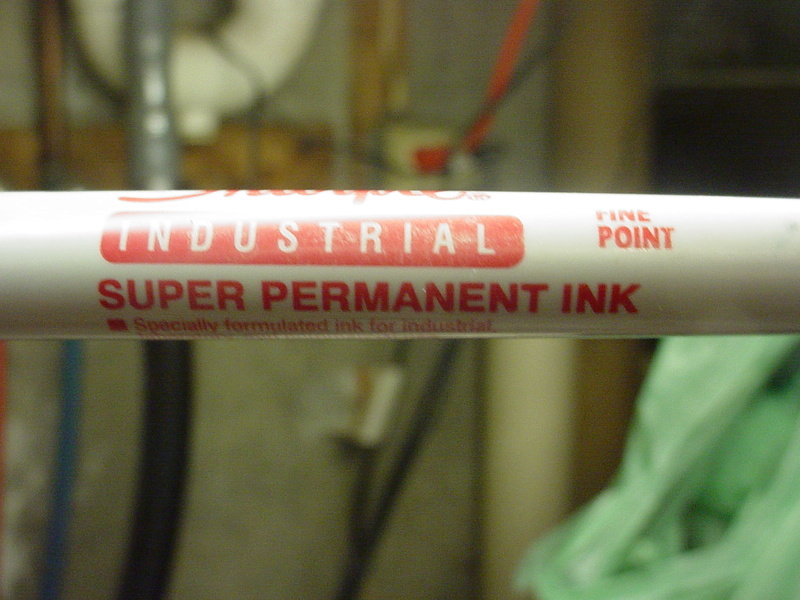
I've never paid any attention to the orientation of the crank-end of the rod on the crankpin. Maybe I should in the future. I have "Sharpie" markers for industrial-use which produce marks that resist high-temperatures and some chemical exposure.


I haven't tested the marker's performance in a model-engine environment yet though. I may mark the "rear-side" of the con-rod on future engines that I assemble. The engine's lower-end operating-temperature shouldn't approach the ink's rated temp-resistance. The fuel-chemistry will be the real test. I generally run 25/35% nitro fuel with plenty of "castor-oil". Sig "Champion" 1/2A fuel has always worked well for me.
Best of luck running your Thermo-Hopper... and all your Cox engines!
I've never paid any attention to the orientation of the crank-end of the rod on the crankpin. Maybe I should in the future. I have "Sharpie" markers for industrial-use which produce marks that resist high-temperatures and some chemical exposure.


I haven't tested the marker's performance in a model-engine environment yet though. I may mark the "rear-side" of the con-rod on future engines that I assemble. The engine's lower-end operating-temperature shouldn't approach the ink's rated temp-resistance. The fuel-chemistry will be the real test. I generally run 25/35% nitro fuel with plenty of "castor-oil". Sig "Champion" 1/2A fuel has always worked well for me.
Best of luck running your Thermo-Hopper... and all your Cox engines!
 Re: Piston reset tool worked
Dear Roddie,
I am not sure that the big end's orientation on the crankpin is critical in the highly precise Cox engines. After all, one can buy a new piston and there is nothing about how it should go. With a wrist pin design, perhaps front/back of rod is important in that the piston has been previously worn in to the cylinder in a particular orientation. I think that I have fumbled on this at least once. I have tried to keep it the same on ball/socket engines just in case it made some difference. On one Cox engine I did notice that there was more wear inside the hole in the con rod at one end than at the other, not really wear, but polish. I read somewhere that if the big end is drifting back on the pin and scratching the backplate, reversing the rod on the crankpin may cure it due to complicated dynamic considerations that can only be resolved by test, not by measuring. Don't remember if this was for Cox engines or for any specific brand. If it were a wrist pin engine, perhaps one should check the backplate after very little running, so as to do the flip before the piston got used to the cylinder in a disadvantageous orientation of the con rod on the crankpin.
WD40 takes off both Laundry Sharpie and BIC White-Out very fast, just while handling parts. Sharpie does stand up to dry re-setting handling if keep renewing it since there is usually a little oil or WD40 around or on fingers.
Dial gauge. This is a machining measurement tool. I happen to have one to go with a Unimat, though I have not yet done enough work on it to justify the equipment. A dial gauge is very helpful, for instance, for setting up a part exactly centred in a 4-jaw chuck. One full rotation of the dial is 1 mm on mine, ie about 40 thou. One can put the dial gauge in a vise, it has a projecting flange designed for this. One can put the piston top on a sheet of wood under the gauge, and let the gauge's probe rest on the bottom of the con rod's big end. Then as one raises and lowers the rod in the socket, the dial gauge tells you how much play. .002 is about 5 divs on the 100 division dial, easily seen. At this tightness the rod would still easily fall if piston held horizontal. It was no more stiff than when play was .040". After lubricating the finished socket the play seemed even less, but still finger pressure would not be needed to move the rod. Maybe this is too sloppy, I don't know, but am reporting what I, an ignoramus, noticed, and assumed was satisfactory because the instructions say that .001 to .003 is acceptable. If you don't happen to have a dial gauge, maybe you could do something similar with a vernier caliper or micrometer, but the gauge is so sensitive and the other methods might require 3 hands or someone to help. Otherwise I don't know. A head gasket is .005. If you could somehow gently hold the piston against a stop, maybe somehow strapped with an elastic band, with the rod at max play extension just touching a piece of glass. Then one could see if the gasket would fit under when one pushed the rod up so that the ball was as far into the socket as it would go. Household aluminum foil is about .0007". Two thicknesses .014. Hilroy recycled notebook paper .0028. Bond paper .0038.
Now I am starting to wonder whether I am mixed up and there was 40 divs play (~.016") on the dial gauge, not 40 thou., which would be a full revolution of the needle, that I don't seem to remember. In any event the final result was for sure 5 divs, ~.002" and initially it certainly felt very sloppy.
There is also a special Sharpie that one can use to label CD's that won't bleed through and affect the data side.

DougW- Moderate Poster

- Posts : 27
Join date : 2016-07-13
Age : 79
Location : North York (Toronto), Ontario
 Beginner
Roddie's comment made me realize that I might seem to have been promoting my procedure as an advanced technique, whereas it was the cautious approach of a first time user of the Cox Intl. reset tool and piston holder. If he can keep the piston in the holder and continuously monitor his progress by feel, that is much faster and he probably keeps better track of how he has rotated the tool in the piston while tapping. When I come back from having made a dial gauge measurement and replace the piston in the holder, I have forgotten how the tool was aligned in rotation with respect to the piston for the last tap. I was rotating the holder and piston together under the tool because I was too butterfingers to reliably rotate the piston in the holder. The masking tape helped me to do the rotations my way since the piston would not slip and rotate relative to the holder and I could keep better track of each fractional rotation between taps. I wasn't very good at gluing strain gauges either, low manual dexterity.
There are probably some who can judge the amount of play present quite accurately by touch, maybe even estimate what a measurement would be. Thinking of factories where someone had to try out many piston/cylinder pairs to get matches, something like Roddie's sense of touch must have been needed to get the job done in reasonable time.
I noticed that one can lean the tool a bit and wondered whether it was a good idea to vary this as well as rotate, or to try for vertical every time. The photo in the instructions shows the tool leaning away from the rod. Some taps felt better than others. Maybe they are better for the ball/socket. Holding the cup firmly on to the centre of the vise anvil seemed to give better taps, as well as firmly holding the striker, which requires learning a skill of doing that deftly with just one hand available, or at least taking one's time to set up properly for the next tap.

DougW- Moderate Poster

- Posts : 27
Join date : 2016-07-13
Age : 79
Location : North York (Toronto), Ontario
 Similar topics
» What causes a piston head to mushroom when you reset the piston rod?
» Cox 09 and 15 piston reset tool.
» Cox TeeDee .09 piston resetting tool
» Revolutionary 3-in-1 Cox piston reset tool
» Cox 15 piston reset tool loaner program
» Cox 09 and 15 piston reset tool.
» Cox TeeDee .09 piston resetting tool
» Revolutionary 3-in-1 Cox piston reset tool
» Cox 15 piston reset tool loaner program
Page 1 of 1
Permissions in this forum:
You cannot reply to topics in this forum

 Rules
Rules


