Log in
Search
Latest topics
» My latest doodle...by batjac Today at 10:05 pm
» Retail price mark-up.. how much is enough?
by gkamysz Today at 9:29 pm
» Happy 77th birthday Andrew!
by roddie Today at 9:22 pm
» Roger Harris revisited
by rsv1cox Today at 3:38 pm
» My N-1R build log
by GallopingGhostler Today at 3:04 pm
» Tee Dee .020 combat model
by 1/2A Nut Today at 2:43 pm
» Chocolate chip cookie dough.........
by roddie Today at 1:13 pm
» Purchased the last of any bult engines from Ken Enya
by sosam117 Today at 11:32 am
» Free Flight Radio Assist
by rdw777 Today at 9:24 am
» Funny what you find when you go looking
by rsv1cox Wed Nov 20, 2024 3:21 pm
» Landing-gear tips
by 1975 control line guy Wed Nov 20, 2024 8:17 am
» Cox NaBOO - Just in time for Halloween
by rsv1cox Tue Nov 19, 2024 6:35 pm
Cox Engine of The Month
One man's junk.................
Page 2 of 3
Page 2 of 3 •  1, 2, 3

Cribbs74- Moderator


Posts : 11907
Join date : 2011-10-24
Age : 50
Location : Tuttle, OK
 Re: One man's junk.................
I like the idea of the thin aluminum one. Would be very easy to do, and as well you could easily adjust it if needed.

NEW222- Top Poster

- Posts : 3896
Join date : 2011-08-13
Age : 46
Location : oakbank, mb
 Re: One man's junk.................
I don't know how far RSV wants to go as far as authentic restoration goes, but I'll make the following observations:
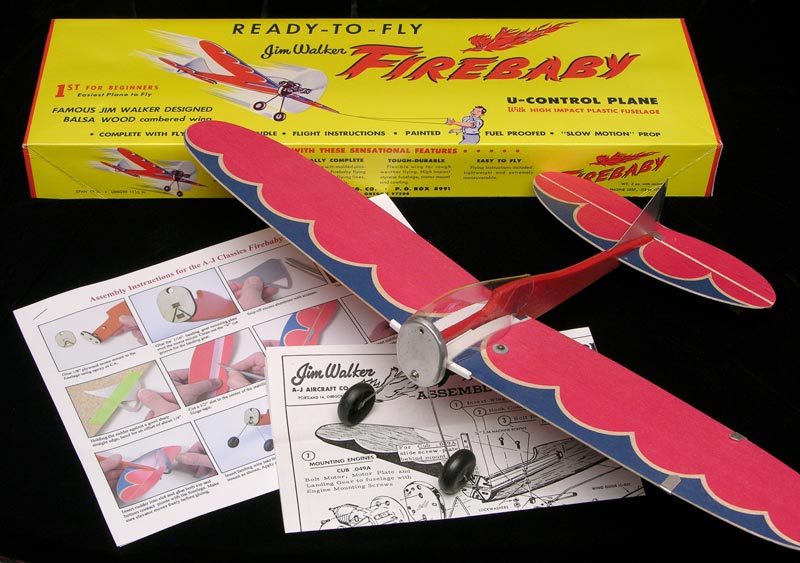
The aluminum vertical stub was on version one with a balsa fuselage, clear plastic canopy/bladder tank cell and a different wing mount system. metal firewall cap also has fewer pre-punched mounting holes than version two.
For stand-off 100% accuracy, you will need to shave vert. stab. and replace with plastic, steam warp/iron dihedral and under camber in wing and do the wing graphics. I would suggest a computer scan of an original wing for that and maybe printing on sheer white tissue to be clear doped onto wing.

ticomareado- Account Under Review
- Posts : 1089
Join date : 2013-10-03
Location : NC
 Re: One man's junk.................
This thing really isn't worth a lot of restoration time. My idea is just a nostalgic one and done flight and retire it.
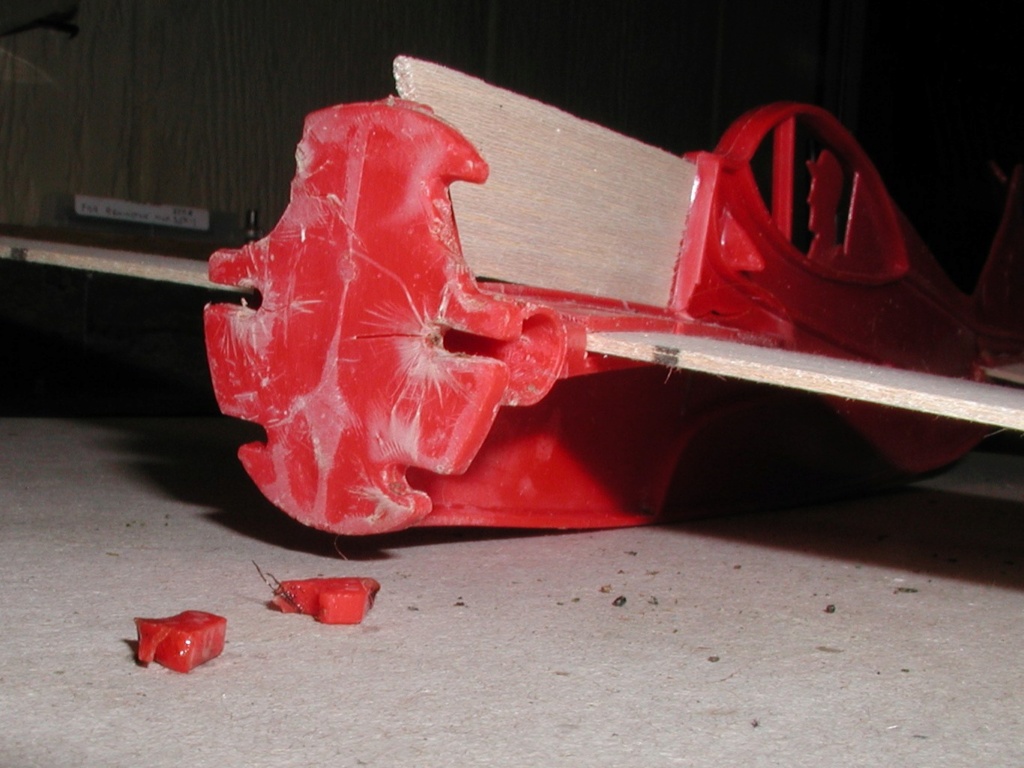
The plastic fuselage and engine mounts are stress cracked to the extreme but will be re-glued and strengthened enough to handle a single flight maybe more if it hangs together. My son (pit crew) retires at the end of this month so I will have an incentive to fly some of these things that I have been accumulating.
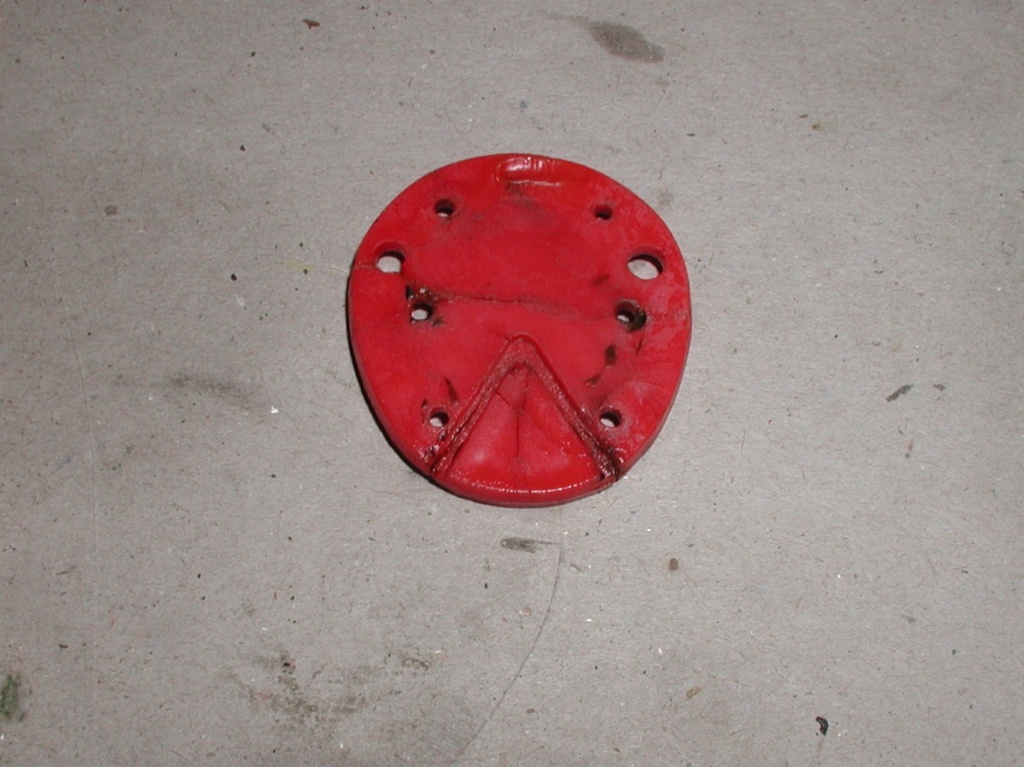
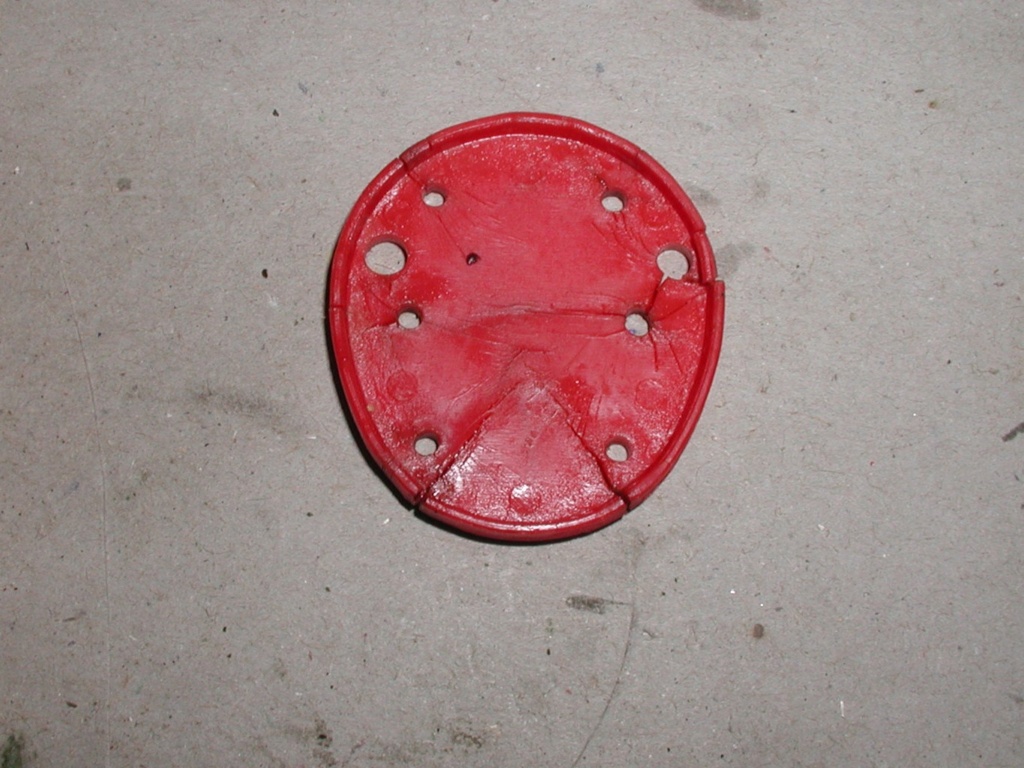
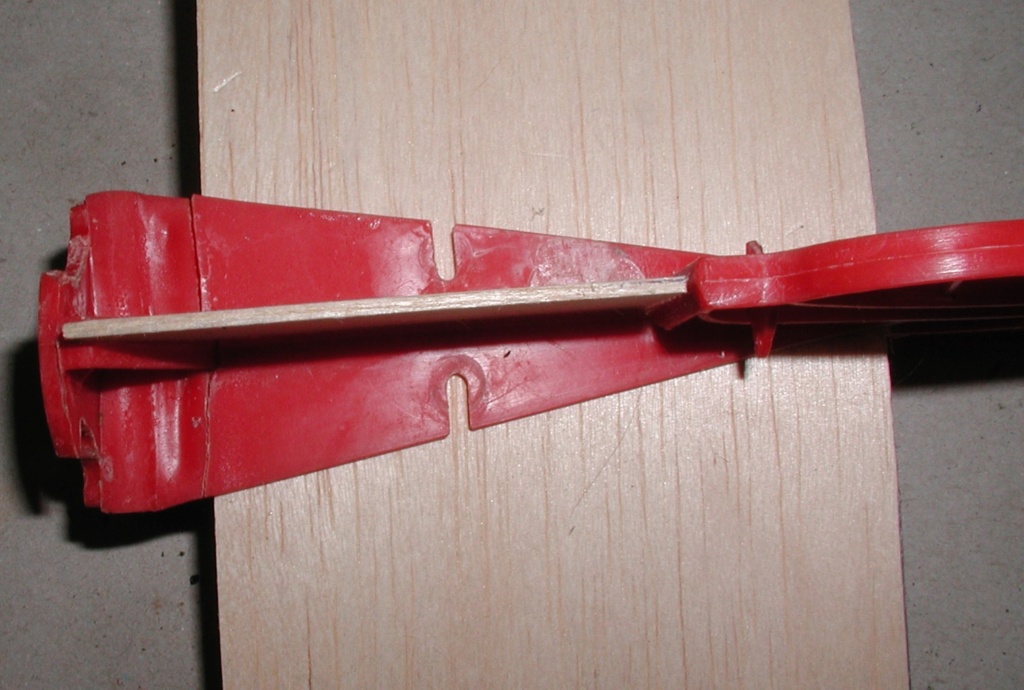
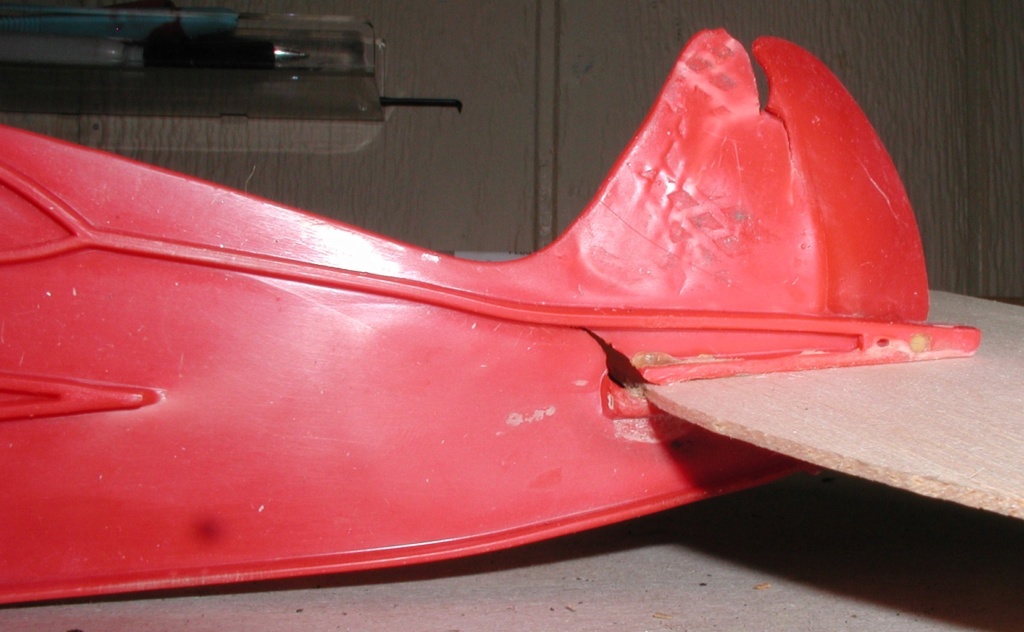
The fuselage had a severe bend in it midway behind the cockpit but I managed to straighten it with tension and a heat gun. Turned out well. But the tail section, not so nice. The vertical stab was badly cupped and distorted and no way to heat and straighten. I finally heated the vice jaws with the heat gun and pressed it. Notice the vice imprints. Nasty but it worked.
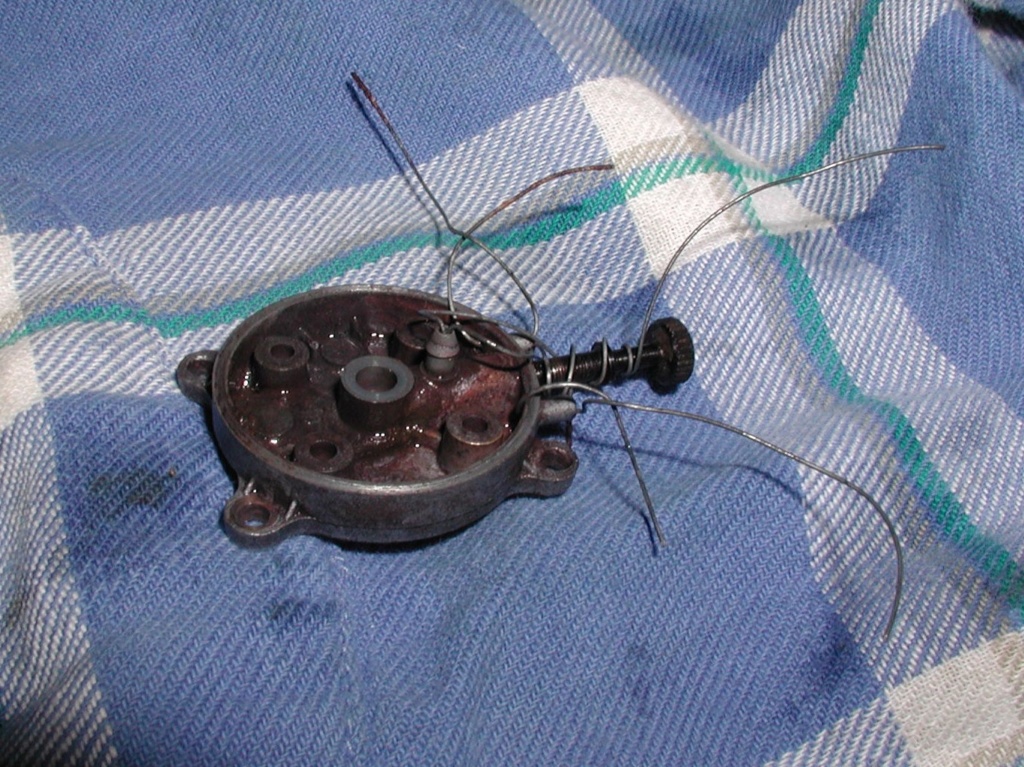
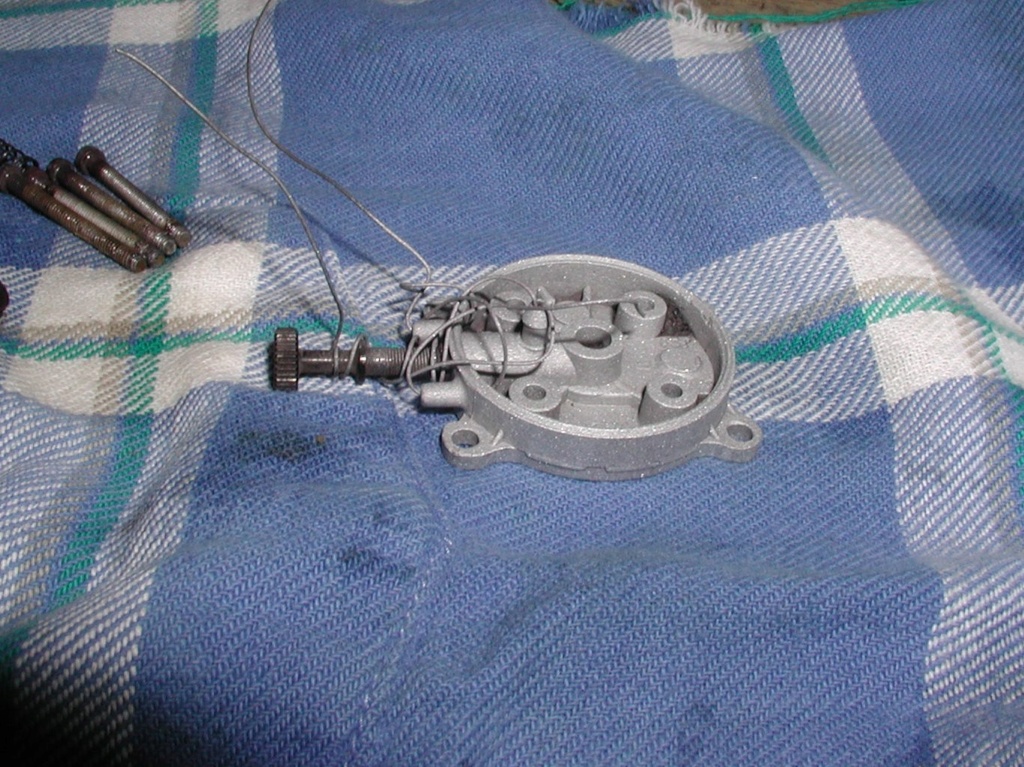
Engine will be ok, but I had to media blast the backplate. Residue is left over media. It will have to be painted like I did the first SB and become a shelf queen. It found a home in my Enya go-round. I managed to stuff those 57 Cox engines (remember the guess how many contest?) in there just to get them off the top of my display case.
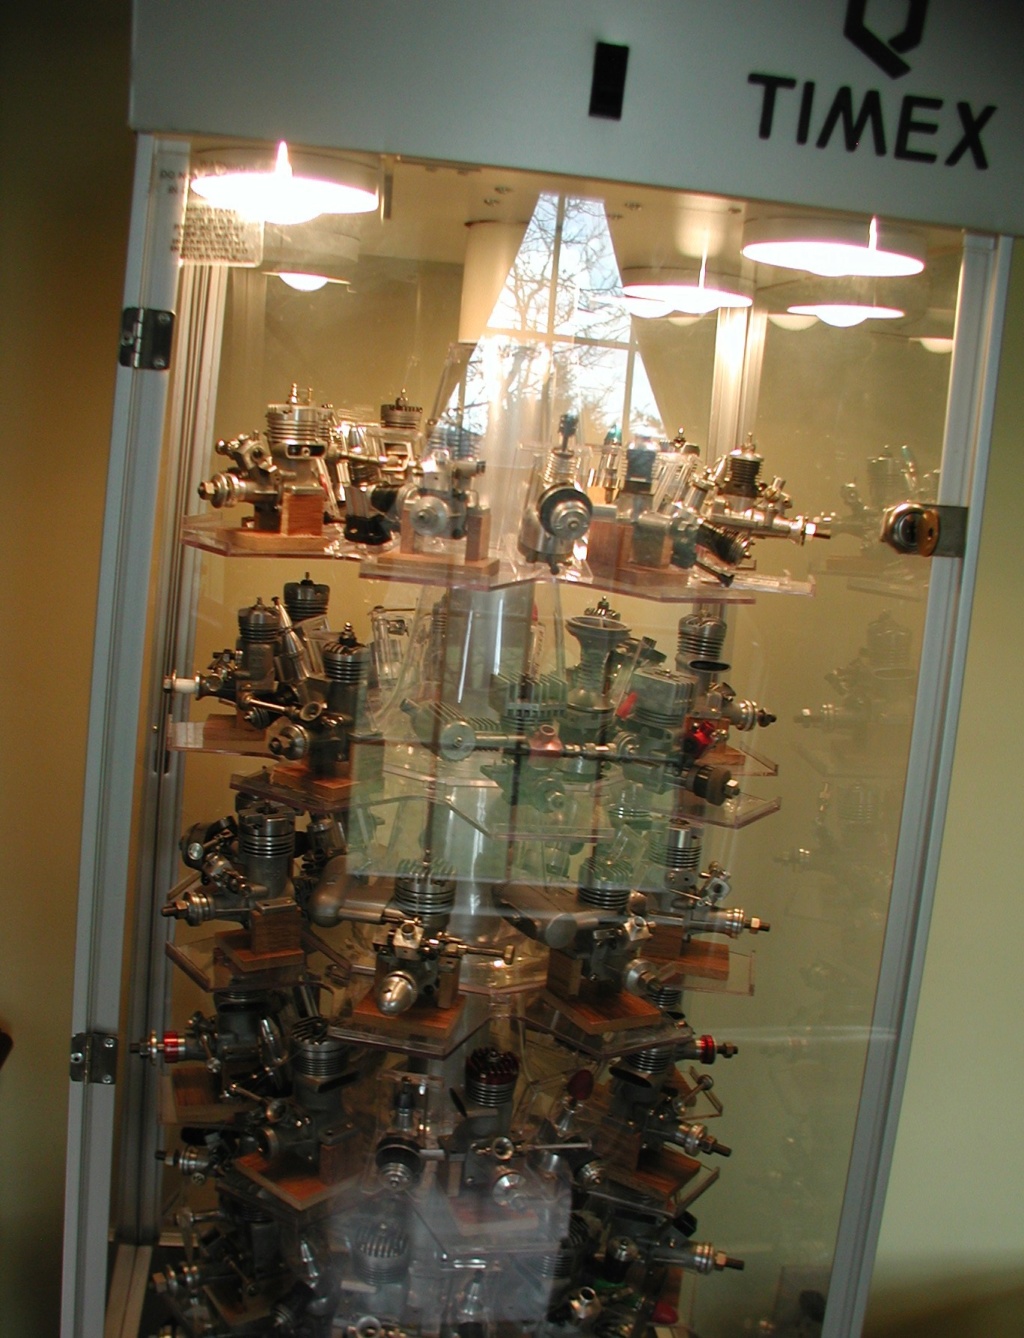
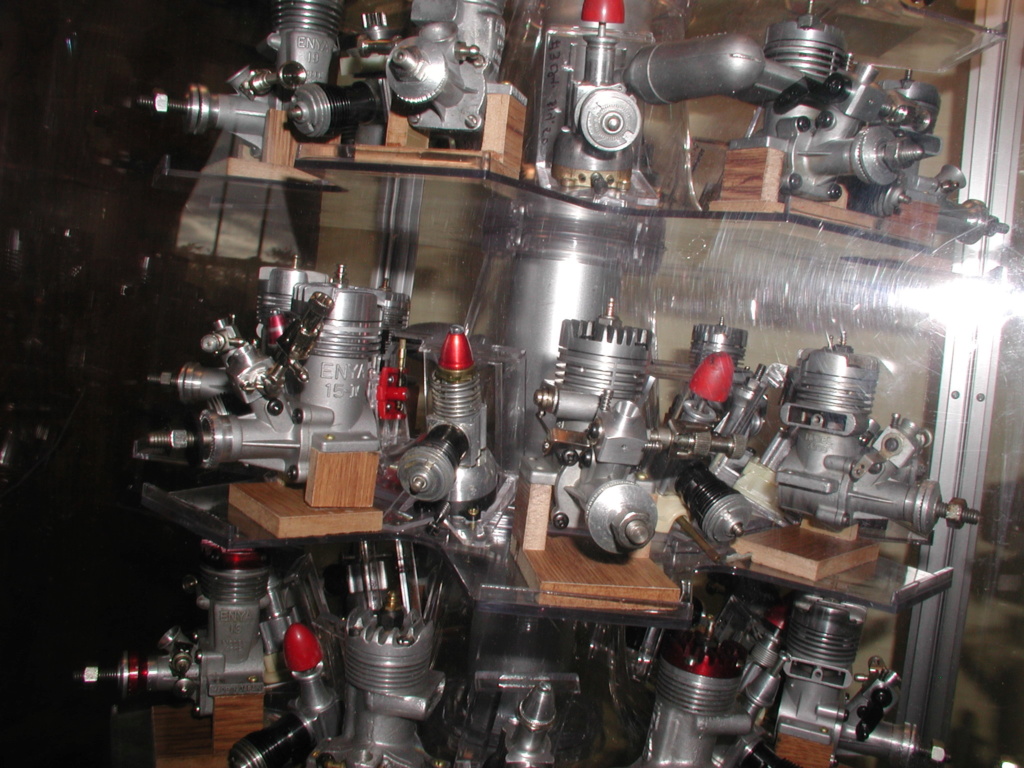
Bob
The plastic fuselage and engine mounts are stress cracked to the extreme but will be re-glued and strengthened enough to handle a single flight maybe more if it hangs together. My son (pit crew) retires at the end of this month so I will have an incentive to fly some of these things that I have been accumulating.


The fuselage had a severe bend in it midway behind the cockpit but I managed to straighten it with tension and a heat gun. Turned out well. But the tail section, not so nice. The vertical stab was badly cupped and distorted and no way to heat and straighten. I finally heated the vice jaws with the heat gun and pressed it. Notice the vice imprints. Nasty but it worked.


Engine will be ok, but I had to media blast the backplate. Residue is left over media. It will have to be painted like I did the first SB and become a shelf queen. It found a home in my Enya go-round. I managed to stuff those 57 Cox engines (remember the guess how many contest?) in there just to get them off the top of my display case.


Bob

rsv1cox- Top Poster


Posts : 11248
Join date : 2014-08-18
Location : West Virginia
 Re: One man's junk.................
Nice collection. I wish I could find me a watch display cabinet like yours. (before it gets tossed in the dumpster behind the drug store)

ticomareado- Account Under Review
- Posts : 1089
Join date : 2013-10-03
Location : NC
 Re: One man's junk.................
Hey Bob. I kinda like the vise imprint. Gives it a kind of checkering look.

NEW222- Top Poster

- Posts : 3896
Join date : 2011-08-13
Age : 46
Location : oakbank, mb
 Re: One man's junk.................
coming a long there Bob , more and more makes you want a CNC for making parts like this , i been looking at that or lazier cutter the other is much cheaper to get started all inexpensive lasers are just too small for the $$ i would want to put into it . 


getback- Top Poster


Posts : 10441
Join date : 2013-01-18
Age : 67
Location : julian , NC
 Re: One man's junk.................
Thanks everybody but I'm really just hacking at this thing. A fun project with no pressure to get it right.
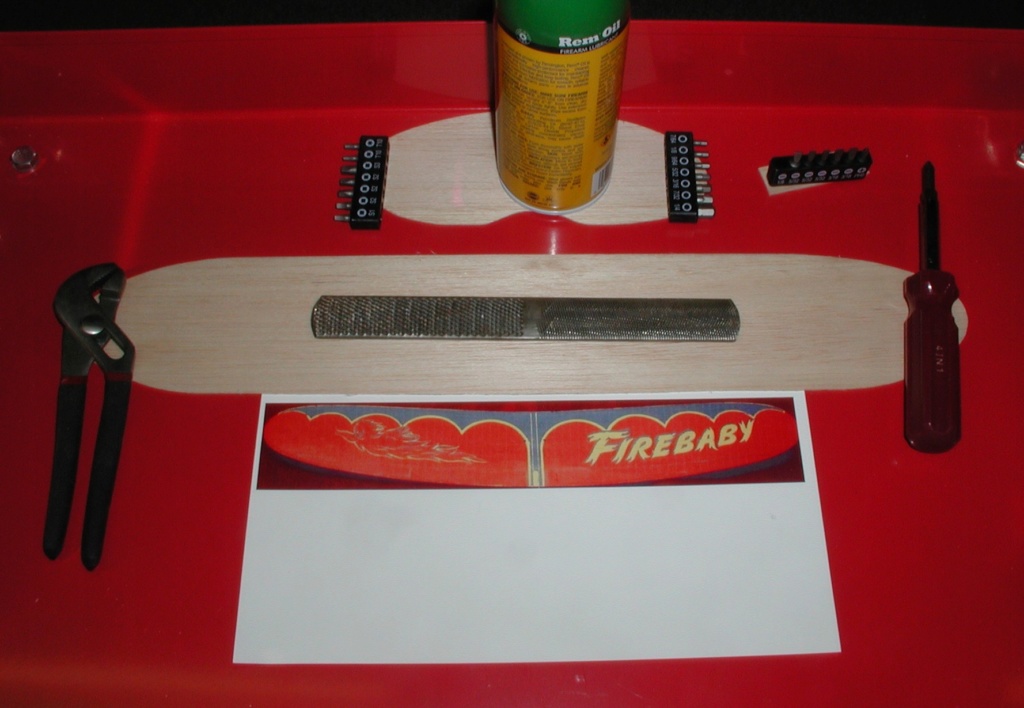
The engine mount is really stress cracked so I painted both sides with Plastruct plastic weld a product that Mark Boesen recommended to me a couple of years ago. It really firmed it up and made it usable. It's supposed to be a separate piece but I just red tube cemented it to the fuselage.
I sanded the wing tips and contoured the leading edge while sanding the top of the trailing edge to a knife edge then finished with sanding sealer. I will leave it natural. I found a picture of the originals wing and made a decal, will cut it in half and trim and slide it on. Might do the same for the horizontal stab.
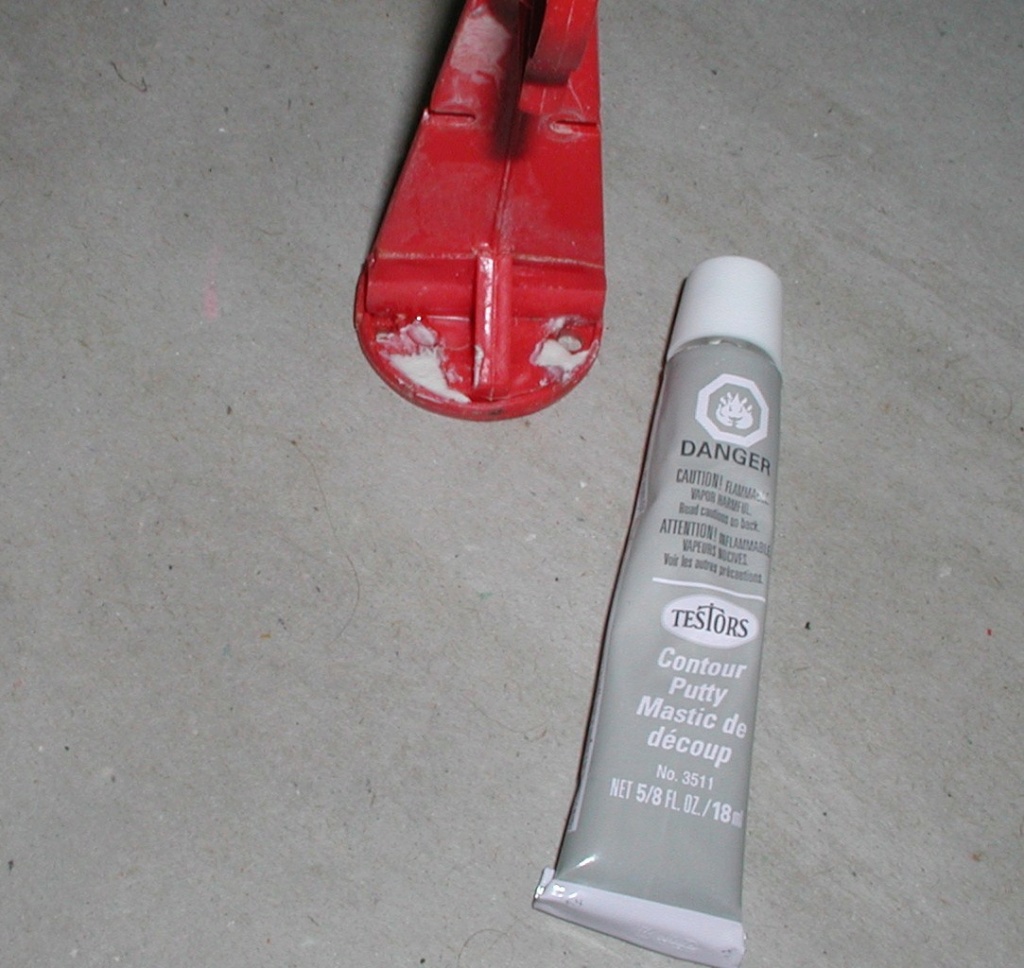
I have never used plastic putty, doubt if it will do the job. If it doesn't I will have to replace the tail section.


Last edited by rsv1cox on Sat Nov 24, 2018 12:21 pm; edited 1 time in total

rsv1cox- Top Poster


Posts : 11248
Join date : 2014-08-18
Location : West Virginia
 Re: One man's junk.................
I would lay some shear cloth or spun polyester with epoxy on backside (and maybe front side) of firewall.

ticomareado- Account Under Review
- Posts : 1089
Join date : 2013-10-03
Location : NC
 Re: One man's junk.................
ticomareado wrote:I would lay some shear cloth or spun polyester with epoxy on backside (and maybe front side) of firewall.
Good thought. I was just going to back it up will some tongue depressor wood after using putty as a filler. Maybe a little rayon instead painted on with plastic weld. It would be lighter, and I don't want to upset the delicate balance of this sophisticated machine.
The main mount is worse than the outer engine mount.


rsv1cox- Top Poster


Posts : 11248
Join date : 2014-08-18
Location : West Virginia
 Re: One man's junk.................
Anywhere you have used Testors plastic putty should be scraped out and refilled with JB Weld or maybe some other hard preparation made with micro balloons. Testors plastic putty has no real strength.

ticomareado- Account Under Review
- Posts : 1089
Join date : 2013-10-03
Location : NC
 Re: One man's junk.................
ticomareado wrote:Anywhere you have used Testors plastic putty should be scraped out and refilled with JB Weld or maybe some other hard preparation made with micro balloons. Testors plastic putty has no real strength.
Thought about JB for the tail, but it's quite heavy. If the putty doesn't hold I will try balsa glued in. I think the mount will be ok if I back it up. Might wind up painting the fuselage with Krylon fusion red.
I'm trying not to get carried away with this thing.

rsv1cox- Top Poster


Posts : 11248
Join date : 2014-08-18
Location : West Virginia
 Re: One man's junk.................
I guess I should have qualified the JB weld part to include only the fore sections (especially firewall area). As for vert. stab, I'd shave it all off and replace with balsa or sheet styrene plastic.

ticomareado- Account Under Review
- Posts : 1089
Join date : 2013-10-03
Location : NC
 Re: One man's junk.................
ticomareado wrote:I guess I should have qualified the JB weld part to include only the fore sections (especially firewall area). As for vert. stab, I'd shave it all off and replace with balsa or sheet styrene plastic.
I tried pure epoxy as a filler/fix and it seems to do fine. Some mix talc or balsa dust but I did not want to diminish it's holding capability on these stress cracks, which is not all that good on plastic anyway.
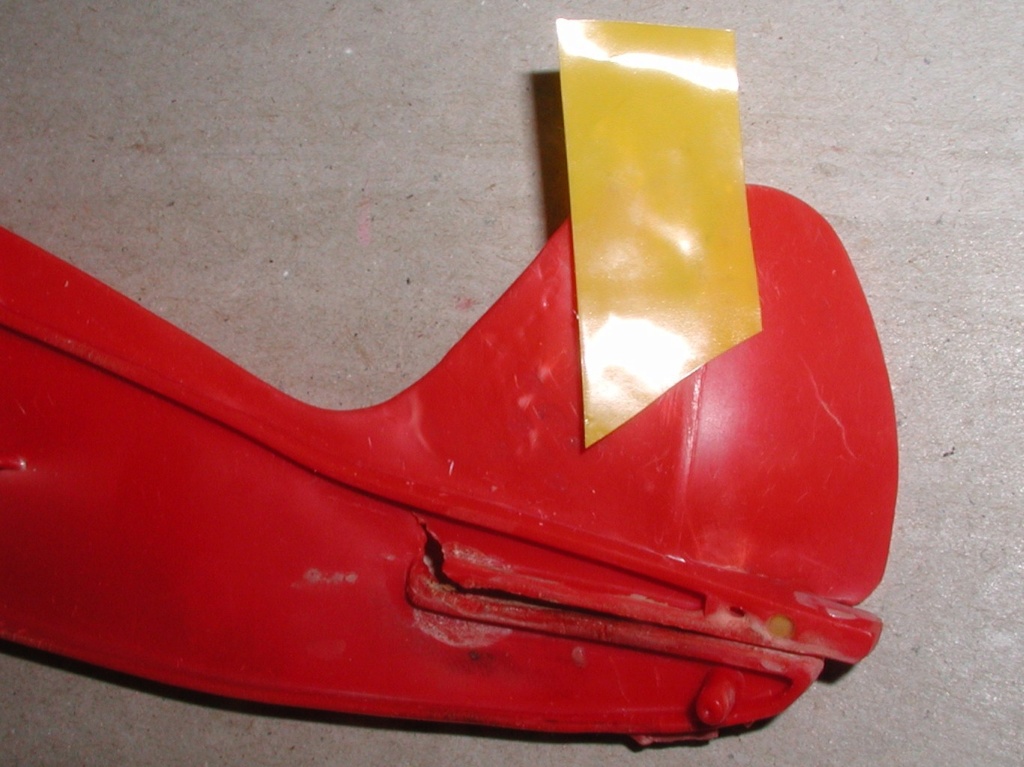
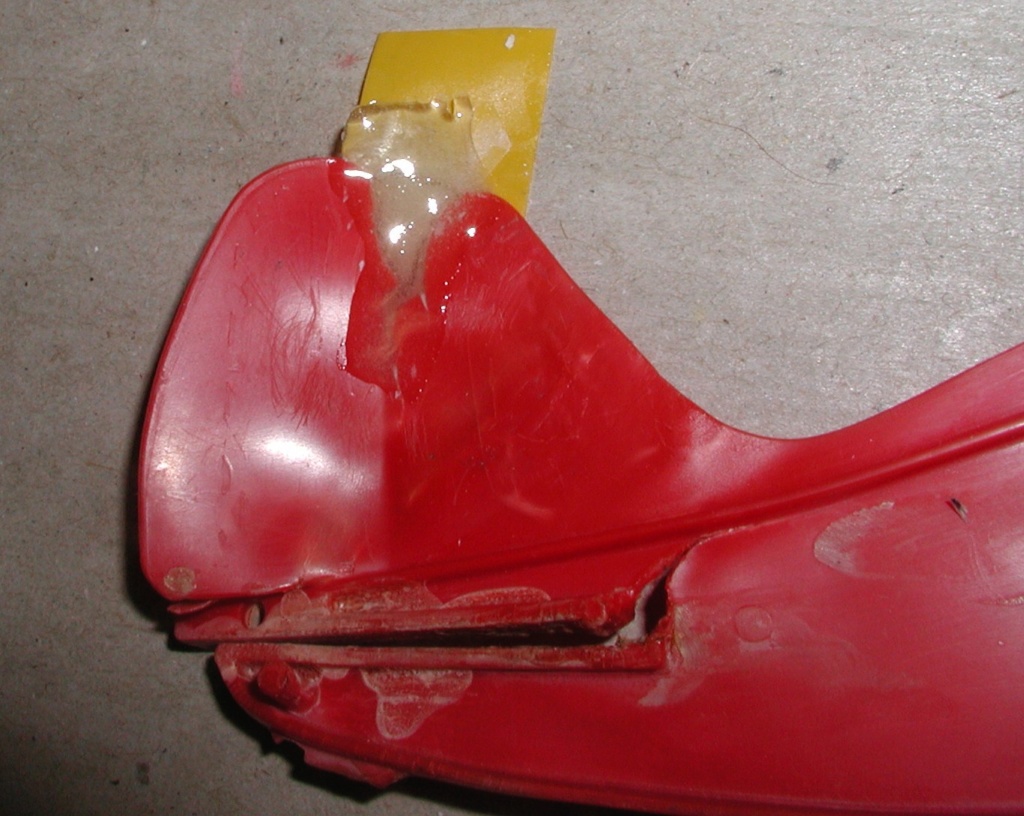
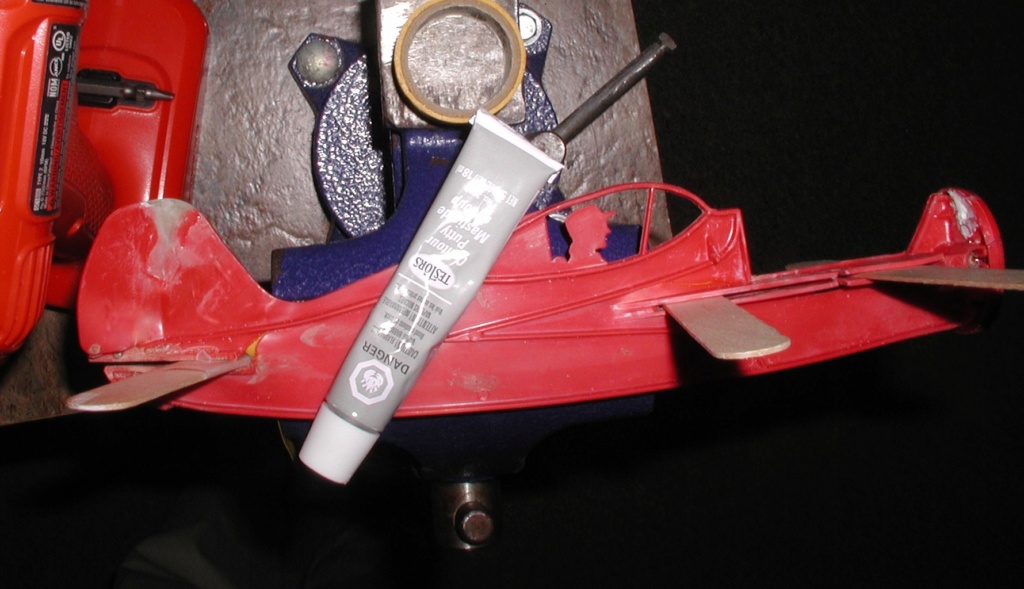

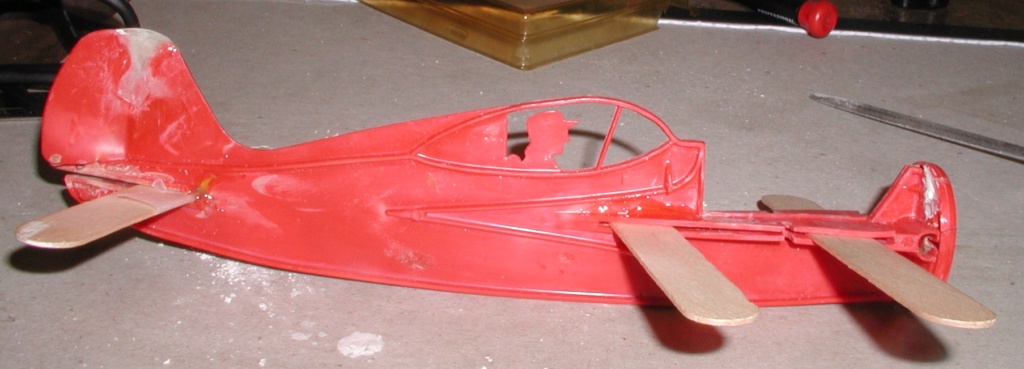
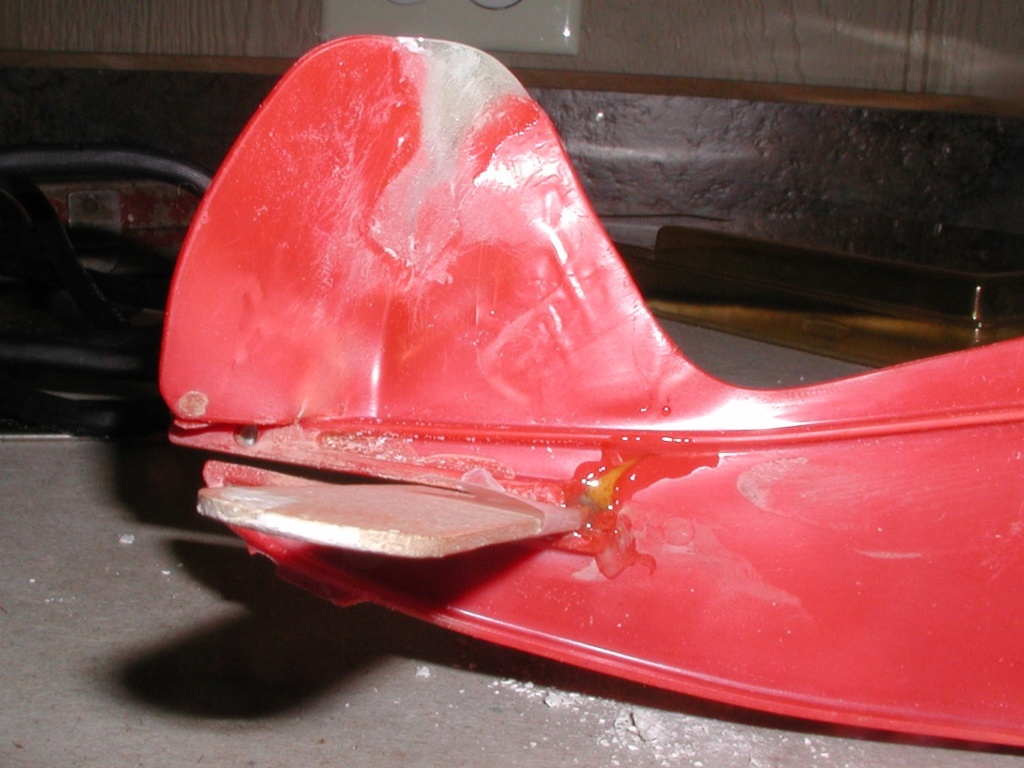
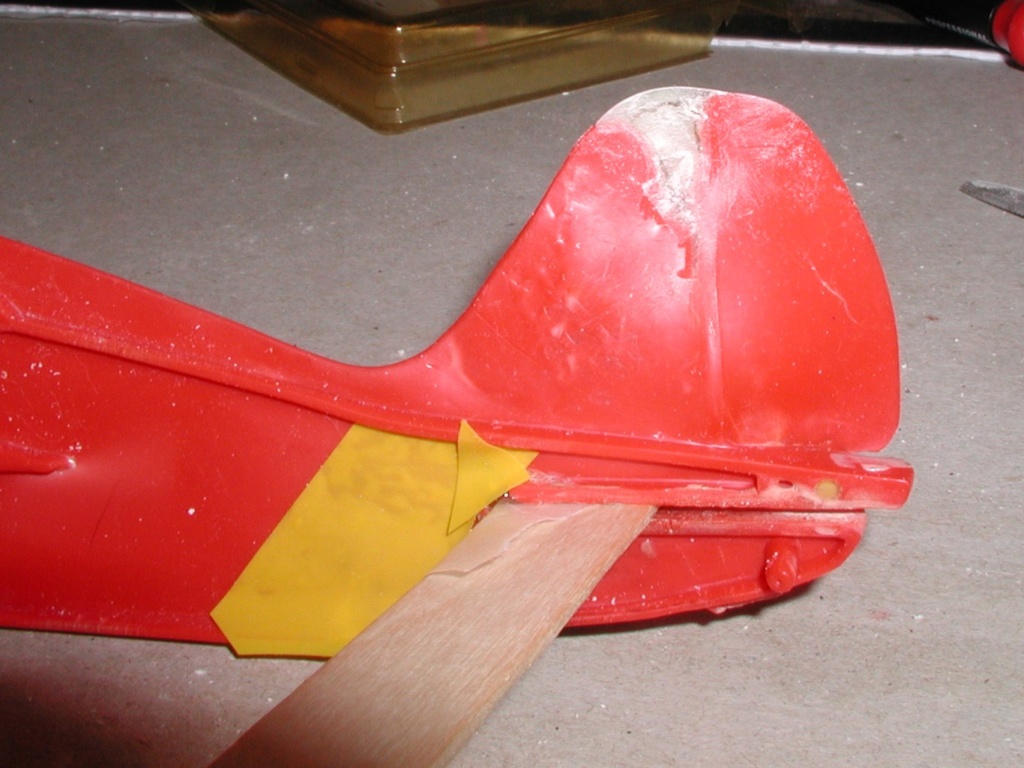
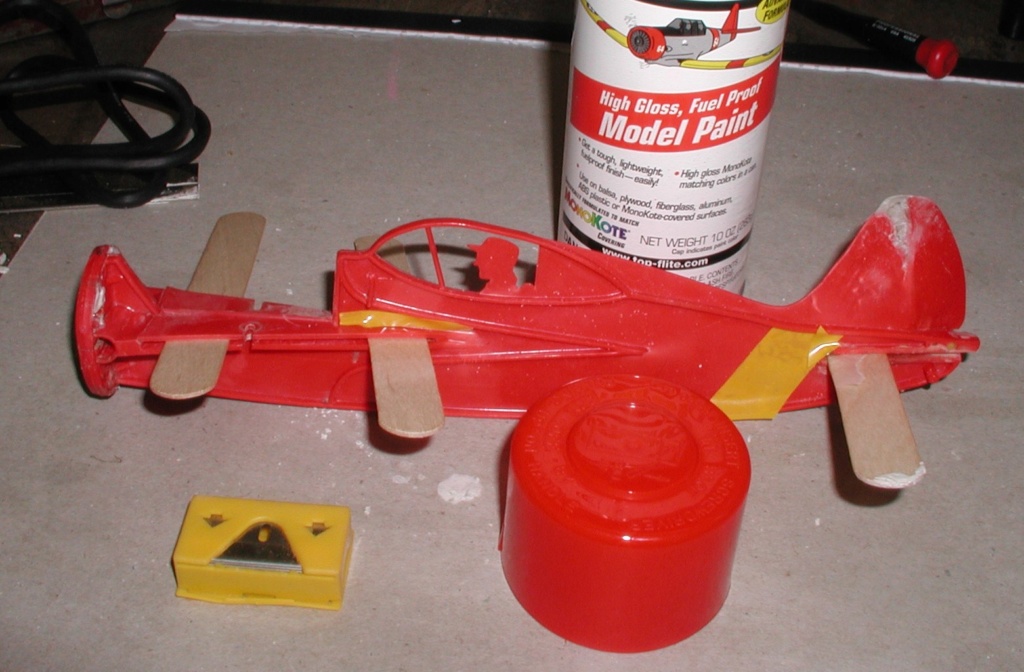
Tongue depressors will stay in until the wing and elevator are installed. Then one will follow the other hopefully keeping the cracks from opening again.
Torn whether to leave the wing/elevator/horizontal stab natural or paint.

rsv1cox- Top Poster


Posts : 11248
Join date : 2014-08-18
Location : West Virginia
 Re: One man's junk.................
Getting a little more involved than originally envisioned I see.

ticomareado- Account Under Review
- Posts : 1089
Join date : 2013-10-03
Location : NC
 Re: One man's junk.................
If not paint, even an accent or simple stripe would look nice.

NEW222- Top Poster

- Posts : 3896
Join date : 2011-08-13
Age : 46
Location : oakbank, mb

NEW222- Top Poster

- Posts : 3896
Join date : 2011-08-13
Age : 46
Location : oakbank, mb
 Re: One man's junk.................
Yes, I love that color combo, especially the cockpit treatment.
I have blue, but it's a dark Corsair blue, not the nice powder blue of yours. Wouldn't go on the Fire Baby.
I made up my mind to paint the wing and tail white. Wish I didn't.
It's called "mission creep" Victor.
Bob

rsv1cox- Top Poster


Posts : 11248
Join date : 2014-08-18
Location : West Virginia
 Re: One man's junk.................
Here's an all natural, all balsa scratch built Firebaby flight.
https://www.youtube.com/watch?v=60aA7D3AnZs
https://www.youtube.com/watch?v=60aA7D3AnZs

ticomareado- Account Under Review
- Posts : 1089
Join date : 2013-10-03
Location : NC
 Re: One man's junk.................
Thank you. I am sure it will look very good. Can't wait to see pictures now....

NEW222- Top Poster

- Posts : 3896
Join date : 2011-08-13
Age : 46
Location : oakbank, mb
 Re: One man's junk.................
NEW222 wrote:Thank you. I am sure it will look very good. Can't wait to see pictures now....
Don't be too eager Chancey, gives real meaning to the term "Rough."

rsv1cox- Top Poster


Posts : 11248
Join date : 2014-08-18
Location : West Virginia
 Re: One man's junk.................
I got faith that you'll win Federal Prison System workshop project of the year award. West Virginia is real strong in that category. You can thank iconic Senator Robert Byrd for that.

ticomareado- Account Under Review
- Posts : 1089
Join date : 2013-10-03
Location : NC
 Re: One man's junk.................
ticomareado wrote:I got faith that you'll win Federal Prison System workshop project of the year award. West Virginia is real strong in that category. You can thank iconic Senator Robert Byrd for that.
You seem to know a lot about The Mountain State. Locked my doors in Florida, not necessary here. But, yeah this Firebaby project is well worthy of the Prison Project of the Year award.
Senator Byrd expired before I became a resident but I was familiar with his politics.
Our family doctor is a Byrd, and she practices out the Byrd Building in Virginia. Virginia had their share of Byrds too.
For what it's worth, this is it...........mostly. Paint shines and looks worse than it actually is...
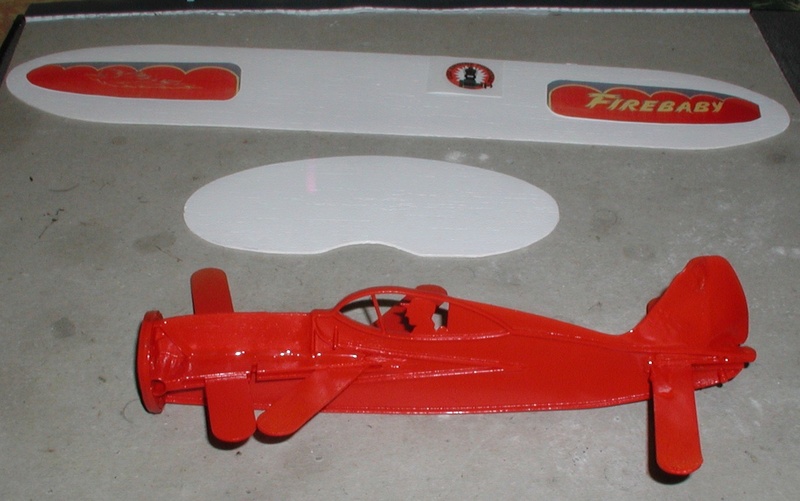


Can't put a nasty engine on such a thing of beauty. Full treatment, early thin wall proven BB with the narrow slot no MIA back plate.


Smudge is when the screen protector blew off the screen while painting. We will soon see just how fuel proof that paint is. Not holding out hope as it's interior.

rsv1cox- Top Poster


Posts : 11248
Join date : 2014-08-18
Location : West Virginia
 Re: One man's junk.................
Lookin' good!

ticomareado- Account Under Review
- Posts : 1089
Join date : 2013-10-03
Location : NC
 Re: One man's junk.................
Bob....there are no metallic spray bombs fuel proof
and the small amount of 2 part clear needed is cost prohibitive for that part
take it off...prove what I say and soak in in shallow pan of 25% fuel
dry off the very clean part and dremel polish it with the green, black, or red then the white followed up with flitz or mothers mag...etc
I mirror polished several metal back plates....none are zink bronze looking any more

fredvon4- Top Poster


Posts : 4012
Join date : 2011-08-26
Age : 69
Location : Lampasas Texas
Page 2 of 3 •  1, 2, 3
 Similar topics
» Junk engines? Not so much
» 1972 jerobee cox .049 1968 Porsche 910 Le Mans restoration
» More junk engines stuff
» I want some of your old junk!
» My brand new Copperhead .049 seems to be nothing but eye candy junk
» 1972 jerobee cox .049 1968 Porsche 910 Le Mans restoration
» More junk engines stuff
» I want some of your old junk!
» My brand new Copperhead .049 seems to be nothing but eye candy junk
Page 2 of 3
Permissions in this forum:
You cannot reply to topics in this forum

 Rules
Rules


